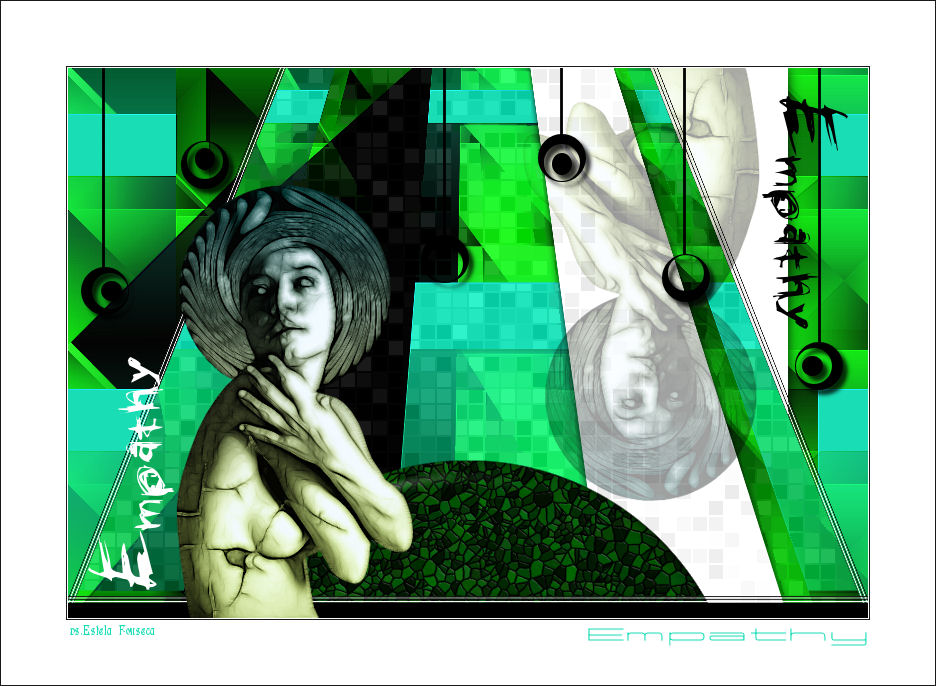
EMPATHY
Tutorial de ©CameronTags , original Aqui.
Material Necessário:
Fonte Grunge Aqui
Plugins Utilizados:
Eye Candy 6
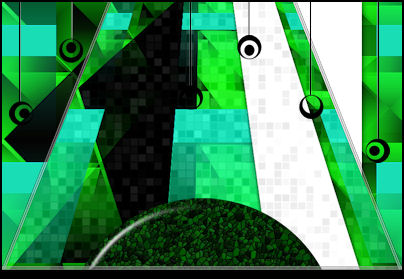
1- Abra uma nova imagem Transparente de 800 x 550 pixelsPreencha com a cor #1ff01e
2- Layers / New Raster LayerPreecha com a cor #000000
3- Ative a masktutorialempathy_camerontags.png
Layers / New Mask Layer / From Image
Layers / Merge / Merge Group
4- Layers / Merge / Merge All
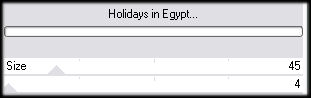
Effects / Plugin / Filter Factory Gallery A / Holidays in Egypt - valores: 45/4
5- Effects / Plugin / Filter Factory Gallery A / Weave - valores:
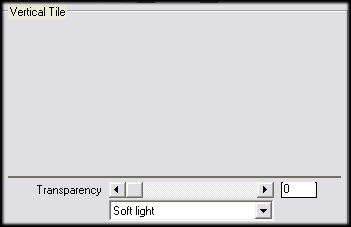
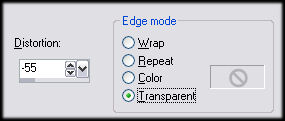
6- Effects / Plugin / VanDerLee / UnPlugged-X / Vertical Tile - valores:
7- Effects / Plugin / FM Tile Tools / Blend Emboss - valores:
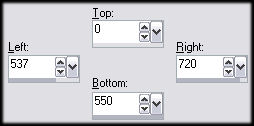
8- Ative a Ferramenta Selection Tool e clique em Custom Selection / valores:
Preencha a seleção com a cor #ffffff
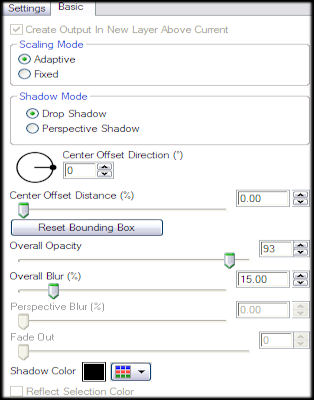
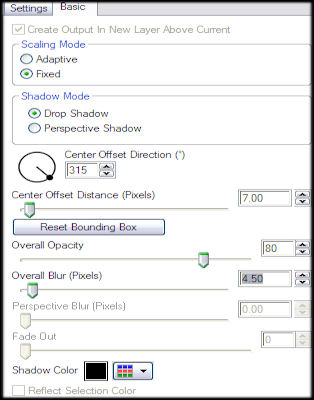
9- Na Seleção:Effects / Plugin / Eye Candy 6 / Text_Selection
Perspective Shadow - Drop - Height 0
Em Basic, estes valores:
Selections / Select None
10- Layers / Duplicate
Effects / Geometric Effects / Perspective Vertical - valores:
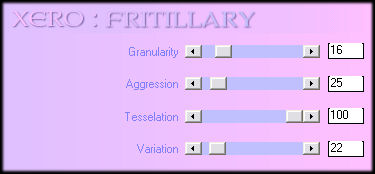
11- Effects / Plugin / Xero / Fritillary / valores:
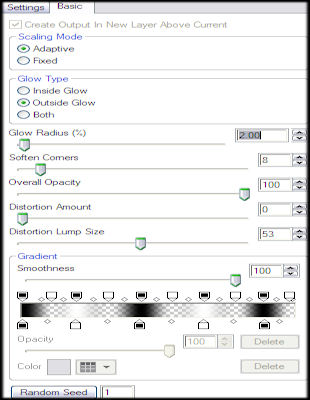
12- Effects / Plugin /Eye Candy 6 - Text_Selection / Gradient Glow - Complex (Thin):
Black and White StripesEm Basic, estes valores:
13- Nova Layer / Preencha com a cor #ffffff
Effects / Geometric Effects / Circle - Transparente
14- Image / Flip
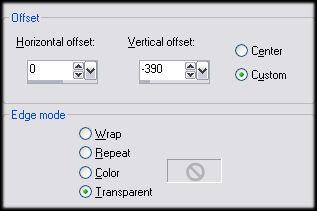
15-Effects / Image Effects / Offset:
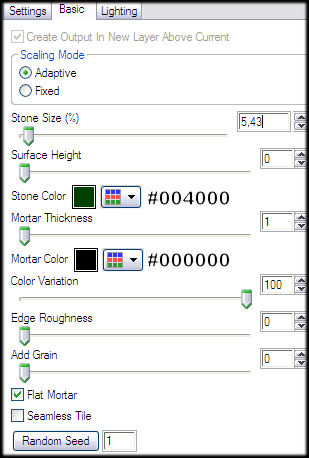
16- Effects / Plugin / Eye Candy 6 - Textures - Stone Wall - Stained Glass - Green
Em Basic, estes valores:
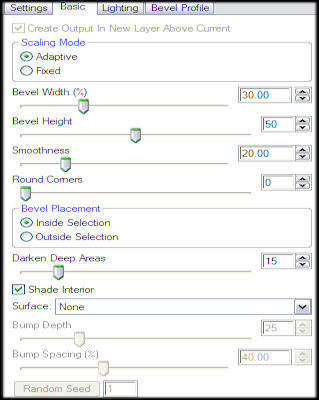
17- Effects / Plugin / Eye Candy 6 - Text_Selection / Bevel / Buttons (Fat Shapes) /Gentle Round
Em Basic, estes valores:
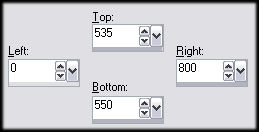
18- Nova layer / Ative a ferramenta de seleção
Clique em Custom Selection e configure:
Preencha a seleção com a cor #000000
Selections / Select None
19-Effects / Plugin / Eye Candy 6 - Text_Selection - Gradient Glow - Complex (Thin):Black and White Stripes
Em Basic valores:
20- Ative barstutorialempathy_camerontags.pspimage
Copie e cole como nova layer
Com a Ferramenta Move Tool coloque na parte de cima, como mostra a imagem:
21- Image / Negative Image
22- Ative simbolstutorialempathy_camerontags.pspimage
Copie e cole como nova layer
Com a Ferramenta Mover coloque alinhado com o tube das barras:
23- Effects / Plugin / Eye Candy 6 / Text_SelectionPerspective Shadow - Drop (Fixed Scaling) - Angled 7 Pixels
Em Basic, estes valores:
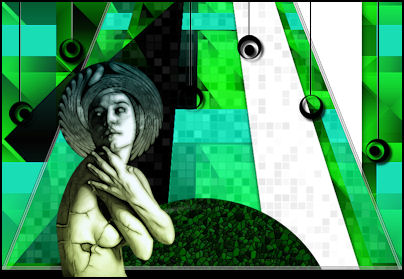
24- Ative womantutorialempathy_camerontags.pspimage
Copie e cole como nova layer
Coloque a esquerda e abaixo , como na imagem:
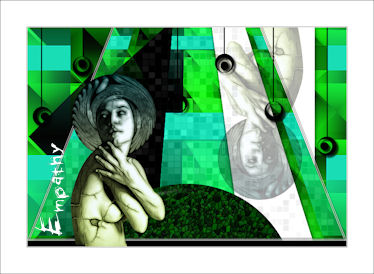
25- Layers / DuplicateImage / Mirror
Image / Flip
Blend Mode / Multiply - Opacidade 38%
26- Layers / Merge / Merge All
Image / Add Borders 1 pixel cor #ffffff
1 Pixels cor #000000
65 pixels cor #ffffff1 pixel cor #000000
27- Abra a fonte Grunge e Minimize na área de trabalhoAtive a Ferramenta de Texto / valores:
28- Na Paleta de cores coloque no foreground e no background a cor#ffffff / Escreva "Empathy"
Promote Selection to layerSelections / Select None
29- Image / Rotate Free / 90º / LeftColoque a esquerda e abaixo:
30- Layers / DuplicateImage / Mirror
Image / Flip
Image / Negative Image
31- Layers / Merge / Merge All
Assine e salve como jpg !
© Tutorial Traduzido por Estela Fonseca em 10/10/2010.
Obrigada, Cameron por me permitir traduzir este trabalho.