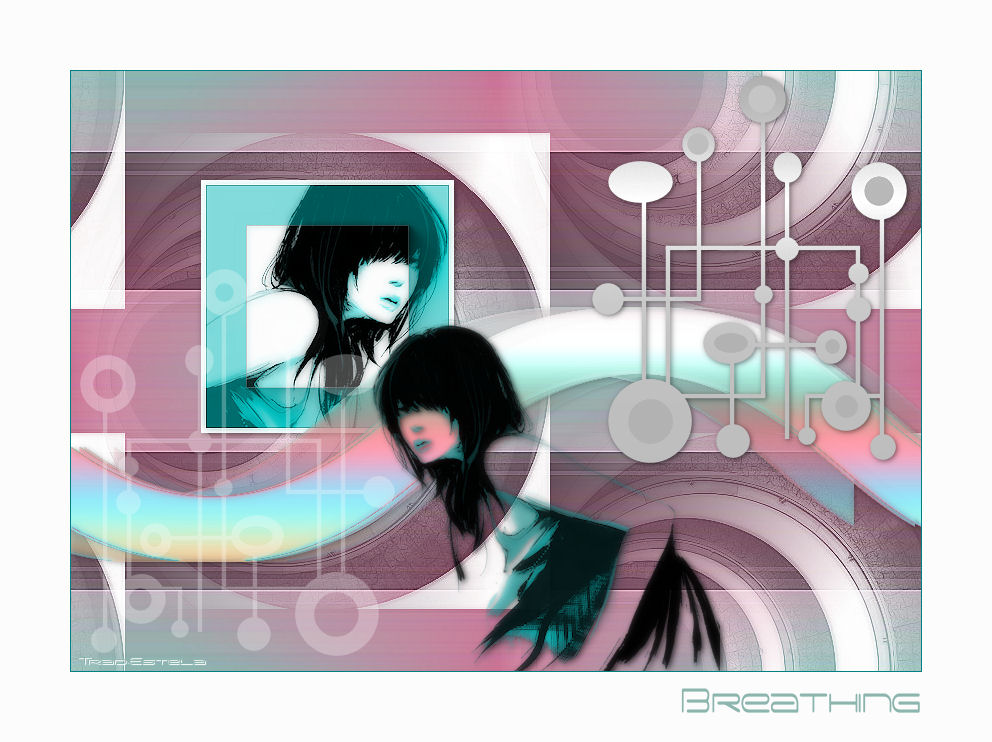
BREATHING
Tutorial de ©CameronTags , original Aqui. / Obrigada Cameron , por sua autorização.
Tube © Lexis Designs
Material Necessário:
Plugins Utilizados:
Simples
Eye Candy 5 Impact
ArtShop
Flaming Pear
Mura's Meister Copies
Xero
1 - Abra uma Nova imagem transparente 850 / 600 pixelsSelections / Select All.
Ative a <<texturacameron_breathing.jpg >> Copie e cole na seleção
Selections / select none.
2 - Layers /New raster layer ... Preencha com a cor # ffffff .Ative a mask <<maskcameron_breathing.jpg>>
Layers / New mask layer / From image: Mask maskcameron_breathing
Layers / Merge / Merge group .
Effects / Plugins / Simple / Quick Tile
Adjust One Step Photo Fix
Reserve...
3 - Abra uma nova imagem transparente de 243 x 243 pixelsPreencha com a cor branca.
Ative o tube <<Lexis_TBtransparent.pspimage>>
Image / Resize / 70% ... (resize All Layers marcado)
Copie e cole como nova layerImage / Mirror
Posicione conforme o modelo.Sobre o tube:
Effects / Plugins / Flaming Pear / Anaglyph Flip
Layers/ merge / Merge visible
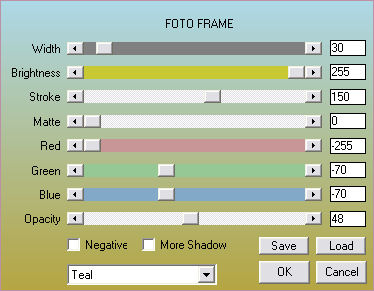
Effects / Plugins / AAA Frame / Foto Frame:
Image / Add Borders / Symmetric Marcado / 5 pixels cor # ffffff
Effects / Plugins / Xero / Porcelain: 50/128/128/0/0/0.
Adjust / Sharpness / Sharpen4 - Copie e cole como nova layer no trabalho reservado.
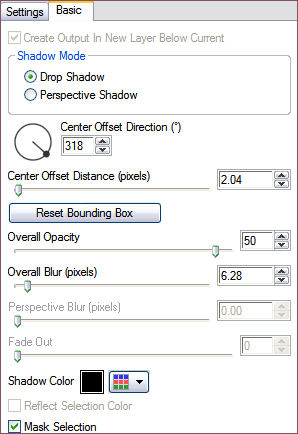
Effects / Plugins / Eye Candy 5 Impact / Perspective Shadow / Drop Shadow Lowest
Em basic coloque os seguintes valores:
5 -Layers / New Raster LayerSelections / Load save selection / Load selection from disk: "sele_onda_camerontags"
Preencha a seleção com o gradiente Linear Angle 0 / Repeats 0 formado por # FFFFFF e # 8cb5ad.
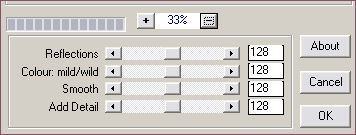
6 -Effects / Plugins / ArtShop / iridescente :
Selections / Select none.
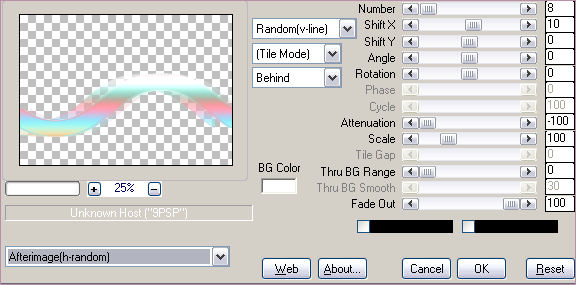
7 - Ative a layer da onda:Effects / Plugins / Mura's Meister / Copies : Preset: Afterimage (h-randon)
Effects / Plugins / Xero / Porcelain: 50/128/128/ 0/ 0/ 0.
Na Mesma layer
Effects / Plugins / Eye Candy 5 Impact / Perspective Shadow / Drop Shadow Lowest
Na Aba Basic use os mesmos valores do passo 4
8 - Abra o Tube <<Lexis_TBtransparent >> ... Image resize 60%.(Resize All Layers marcado)
Effects / Plugins / Flaming Pear / Anaglyph Flip.Effects / Plugins / Xero / Porcelain : 50/128/128/0/0/0.
Copie e cole como nova layer ... posicione a direita conforme modelo.
Effects / Plugins / Eye Candy 5 Impact / Perspective Shadow / Drop Shadow Lowest
Em Basic, valores iguais aos valores do passo 4.9 - Abra <<es_breathing_camerontags.pspimage>> Copie e cole como nova layer
Coloque à direita (veja modelo)
Effects / Plugins / Eye Candy 5 Impact Perspective Shadow / Drop Shadow Lowest
Repita os valores já usados anteriormente.
10 - Ative o Brush <<brush_breathing_camerontags.pspimage >>
File / Export Costum Brush/ Salve o brush na sua pasta de Brush.
Configure o psp com esses valores:
Coloque a cor branca no foreground.
Layers / New raster layer
Aplique o brush do lado esquerdo .
11 - Layers / Merge / Merge All
Image / Add borders / Symmetric Marcado / 1 pixel cor # 008080 .
Image / Add borders / Symmetric Marcado / 70 pixels cor # ffffff
Escreva o textoSalve como jpg
© Tutorial Traduzido por Estela Fonseca em 03/07/2009.
Obrigada, Cameron por me permitir traduzir este trabalho.