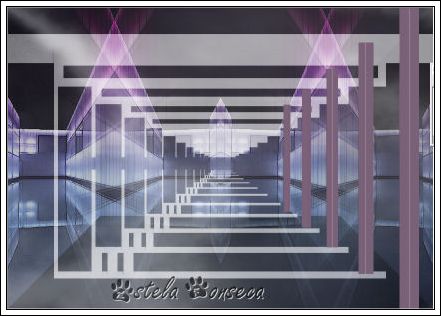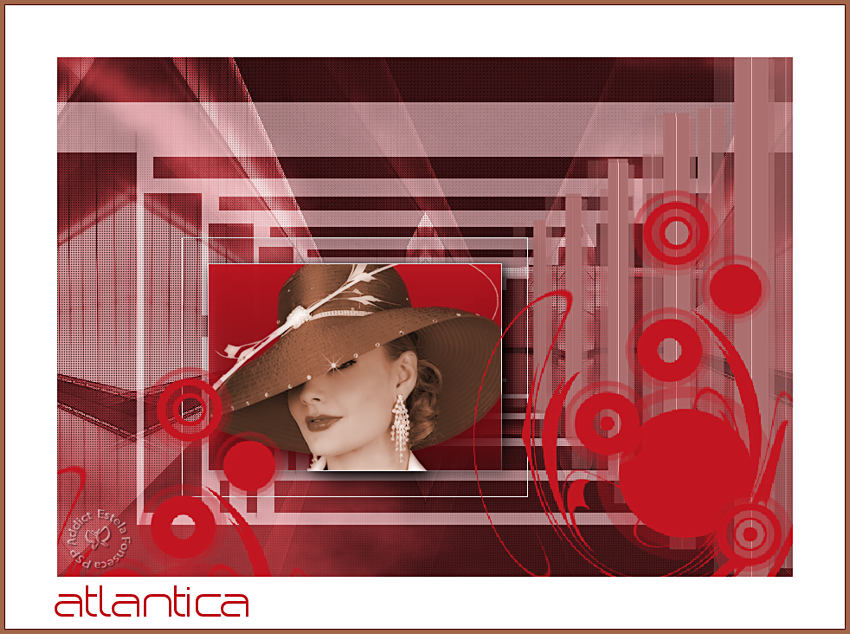
ATLANTICA
Tutorial de ©CameronTags , original Aqui.
Material Necessário:
Plugins Utilizados:
Graphic Plus
AAA Transparent Frame
Xero
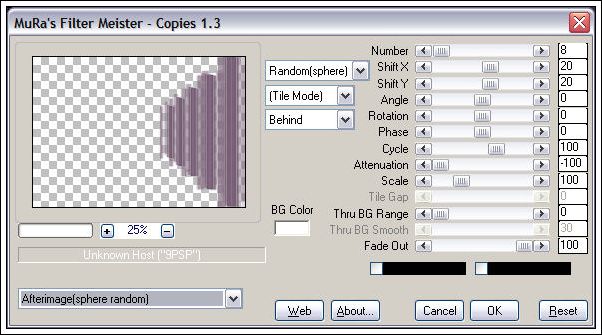
Mura's Meister - Copies
XE -Trás
Eye Candy 5 Impact
Programa Corel Paint Shop Pro
Abra os tubes, duplique e feche os originais.
1 - Abra uma nova imagem transparente de 850 / 600 pixels
Selections / Select All
Ative o tube <<fondoatlantica.jpg>> Copie e Cole na seleção.
Selections / Select None
Effects /Plugins / Graphic Plus / Horizontal Mirror / 180 / 0
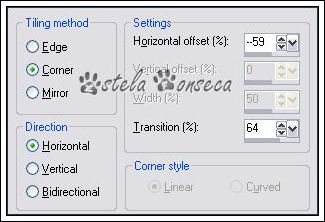
2 - Effects / Image Effects / Seamless tiling: Corner / Horizontal / -59 / 64
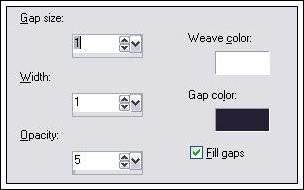
3- Effects / Texture Effects / Weave: 1 / 1 / 5 / Gap Color: #251f34
Adjust / Sharpness / Sharpen
4 - Effects /Plugins / Graphics Plus / Button Beveler II: 157 / 220
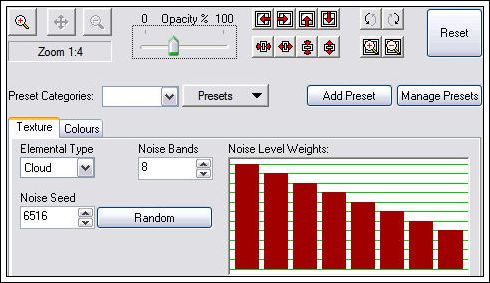
5 - Effects /Plugins /Xtras Elemental : Clique somente em customize e configure conforme a imagem:
6 - Layers / New Raster Layer
Preencha com a cor # ffffff
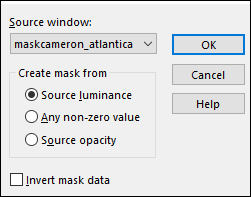
Ative a mask <<maskcameron-atlantica.jpg>>
Layers / New mask layer / from imagem / selecione a mask <<maskcameron_atlantica.jpg>>
Layers / Merge / Merge Group
Blend Mode: Soft Light
Layers / Duplicate
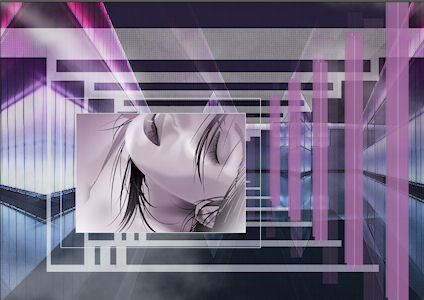
7 - Ative o tube <<barras>>
Copie e Cole como nova layer
Posicione como segue:
Effects / Plugins / MuRa 's Meister / Copies:
12 - Adjust / One Step Photo Fix
Opacidade / 81%
Reserve este trabalho.
8 - Abra uma nova imagem transparente de 400 x 300 pixels.
Primeiro Plano cor # 927091 e Segundo Plano cor #ffffff
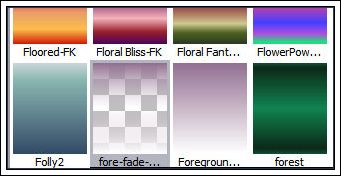
Forme um gradiente <<Linear>> Angle : 0 / Repeats 0 / Invert marcado.
Selecione o gradiente <<Fading Foreground>>
Preencha a layer transparente com o Gradiente
Ative o tube <<Thaïss ... qhant_quas_09 *. pspimage>>
Image / Resize / 70% ...Resize All Layers ... Marcado
Copie e Cole como nova layer
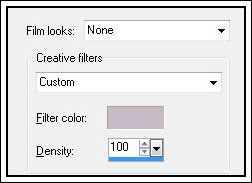
Effects / Photo Effects / Film and filters: None/ cor: #c6bac5/densidade: 100
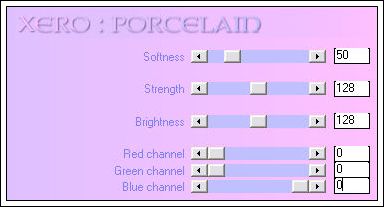
Effects / Plugins / Xero / Porcelain :
Layers / Merge / Merge visible
Effects / Plugins / AAA Frames / Transparent Frame: 30/223
9 - Copie
Ative o trabalho anterior que foi reservado
Cole como nova layer.
Posicione como segue:
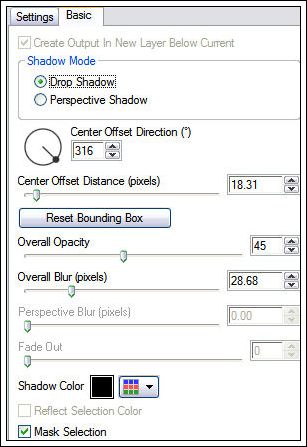
Effects / Plugins / Alien Skin Eye Candy 5 / Impact / Perspective Shadow / Drop Shadow, Blurry
Effects / Plugins / Alien Skin Eye Candy 5 / Impact / Perspective Shadow / Drop Shadow, Lowest
10 - Ative o <<vectorcameron_atlantica.pspimage>>
File / Export / Custom Brush
Ative a ferramenta <<Paint Brush >> Localize <<Brush>> e configure da seguinte forma:
Carimbe o Brush com a cor do Primeiro Plano no canto inferior direito
11 - Layers / Merge / Merge All.
Image / Add borders / Symmetric Marcado / 60 pixels cor # ffffff
Image / Add borders / Symmetric Marcado / 5 pixels cor # 4a2e48
Escreva o texto / Coloque sua assinatura
Layers / Merge / Merge All
Export como JPEG optimizer.
Versão 2 com tube de Gerry:
Versão com tube de Renée:
© Tutorial Traduzido por Estela Fonseca em 07/02/2009.
Obrigada, Cameron por me permitir traduzir este trabalho.