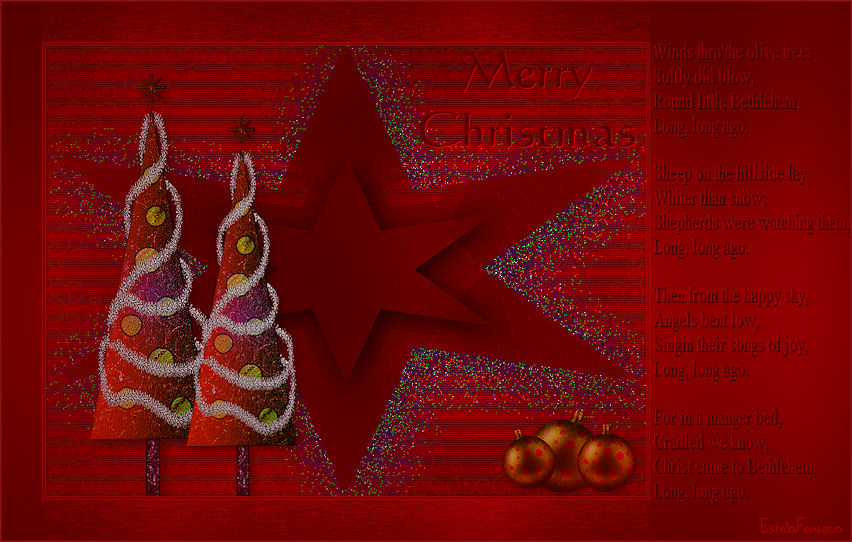
LONG AGO
Tutorial de ©Benice - Original Aqui
Traduzido no PSP 12
Materiais Necessários:
Plugins Utilizados:Bkg Designer sf10 I- AQUI
Bkg Designer Kaleidoscope - AQUI
TD-studio - HS [[001 Emo]] - AQUI
Tramages - AQUI
Nik Software / Color Efex Pro 3.0 - AQUI
VM Natural - AQUI
Xero - AQUI
Importe os filtros para * Unlimited.
Abra a máscara no PSP.
Coloque as seleções para o PSP.
Foreground cor # FFFFFF (branca)Background cor # 920201
1
Abra o fundo Benice Long Ago.
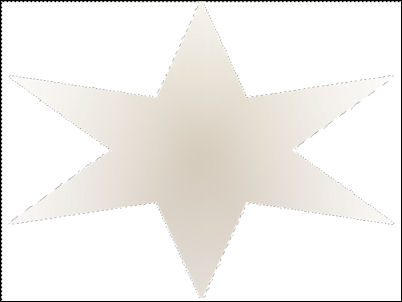
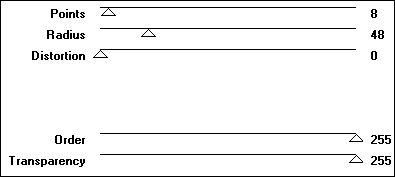
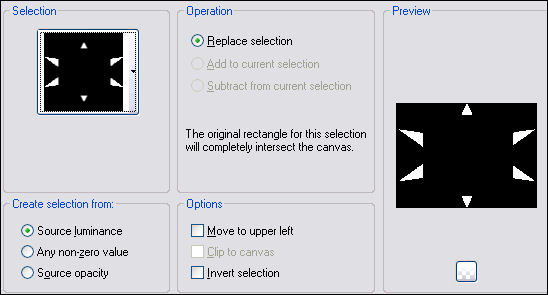
Ative a varinha mágica , com as seguintes configurações:
Clique com a varinha mágica na parte branca:
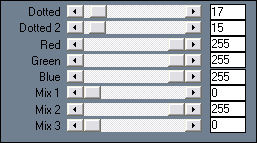
Effects , Plugin, VM Natural, Legoland:
Selections / Invert
Selections / Promote selection to layer
Selections /Select None.
Effects / Plugin /<sf10 I> Designer GEE - Cruncher: 20/20Layers / Merge / Merge Visible
2
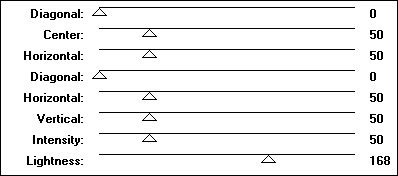
Layers / DuplicateEffects / Plugin / <BKG Kaleidoscope> keleidoscope Flower: 224/19
Blend Mode / Difference
Opacidade / 73.
Layers / Merge / Merge Down.
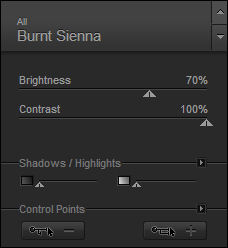
Effects / Plugin Nik Software /Color Effex Pro 3.0 Completo /Burnt Sienna:
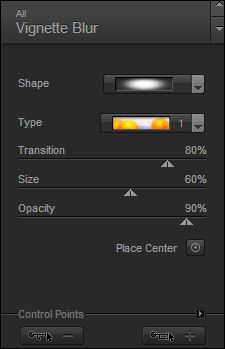
Effects / Plugin / Nik Color Efex Software Pro 3.0 completo / Vignette Blur:
3
Layers / DuplicateEffects / Plugin / TD-studio / HS [[001 Emo]]
Blend Mode / Dodge
Opacidade / 79.
Layers / Merge / Merge Down.4
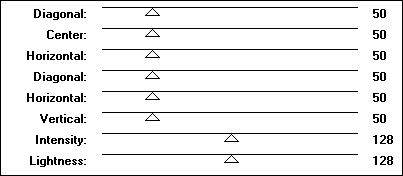
Layers / DuplicateEffects / Plugin / Tramages / Pool shadow:
Blend Mode / Soft Light
Layers / Merge / Merge Down.
5
Layers / DuplicateEffects / Edge effects / Enhance
Opacidade / 37.
Ative a layer inferior.
Adjust / Blur / Gaussian Blur /100.6
Volte para a layer superior.
Layers / New Raster layer.
Preencha com a cor de primeiro plano (branca).
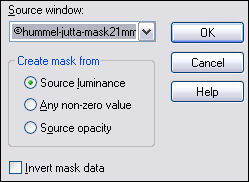
Layers / New Mask Layer / from Image:
Layers / Merge / Merge Group.
Blend Mode / Soft Light
Opacidade 49.7
Selections / Load save selection / Load selection from disk/ Benice kerstles3.2
Clique na tecla delete do teclado.
Selections / Select NoneLayers / Merge / Merge Visible.
8
Selections / Load save selection / Load selection from disk: Benice kerstles 3,1Nas mesmas configurações anteriores
Effects / 3D Effects / Drop Shadow:14/14/72/100/ cor #3e043e/ Shadow on new layer, marcado
Mantenha a seleção
Layers / Arrange Bring to top
Layers / Duplicate
Layers / Merge / Merge Down.
Blend Mode / Dissolve9
Effects / 3D Effects / Drop Shadow:14/14/72/100/ cor #00c000/ Shadow on new layer, marcadoMantenha a seleção
layers, Arrange / bring to top
Blend Mode / dissolve
Opacidade / 13.
10
Effects / 3D Effects / Drop Shadow:14/14/72/100/Cor #ffffff/ Shadow on new layer, marcadoMantenha a seleção
Blend Mode / dissolve
Opacidade / 15.
11
Effects / 3D Effects / Drop Shadow:14/14/72/100/Cor #000000/ Shadow on new layer, marcadoSelections / Select None
Layers / Arrange / bring to top
Image / Resize / 50%, resize all layers desmarcado.
12
Na paleta das layers, oculte a layer superiore a layer inferior a ela.
Layers / Merge / Merge VisibleNa Paleta das layers torne visivel as duas layers ocutas
13
Ative a layer superiorAbra o tube Stock_xchng_1073069_67083018 tube.
Copie e cole como nova layerImage / resize / 30%. All layers, desmarcado
Effects / Texture Effects / Fur:
Layers / Duplicate
Image / Resize / 80%. All layers, desmarcado
Layers / Duplicate
Image / Resize / 90% , all layers, desmarcado
14
Ative a layer da bola maiorImage / Free Rotate / 20 right
Adjust / Sharpness / Sharpen.Ative a layer superior
Image / Free Rotate / 15 / left
Adjust / Sharpness / Sharpen.
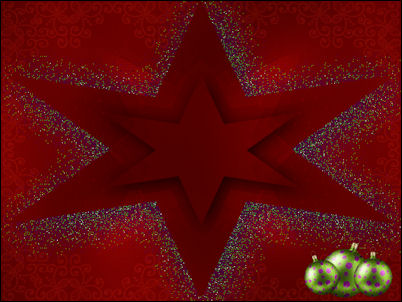
Posicione no canto inferior direito
Ative a layer superior
Layers / Merge / Merge Down (2 vezes).
Adjust /Brightness and Contrast / Brisghtness/Contrast: -19/-9Adjust / Sharpness / Sharpen.
Effects / 3D Effects / Drop Shadow: 4/4/32/14,00/#000000 , desmarque a opção:shadow on new layer
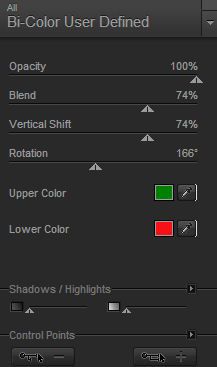
Effects / Plugin / Nik Software / Pro Efex 3.0 Completo / Bi-Color User Defined
15
Abra o tube Tree & Trim CCD.
Copie e cole como nova layer
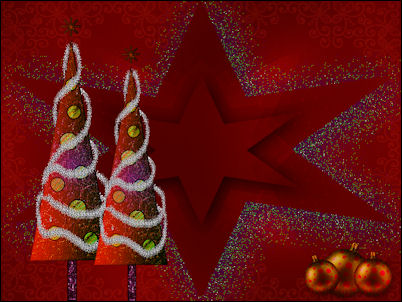
Image / Resize / 65%. All layers , desmarcadoPosicione do lado esquerdo da tag
Adjust /Brightness and Contrast / Brisghtness/Contrast: -22/-9
Adjust / Sharpness / Sharpen.
Layers / Duplicate
Image / Resize / 90%. All layers desmarcado
Posicione os tubes como segue:
Ative a layer superior
Layers / Merge / Merge Down.
Effects / 3D Effects / Drop Shadow:6/6/40/18/cor preta16
Layers / Merge / Merge AllImage / Add Borders symmetric / 2 pixels cor # B30908
Image / Add Borders symmetric / 1 pixel cor # 540000
Image / Add Borders symmetric / 2 pixels cor # B30908
Image / Resize / 75%.
Adjust / Sharpness / Sharpen.17
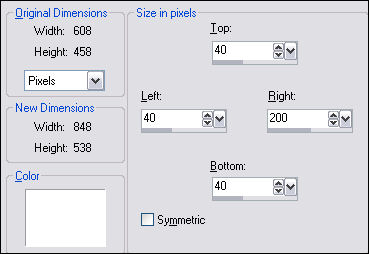
Image / Add borders / cor # FFFFFF :
Ative a Varinha Mágica nas mesmas configurações anteriores e selecione a parte branca.Preencha a seleção com a cor do background.
Mantenha selecionado.
Effects / Plugin / Tramages / Pool shadow:
18
Selections, Promote selection to layerMantenha selecionado.
Blend Mode / MultiplyOpacidade / 68.
Layers / Merge / Merge Down.
Selections, Promote selection to layerEffects / Plugin / Tramages / Wee Scratches: 255
Selections / Select None.
19
Abra o tube do texto Benice.
Copie e cole como nova layerColoque do lado direito, como no exemplo
Effects / 3D Effects / Drop Shadow: 1/1/100 / 0,00/#000000
20
Background e Foreground cor # 570000Ferramenta de Texto
Fonte Calligraph421 BT, com as seguintes configurações:
Escreva - Merry Christmas
Na Paleta das layers, promote Vector to layerEffects / 3D Effects / Drop Shadow:1/1/100/0,00/cor #FF0000
Posicione o texto como no exemplo
21
Layers / Merge / Merge All.
Image / Add Borders / symmetric 1 pixel cor # 8A1214.
Altere suas cores.
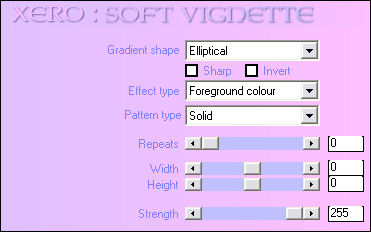
Coloque no Foreground a cor # 570000Effects / Plugin / Xero /Vignette Soft:
Coloque agora seu nome ou marca d'água e salve como JPG.
VOLTAR
©Tutorial Traduzido por Estela Fonseca 18/12/2010.
Obrigada Benice por me permitir traduzir seu trabalho.
