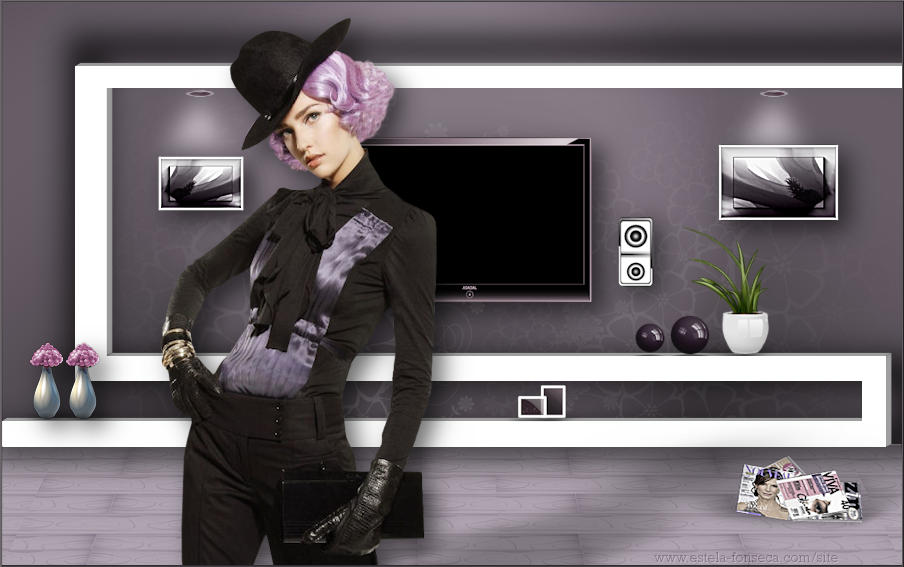
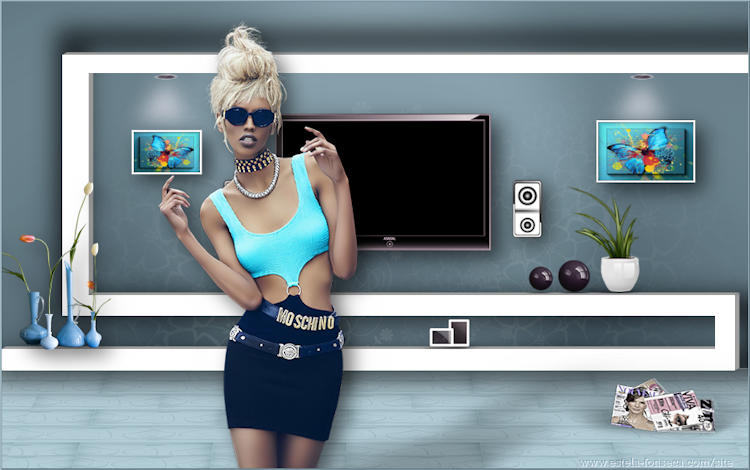
GLOSSY
Tutorial de ©Benice - Original Aqui
Traduzido no PSP 18
Materiais Necessários:
Tube de Liza
Os demais materiais são de Benice
Plugins Utilizados:
AAA Frame / Foto Frame
Alien Skin Alien Skin Eye Candy 5 / Impact
Mehdi / Wavy Lab
MuRa's Meister / Perspective Tiling
Unlimited 2.0
Preparação:
Coloque as Seleções na pasta de seleções do PSP
Coloque a textura na pasta de texturas do PSP
Abra os tubes duplique e feche os originais
Duplo clique nos Presets do Alien Skin Eye Candy 5 / Impact
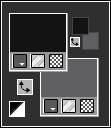
Primeiro Plano cor #141414
Segundo Plano cor #606062
01- Abra uma Nova imagem transparente de 900/563 pixelsEffects /Plugin / Mehdi / Wavy Lab 1.0
Image / Mirror / Mirror Vertical (Image-Flip)
02- Mude a cor do Primeiro Plano para #FFFFFF
03- Layers / New Raster Layer
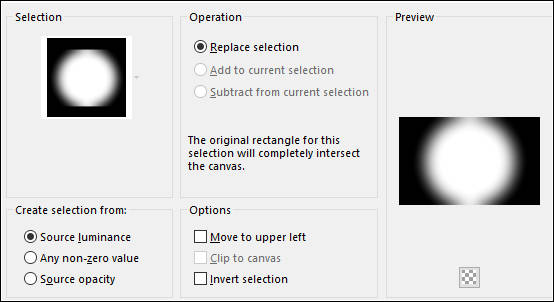
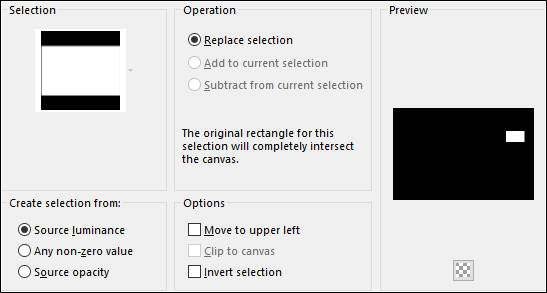
Selections / Load save selection / Load selection from disk: Benice 150.1
Preencha com a cor do Primeiro Plano
Selections / Select None
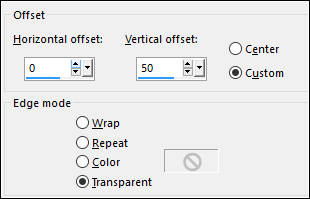
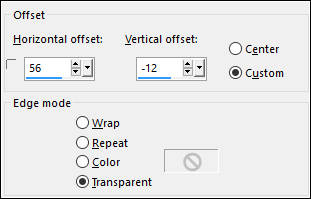
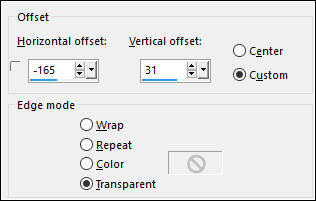
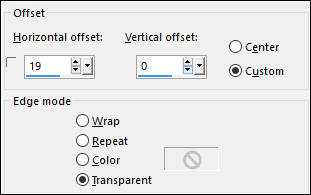
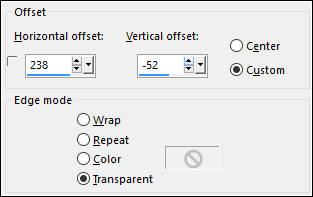
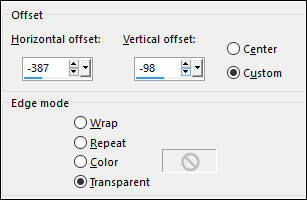
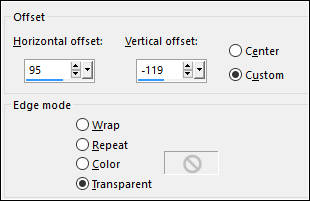
Effects / Image Effects / Offset
Opacidade / 23
Layers / Merge / Merge Down
Adjust / Hue and Saturation / Colorize
04- Abra o tube <<Benice_L150_Flowers>>
Copie e Cole como nova layer
Effects / Image Effects / Offset
Opacidade / 20
05- Na Palette de Cores , Estilos e Texturas
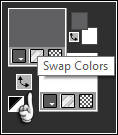
Clique nas pequenas flechas para inverter as cores
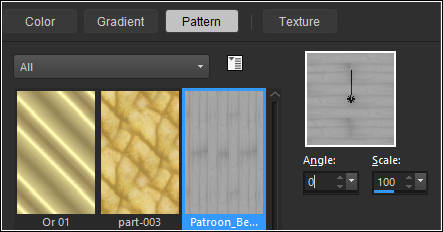
Configure no Primeiro Plano uma Pattern <<Patroon_Benice_L150>>
06- Layers / New Raster Layer
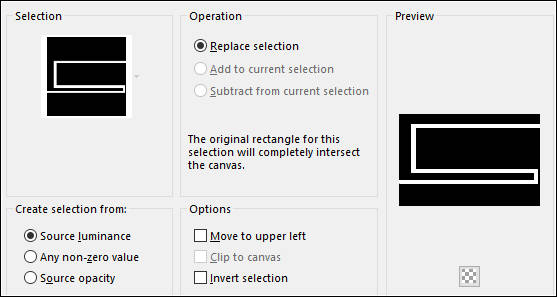
Selections / Load Save Selection / Load Selection from disk: Benice 150.2
Preencha com a Pattern
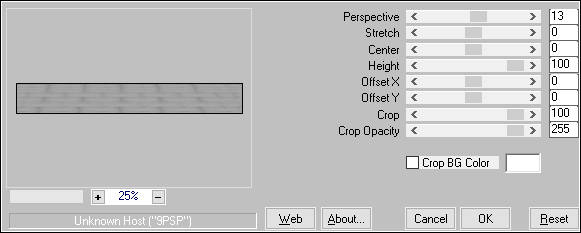
Effects / Plugin / Mura's Meister / Perspective Tiling
Selections / Select None
Adjust / Hue and Saturation / Colorize
Adjust / Sharpness / Sharpen
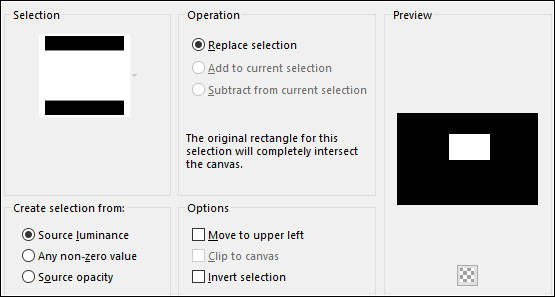
07- Selections / Load Save Selection / Load Selection from disk:Benice 150.3
Selections / Promote Selection to Layer
Adjust / Blur / Gaussian Blur / Radius 18
Selections / Select None
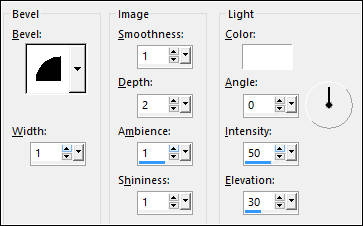
Effects / 3D Effects / Inner Bevel
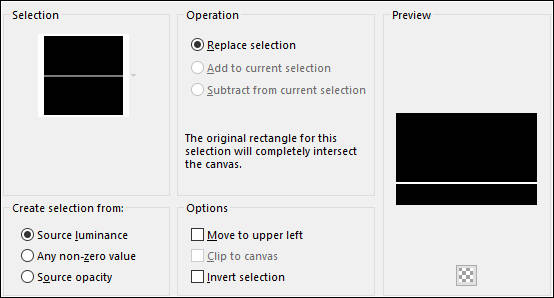
08- Selections / Load Save Selection / Load Selection from disk:Benice 150.4
Edit / Cut
Selections / Select None
Layers / Merge / Merge Down
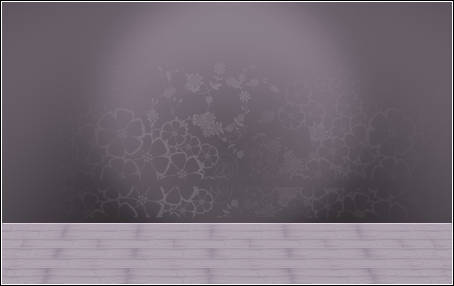
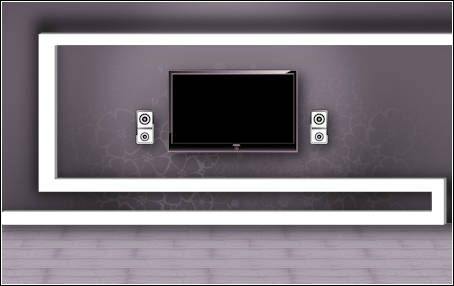
09- Resultado até aqui:
10- Layers / New Raster Layer
Selections / Load Save Selection / Load Selection from disk: Benice 150.5
Preencha com a cor do Segundo Plano
Selections / Select None
Effects / Plugin / Alien Skin Eye Candy 5 / Impact / Extrude / preset Benice_Extrude_L150
Effects / Plugin / Alien Skin Eye Candy 5 / Impact / Perspective shadow/ preset Benice_Shadow_L150
11- Coloque no Primeiro Plano a cor #000000
12- Layers / New Raster Layer
Selections / Load Save Selection / Load Selection from disk:Benice 150.6
Preencha a Seleção com a cor do Primeiro Plano
Mantenha a Seleção
13- Abra o tube <<Benice_L150_Omlijsting>>
Copie e Cole na seleção
Selections / Select None
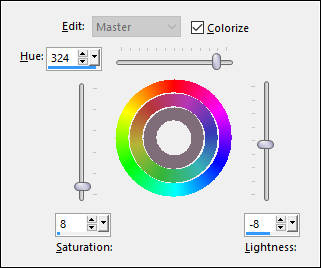
Adjust / Hue and Saturation / Hue/Saturation/Lightness
Effects / Plugin / Alien Skin Eye Candy 5 / Impact / Perspective shadow / preset Benice_Shadow_L150.1
14- Abra o tube << Benice_L150_Box>>
Copie e Cole como nova Layer
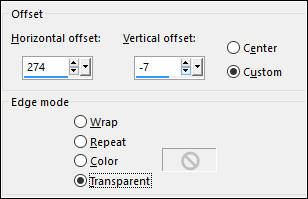
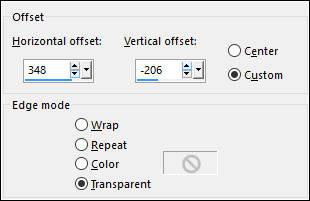
Effects / Image Effects / Offset:
Layers / Duplicate
Image / Mirror / Mirror Horizontal (Image-Mirror)
Effects / Image Effects / Offset:
Layers / Merge / Merge Down
Effects / Plugin / Alien Skin Eye Candy 5 / Impact / Perspective shadow / preset Benice_Shadow_L150.2
15- Resultado até agora:
16- Layers / New Raster Layer
Selections / Load Save Selection / Load Selection from disk: Benice 150.7
Preencha a seleção com a cor do Segundo Plano
Selections / Modify / Contract / 3 pixels
Mantenha a Seleção
17- Abra a Imagem <<Image_L150_Magnolia>>
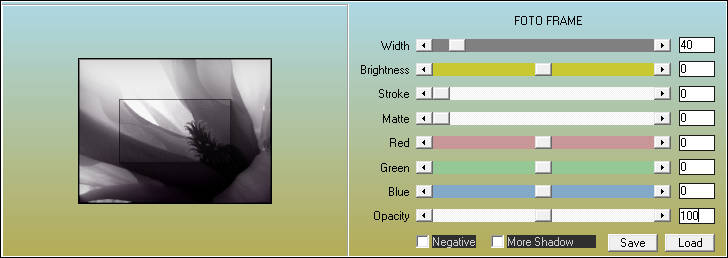
Na Imagem:
Effects /Plugin / AAA Frames / Foto Frame / Default
Copie
Minimize esta Imagem
Retorne ao seu trabalho
Cole na seleção
Selections / Select None
Adjust / Sharpness / Sharpem More
18- Layers / New Raster Layer
Selections / Load Save Selection / Load Selection from disk: Benice 150.8
Preencha a Seleção com a cor do Segundo Plano
Selections / Modify / Contract / 3 pixels
Mantenha a Seleção
19- Maximize a imagem <<Image_L150_Magnolia>>
Image / Mirror / Mirror Horizontal
Copie
Feche essa imagem
Retorne ao seu trabalho
Cole na seleção
Selections / Select None
Adjust / Sharpness / Sharpen
Layers / Merge / Merge Down
Effects / Plugin / Alien Skin Eye Candy 5 / Impact / Perspective Shadow / preset Benice_Shadow_L150.1
20- Abra o tube <<Benice_L150_Vaas>>
Copie e Cole como Nova Layer
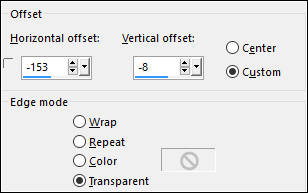
Effects / Image Effects / Offset
Layers / Duplicate
Image / Resize / 75% (Resize all Layers desmarcado)
Adjust / Sharpness / Unsharp Mask
Posicione como segue:
Layers / Merge / Merge DownEffects / Plugin / Alien Skin Eye Candy 5 / Impact /Perspective shadow/ preset Benice_Shadow_L150.3
21- Abra o tube <<Benice_L150_Plant>>
Copie e Cole como nova layer
Effects / Image Effects / Offset
Effects / Plugin / Alien Skin Eye Candy 5 / Impact / Perspective shadow /preset Benice_Shadow_L150.4
Layers / Merge / Merge Down
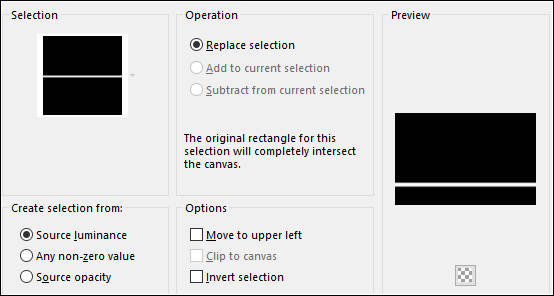
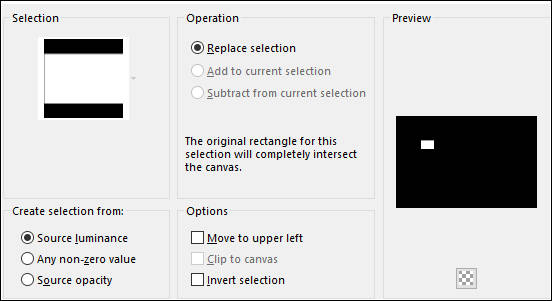
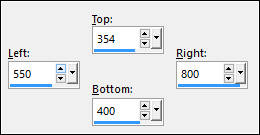
22- Selection Tool (S) / Rectangle / Custom Selection
Edit / Cut (ou delete no teclado)
Selections / Select None
23- Abra o tube <<Benice_L150_Vases_with_flowers>>
Copie e Cole como nova Layer
Effects / Image Effects / Offset
Effects / Plugin / Alien Skin Eye Candy 5 / Impact / Perspective Shadow / preset Benice_Shadow_L150.4
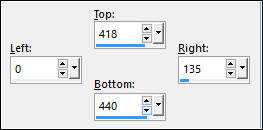
24- Selection Tool (S) / Rectangle / Custom Selection
Edit / Cut ( ou delete no teclado)
Selections / Select None
Effects / Plugin / Alien Skin Eye Candy 5 / Impact / Perspective Shadow / preset Benice_Shadow_L150.1
25- Abra o tube <<Benice_L150_Spotjes>>
Copie e Cole como nova layer
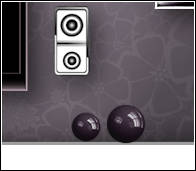
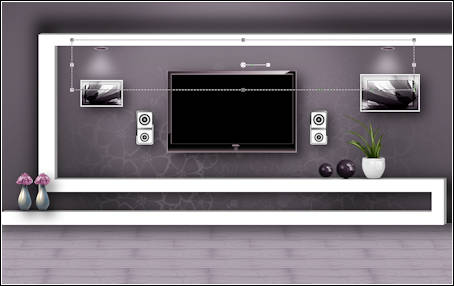
Posicione como segue:
Opacidade / 65
26- Abra o tube <<Benice_L150_Pictureframes>>
Copie e Cole como nova layer
Effects / Image Effects / Offset:
27- Abra o tube <<Benice_L150_Glossy>>
Copie e Cole Como nova layer
Effects / Image Effects / Offset:
Effects / Plugin / Alien Skin Eye Candy 5 / Impact / Perspective Shadow / preset Benice_Shadow_L150.528- Abra o tube << purple hair 24-6-2011>>
Copie e Cole como nova layer
Image / Resize / 75% (resize all layers desmarcado)
Adjust / Sharpness / sharpen
Effects / Image Effects / Offset:
Effects / Plugin / Alien Skin Eye Candy 5 / Impact / Perspective Shadow/ preset Benice_Shadow_L150.1
Effects/ Plugin / Alien Skin Eye Candy 5 / Impact /Perspective Shadow /preset Benice_Shadow_L150.6
29- Layers / Merge / Merge All (Flatten)
Image / Add Borders / Symmetric Marcado / 2 pixels cor #2f2b2f
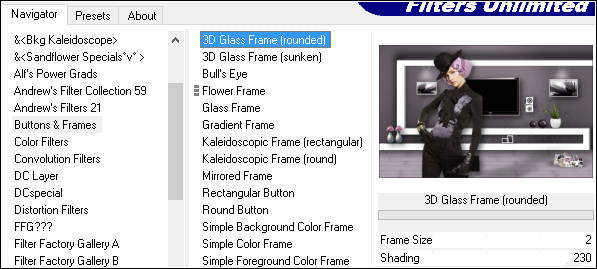
Effects / Plugin / <I.C.NET Software> Filters Unlimited / Buttons & Frames / 3D Glass Frame (rounded)
30- Adicione a sua assinatura
Layers / Merge / Merge All (Flatten)
Salve como JPG.
Outra Versão com tube de Maryse e Guismo:
VOLTAR
©Tutorial Traduzido por Estela Fonseca 29/08/2013.
Obrigada Benice por me permitir traduzir seu trabalho.
