HAPPY VALENTINE'S DAY 2025
Tutorial de ©Belinda_Graphic _Tutoriais PSP - Original Aqui
Traduzido no PSP 2022 ULTIMATE, mas pode ser realizado nas versões anteriores!
Materiais Necessários:
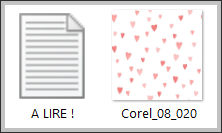
Copie a pattern Corel_08_020 para a pasta de Pattern do PSP.
O tube principal não está no material ele é de Caz.
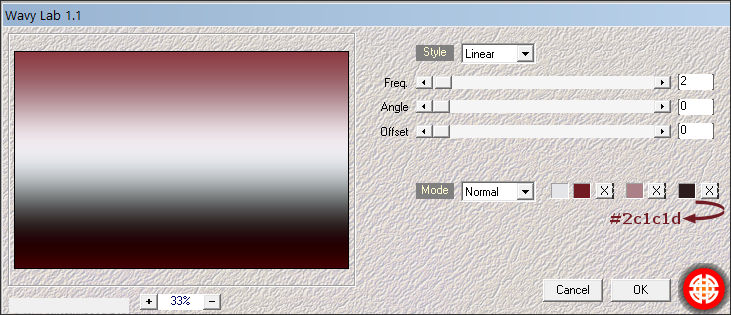
Plugins:Medhi - Wavy Lab 1.1
Italian Editor Effects - Disturbo Zoom
Unplugged Tools - Pyramids
Toadies - What are you ? /Plan mosaic Blur
AAA Frames - Foto Frame
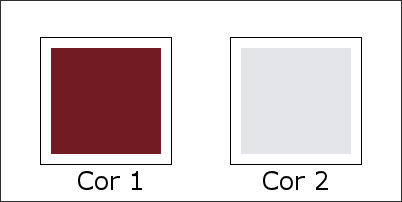
Cores:Cor Nº1 #721b23
Cor Nº2 #fbddc1
1- Abra a layer Alpha Happy-Valentines2025 ou uma nova imagem transparente de 1000*650 pixels.Effets - Plugins - Medhi - Wavy Lab 1.1
Selections - Select All
2- Abra o tube principal.Copie e cole na seleção.
Selections - Select None
Effects - Image Effects - Seamless Tiling - Default
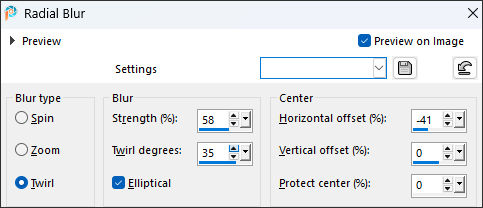
3- Adjust - Blur - Radial Blur:
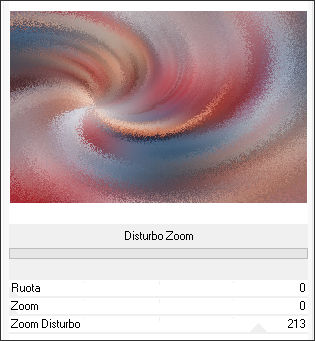
4- Effects - Plugins - Italian Editor Effects - Disturbo Zoom.
Layers - Duplicate
5- Effects - Plugins - Unplugged Tools - Pyramids.
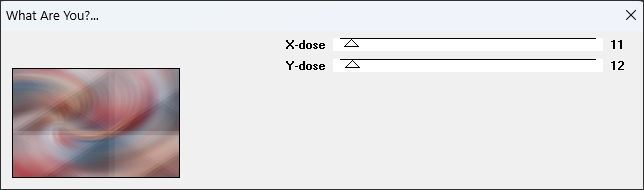
6- Effects - Plugins - Toadies - What are you?
Adjust - Sharpness - Sharpen.
Blend Mode - Hard lightAtive a Layer Raster 1.
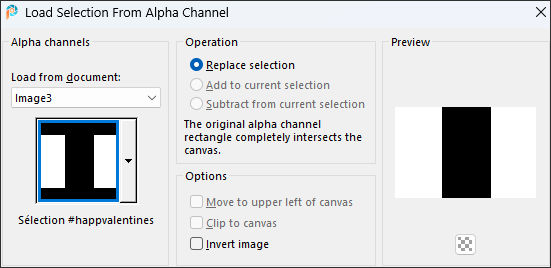
7- Selections - Load/Save selection - Load selection from alpha channel - Selection #Happyvalentines.
Selections - Promote selection to layer.
8- Effects - Plugins - Toadies - Plain Mosaic Blur.
Blend Mode - MultiplySelections - Select None.
9- Ative o tube deco-1-Valentines.Copie e cole como nova layer
Blend Mode - Soft Light
10- Ative o tube deco-2-Valentines.Copie e cole como nova layer.
Não Mova!
Ative a Layer do Topo.
11- Ative o tube deco-3-Valentines.Copie e cole como nova layer.
Objects - Align - Bottom.
Objects - Align - Left.
Opacidade - 73%.
12- Ative o tube deco-4-Valentines.Copie e cole como nova layer.
Posicione como no modelo.
Ative o tube texte-Valentines.
Copie e cole como nova layer
13- Ative o tube principal.Copie e cole como nova layer.
Redimensione o tube se necessário.
Pick (K) Position X ( 24,00) - Position Y (59,00)
Para sair da Pick (Tecla M)
14- Ative o tube deco-5-Valentines.Copie e cole como nova layer.
Pick (K) Position X ( 645,00) - Position Y (266,00)
Para sair da Pick (Tecla M)
15- Image - Add Borders - Symmetric Marcado - 2 pixels cor 1
Image - Add Borders - Symmetric Marcado - 50 pixels cor #ffffff.
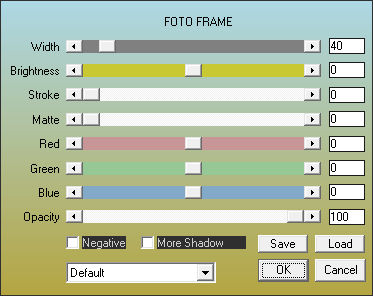
16- Ative a Varinha Mágica - Tolerance e Feather 0 - Selecione esta borda.Effects - Plugins - AAA Frames - Foto Frame.
Mantenha a seleção.
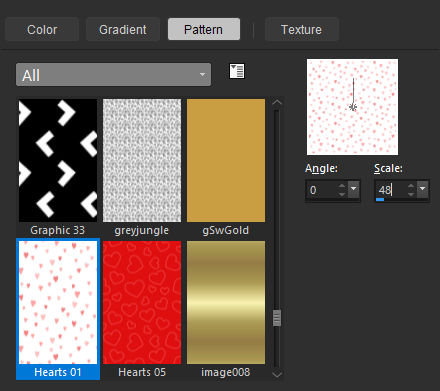
17. Baldinho de Pintura - Opacidade à 50% - Preencha a borda com a pattern.
Selecione a pattern Heart 01.
18. Selections - Select NoneAdicione a sua assinatura
Layers - Merge - Merge All (Flatten)
Image - Resize - 950 pixels de largura - Resize all Layers - Marcada.
Salve como JPG.
Versão 2 com tube de caz.

©Tutorial Traduzido por Estela Fonseca 07/03/2025.
Obrigada Belinda por me permitir traduzir seu trabalho.