COLOURS
Tutorial de ©Astrid Design , original AQUI.
Este tutorial foi traduzido com PSPX8 mas também pode ser feito com outras versões.
Material Necessário:
Tube de Luz Cristina
Plugins Utilizados:
Ulead - Particle.
FM Tile Tools - Blend emboss.
Birgits Chaos - mosaik.
Xero - lineart.
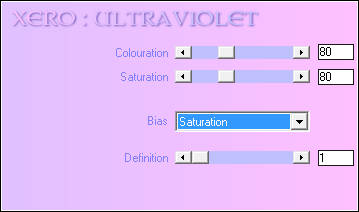
Xero - Ultraviolet.
Flaming Pear - Make cube Tile.
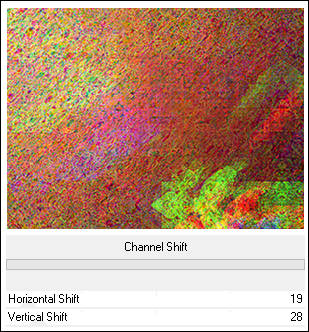
Filters Unlimited 2.0 - Color effects - Channel Shift.
Filters Unlimited 2.0 - Color effects - Intensity to Hue.
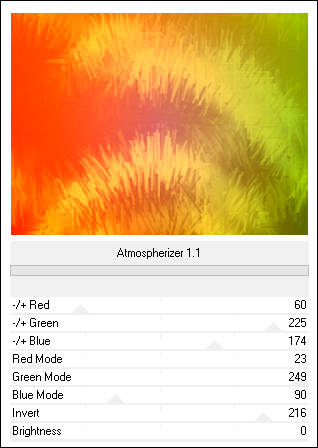
ColorRave - Atmospherizer 1.1.
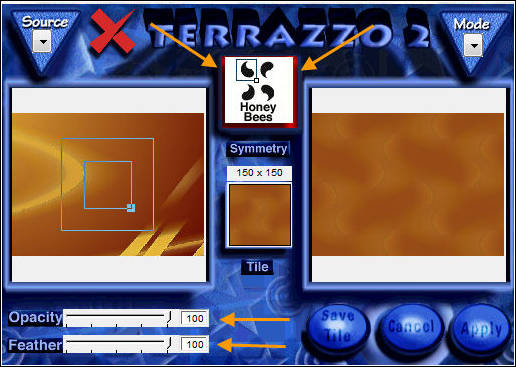
Xaos Tools - Terrazzo 2.
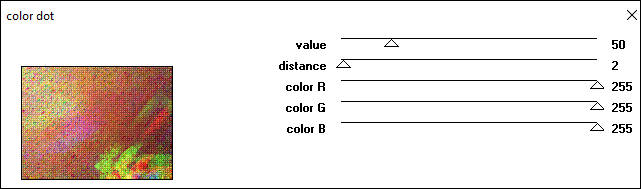
Penta.Com - Color Dott.
Dc Special - BorderFade.
Dc Special - ColorFade.
Dc Special - Persian Rug.
AlienSkin Eye Candy 5 - Impact - Perspective Shadow.
Preparação:
Abra os tube no PSP duplique e feche os originaisColoque as seleções na pasta de seleções do PSP
Se você usar outro tube, experimente outras cores.
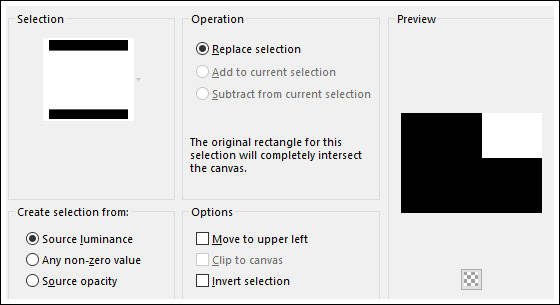
01- Abra uma Nova imagem transparente de 700/500 pixelsSelections / Load save selection / Load selection from disk: Astrid 16
Ative Tube <<Astridbg16>>
Copie e Cole na seleção
Selections / Select None
02- Selections / Load save selection / Load selection from disk: Astrid 16a
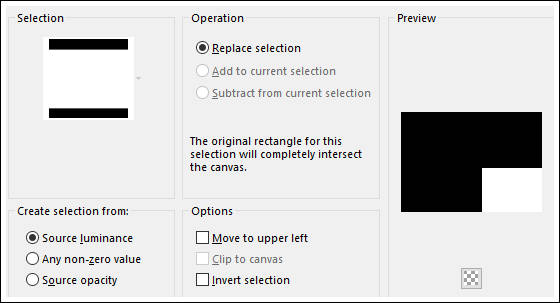
Selections / Primote Selection to Layer
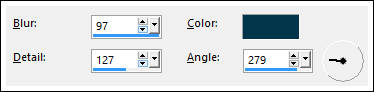
03- Effects / Artistic Effects / Colored Foil.( Use uma cor de seu tube)
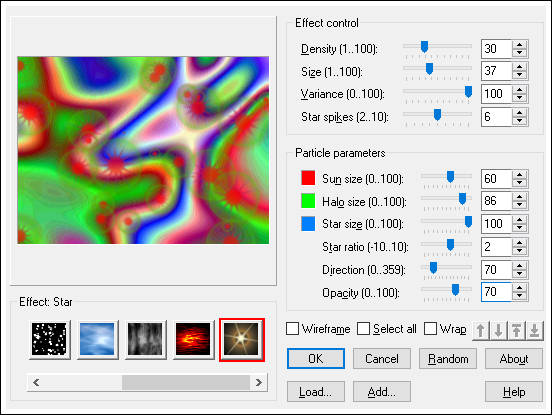
04- Effects / Plugin / Ulead / Particles
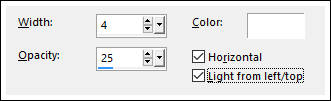
05- Effects / Texture Effects / Blinds
06- Effects / Plugin / FM Tile Tools / Blend Emboss.
Selections / Select None
07- Ative a Layer <<Raster 1>>
Selections / Load save selection / Load selection from disk: Astrid 16b
Selections / Promote Selection to layer
Effects / Plugin / Birgits Caos / Mosaik
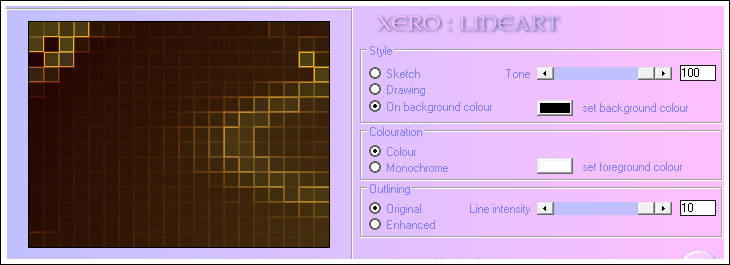
08- Effects / Plugin / Xero / Lineart
Effects / Plugin / Flaming Pear / Make cube Tile
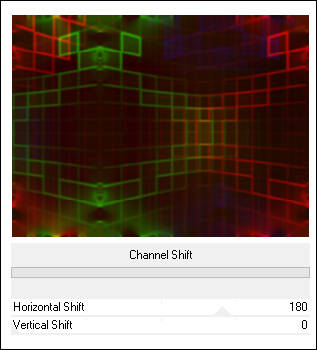
09- Effects / Plugin / Unlimited 2.0 / Color Effects / Channel Shift
Effects / Edge Effects / Enhance
Selections / Select None
10- Ative a Layer <<Raster 1>>
Selections / Load save selection / Load selection from disk: Astrid 16c
Selections / Promote selection to layer
Effects / Texture Effects / Fur
11- Effects / Plugin / Color Rave / Atmospherizer 1.1
Effects / Plugin / FM Tile Tools / Blend Emboss
Selections / Select None
12- Ative a layer <<Raster 1>>
Selections / Load save selection / Load selection from disk: Astrid 16d
Selections / Promote selection to layer
Atenção !!!!!
Antes de continuar o trabalho é melhor que salve este trabalho
porque o próximo plugin pode bloquear e fechar seu PSP.
A tela de filtro é Astrid.
Effects / Plugin / Xaos Tools / Terrazzo 2.
Se o seu PSP não lhe dá problemas na aplicação do plugin continue.
Caso contrário se , como aconteceu comigo, você não pode usar o plugin,
Abra a imagem salva com a seleção ainda ativa.
Alternativamente use uma textura de sua escolha ( Effects / Texture Effects / Texture)
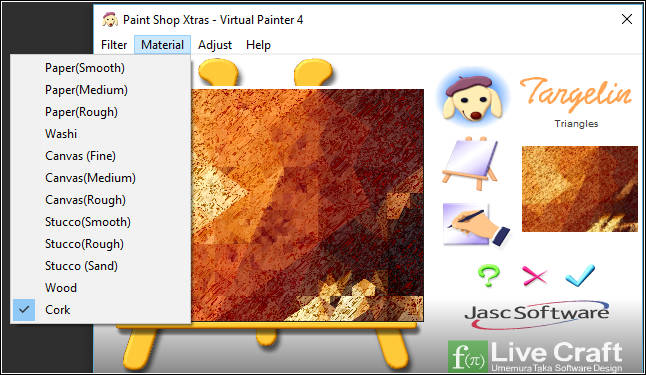
Ou outro Plugin eu usei o Virtual Painter 4
Em Filter escolha Triangles
Effects / Edge Effects / Enhance
13- Effects / Plugin / Unlimited 2.0 / Channel Shift
14- Effects / Plugin / Penta.Com / Color Dot
15- Effects / Plugin / Xero / Ultravioleta.
Selections / Select None
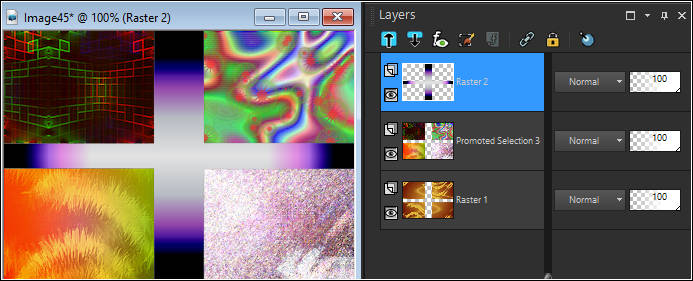
16- Ative a Layer do topo
Layers /Merge / Merge Down ( 3 vezes)
Layers / New Raster Layer
Selections / Load save selection / Load selection from disk: Astrid 16e
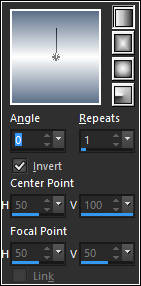
17- Primeiro Plano cor #ffffff e Segundo Plano cor do tubeForme um Gradiente no Primeiro Plano:
Preencha a seleção com o Gradiente
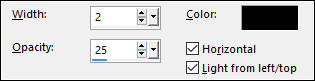
18- Effects / Texture Effects / Blinds
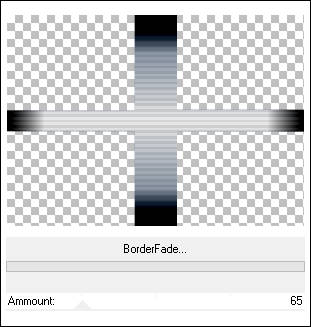
19- Effects / Plugin / DC Special / BorderFade
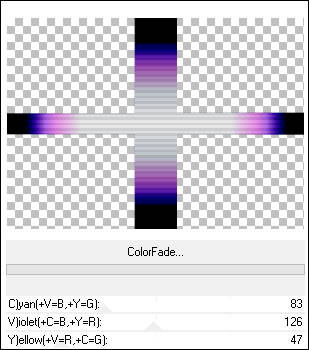
20- Effects / Plugin / DC Special / ColorFade
Selections / Select None
21- Resultado:
Ative a Layer do Meio
Image / Resize / 80%... Resize all layers desmarcado
Effects / 3D Effects / Drop Shadow: 2 / 2 / 100 / 10,00 / #000000
Effects / 3D Effects / Drop Shadow: -2 / -2 / 100 / 10,00 / #000000
22- Ative a Layer <<Raster 1>>
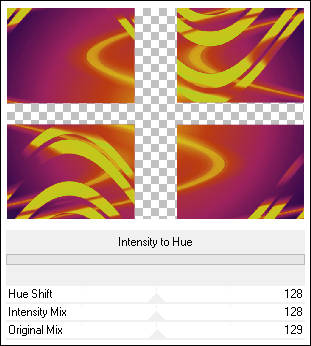
Effects / Plugin / Unlimited 2.0 / Color Effects / Intensity to Hue
Adjust / Blur / Gaussian Blur / Radius 10
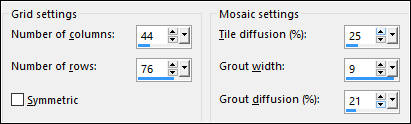
Effects / Texture Effects / Mosaic Antique
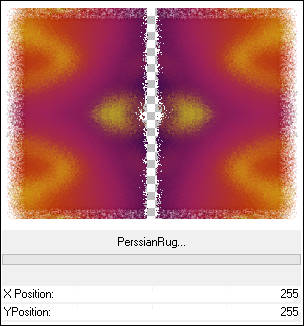
24- Effects / Plugin / Unlimited 2.0 / DC Special / Perssian Rug
25- Ative a layer do topo
Ative o Tube <<2484-luzcristina>>
Copie e cole como nova layer.
Layers / Duplicate
Layers / Merge / Merge down
26- Effects / Plugin / Alien Skin eye Candy 5 / Impact / Perspective Shadow: Drop Shadow Blurry
Repita mais uma vez
27- Ative Tube <<Astrid Colours Design>>
Copie e cole como nova layer.
Effects / Image Effects / Offset: 0 / 15 / Custom / Transpaente marcados
Layers / Arrange / Move Down
28- Image / Add Borders / Symmetric Marcado / 1 pixel cor #000000
Image / Add Borders / Symmetric Marcado / 50 pixels cor #ffffff
Image / Add Borders / Symmetric Marcado / 1 pixel cor #000000
29- Layers / New Raster Layer
Coloque sua marca d'água.
Layers / Merge / Merge all.
Salve como Jpg.
© Tutorial Traduzido por Estela Fonseca em 22/11/2016.
Obrigada, Astrid por me permitir traduzir este trabalho.