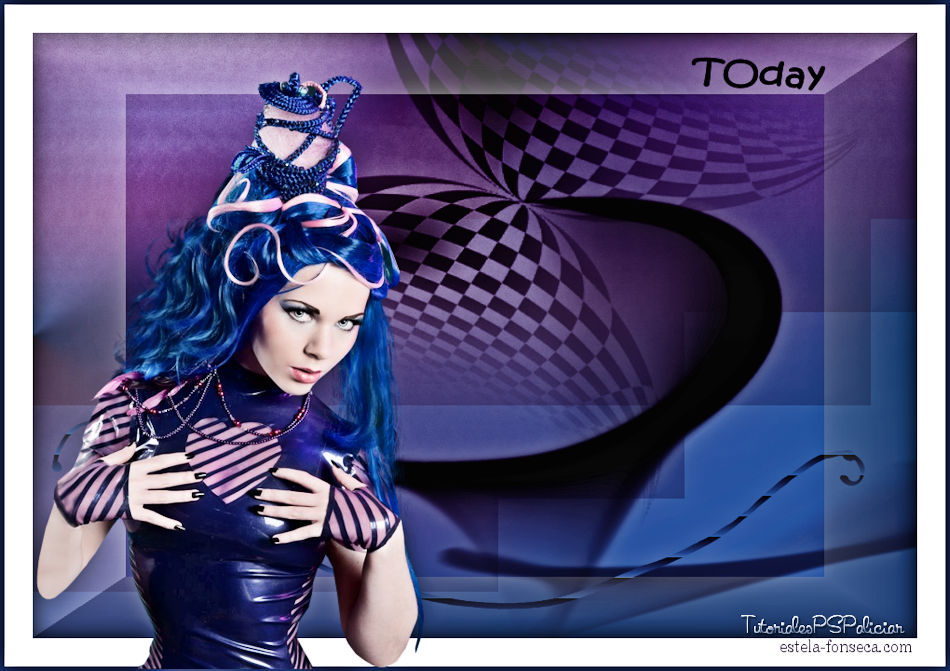
TODAY
Tutorial de ©Alicia.Original Aqui.
Tutorial escrito com PSP X7 e traduzido com o PSP X9.
Materiais Necessários:
Tube Beauty_Anatasija_Ciby_Bijoux ... AQUI.
Seleções: sel_403aliciar.
Preset today_aliciar del Plugin Alien Eye Candy 5: Impact/Motion Trail/ today_aliciar
Preset today_aliciar del Plugin Alien Eye Candy 5: Impact/Perspective Shadow/today_aliciar p shadow
Maskaliciar_024
today word.pspimage
Marca de agua tutorialespspaliciar
Plugins Utilizados:
Alien Eye Candy 5: Impact/Motion Trail e Perspsective ShadowDC Layer/SideMerge**
It@lian Editors Effect/Effetto Fantasma**
Nik Software/Color Efex Pro 3,0 Complete
** Importado para o Unlimited 2.0.
Preparação:Abra o tube no PSP, duplique e feche os originais.Remova a Marca d'água da cópia do tube
Dê dois cliques nos presets do Alien Skin para Instalá-los automaticamente.
Copie as seleções para a pasta de seleções do PSP
1. Abra uma nova imagem transparente de 950/650 Pixels2. Preencha com a cor #00577e.
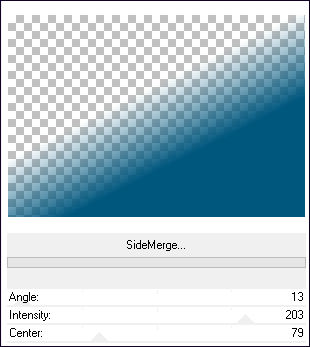
3. Effects / Plugins / <I.C.NET Software> Filters Unlimited 2.0 / DC Layer/ SideMerge
4. Layers / New Raster Layer
Primeiro Plano cor #00577e / Segundo Plano cor #000000
Gradiente <<Linear>> Angle e Repeats 0
Preencha a Layer com o Gradiente
Layers / Arrange / Send to Bottom
5. Ative a Layer << Raster 1>>
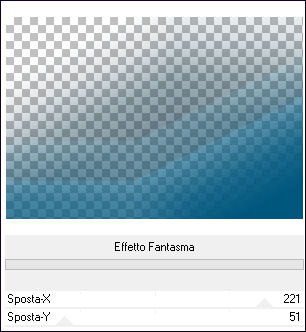
Effects / Plugins / <I.C.NET Software> Filters Unlimited 2,0 / It@lian Editors Effect / Effetto Fantasma.
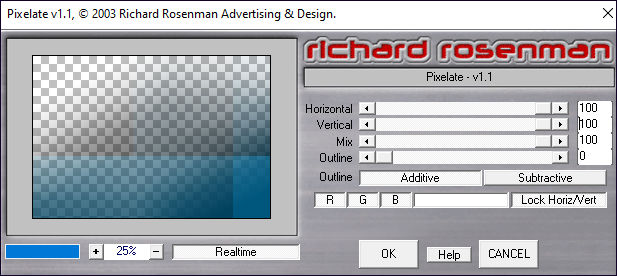
6. Effects / Plugins / Richard Rosenman / Pixelate
7. Layers / Duplicate
Layers/Merge/Merge Down.
8. Layers / New Raster LayerPreencha com a cor do Segundo Plano
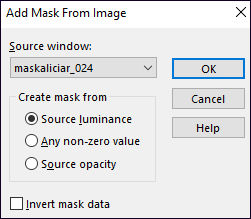
9. Layers/New Mask Layer/From Image/maskaliciar_024
Layers Merge/Merge Group.
10. Layers / Duplicate
Layers/Merge/Merge Down.
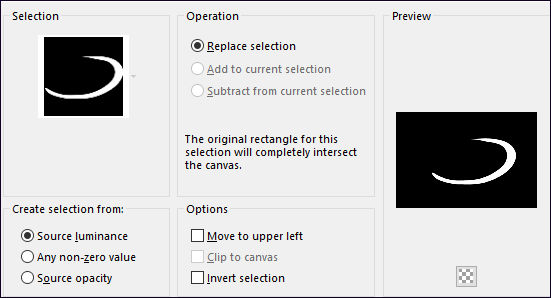
11. Layers / New Raster LayerSelections/Load/Save Selection/Load Selection from Disk/Load sel_403aliciar.
Preencha a seleção com a cor do Segundo Plano
Selections / Select None
12. Effects / Plugins / Alien Eye Candy 5/ Impact/Motion Trail/Preset today_aliciar.
13. Effects / Plugins / Alien Eye Candy 5 / Impact/Perspective Shsdow/Preset today_aliciar p shadow.
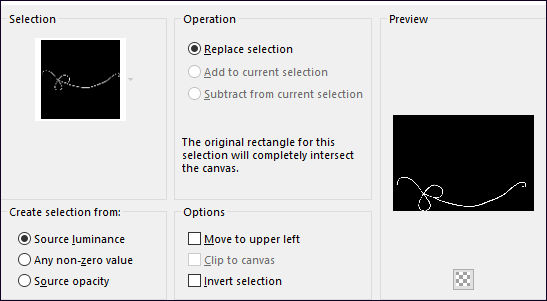
14. Layers / New Raster LayerSelections/Load/Save Selection/Load Selection from Disk/Load sel_404aliciar.
Preencha a seleção com a cor do Segundo Plano
Selections / Select None
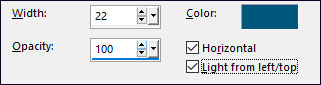
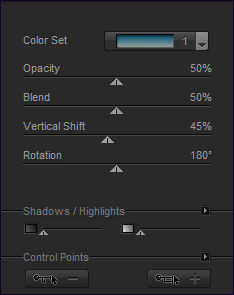
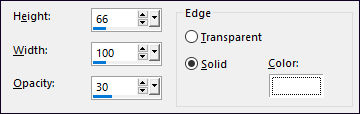
15. Effects/Texture Effects/Blinds / Cor #00577e
16. Ative a layer << Raster 2 >>
Ferramenta Lighten/Darken alternando os botões direitos e esquerdos do Mouse à gosto.
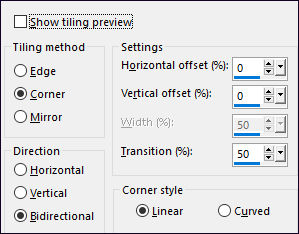
17. Effects/Image Effects/Seamless Tiling por defecto.
18. Layers/Merge/Merge Visible.
19. Effects / Plugins / Nik Software / Color Efex Pro 3,0 Complete/ Bi-Color Filters/Cool/Warm 1
20. Effects/3D Effects/Buttonize.
21. Image/Add Borders/30 Pixels/Symmetric Marcado / Cor #ffffff.
22. Image/Add Borders/5 Pixels/Symmetric Marcado / Cor #113443.
23. Abra o tube <<Beauty_Anatasija_Ciby_Bijoux >> Copie e Cole como nova layerImage / Mirror / Mirror Horizontal
24. Posicione sobre a borda azul.
25. Abra a wordart <<Todat>> Copie e Cole como nova layer, Posicione26. Coloque a marca d'água <<tutorialespspaliciar>>
Assine seu trabalho
Layers / Merge / Merge All
Exporte como jpeg.
Versão com tube de Gerry:
©Tutorial de Alicia, traduzido por Estela Fonseca em 24/07/2020.
Não alterar nem repassar sem autorização.