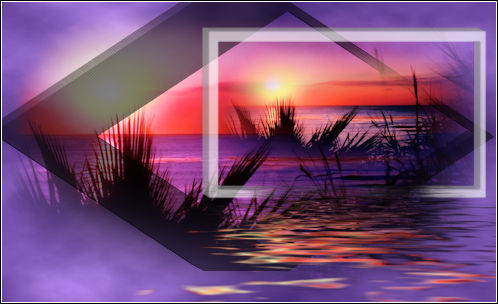
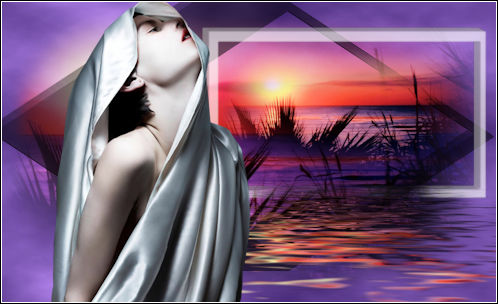
FANTASIA 4
Tutorial de ©Aliciar. original, AQUI.
Obrigada Alicia , por sua autorização.
Este tutorial foi traduzidono PSP X9 , mas pode ser feito em outras versões do PSP.
Materiais Necessários:
Tubes de Guismo
Mask de Denise Worisch
Demais materiais de Alicia
Plugins Utilizados:
Unlimited 2 / Render
Alien Skin Eye Candy 5 / Impact
Flaming Pear / Flood
Preparação:Abra os tubes no PSP, duplique e feche os originais.
Abra a Mask <<gradientedworisch>> e Minimize
1) Abra uma Nova Imagem trasparente de 988 / 600 pixels
2) Preencha com a cor #624981
Layers / Duplicate3) Primeiro Plano cor #624981 / Segundo Plano cor #ffffff
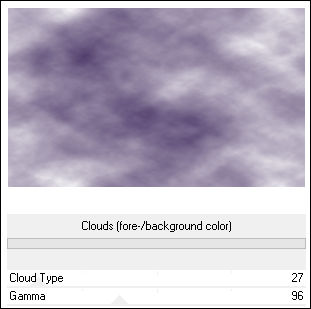
4) Effects / Plugin / <I.C.NET Software> Filters Unlimited 2 / Render / Clouds (fore-/background color)
Blend Mode / Overlay
5) Layers / New Raster Layer
Selections / Select All
Abra o tube <<calguismistedsun5810>> Copie e Cole na Seleção
Selections / Select None
Blend Mode / Hard Light (ou outro dependendo de suas cores)
6) Layers / New Raster Layer
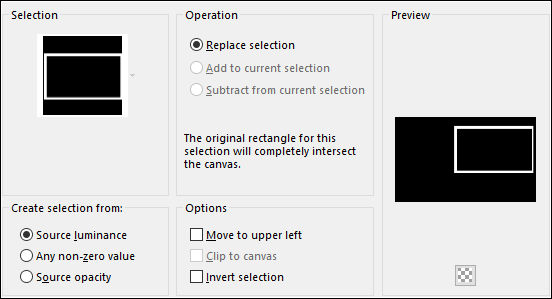
Selections / Load Save Selection / Load Selection From Disk: sel234_aliciar
Preencha a Seleção com a cor #808080
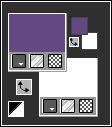
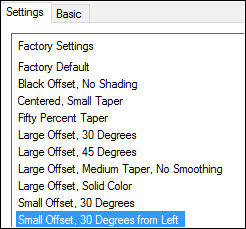
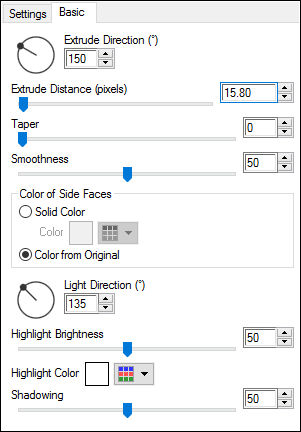
Selections / Select None7) Effects / Plugin / Alien Skin Eye Candy 5/ Impact / Extrude
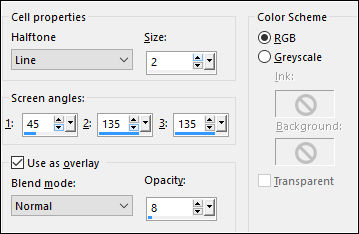
8) Effects / Artistic Effects / Halftone
Blend Mode / Multiply
9) Layers / New Raster Layer
Selections / Load Save Selection / Load Selection From Disk: sel235_aliciar
Preencha a Seleção com a cor branca (#ffffff)
Selections / Select None
10) Effects / Plugin / Alien Skin Eye Candy 5 /Impact / Extrude ( como antes)
Effects / Artistic Effects / Halftone:
Opacidade / 65%
11) Ative a Varinha Mágica e Selecione o centro do RetânguloLayers / New Raster Layer
12) Abra o tube <<calguismistedsun5810>> Copie e Cole na seleção
Selections / Select None
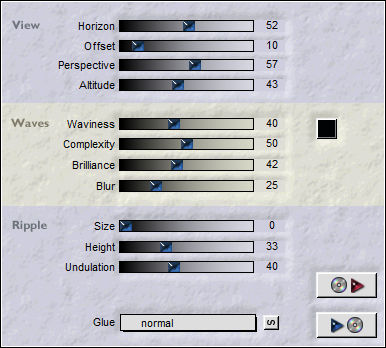
13) Effects / Plugin / Flaming Pear / Flood
14) Adjust / Brightness and Contrast / Brightness / Contrast: 25 /50
15) Ative a <<Borracha>>
Ative a Layer <<Raster 4>>
Apague a Borda inferior central do retângulo
16) Ative a Layer do topo
Abra o tube <<calguisportrait23012012>> Copie e Cole Como Nova Layer
Image / Resize / 70%... Resize All Layers ... Desmarcado
Posicione
Opacidade / 70%
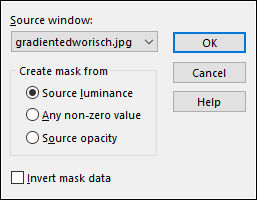
17) Layers / New Raster LayerLayers / New Mask Layer / From Image: gradientedworisch
Layers / Merge / Merge Group
18) Layers / New Raster Layer
Layers / Arrange / Send to Bottom
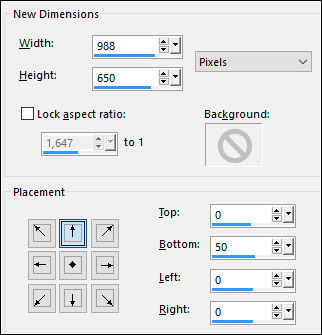
19) Image / Canvas Size:
Preencha a Layer com a cor #624981
20) Assine seu trabalho
Coloque a Marca d'água de Aliciar
Layers / Merge / Merge All (Flatten)Salve como JPG.
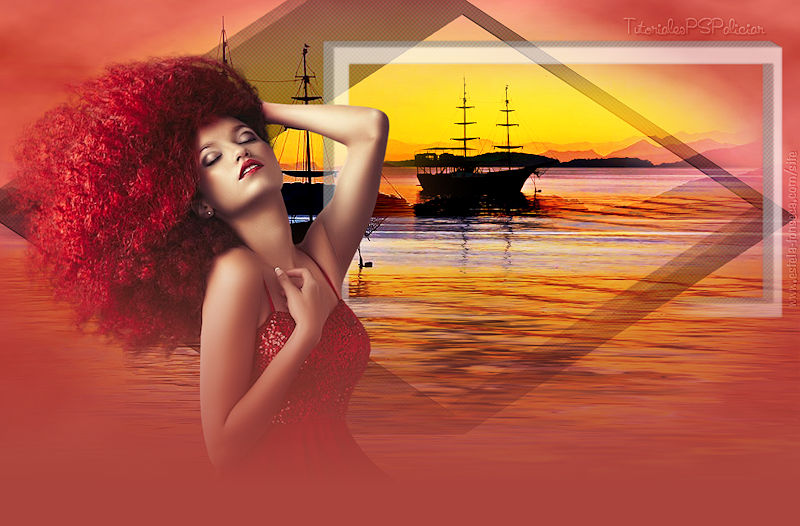
Versão com tube de Maryse e de Luna:
© Tutorial Traduzido por Estela Fonseca em 05/08/2017.
Obrigada, Alicia por me permitir traduzir este trabalho.