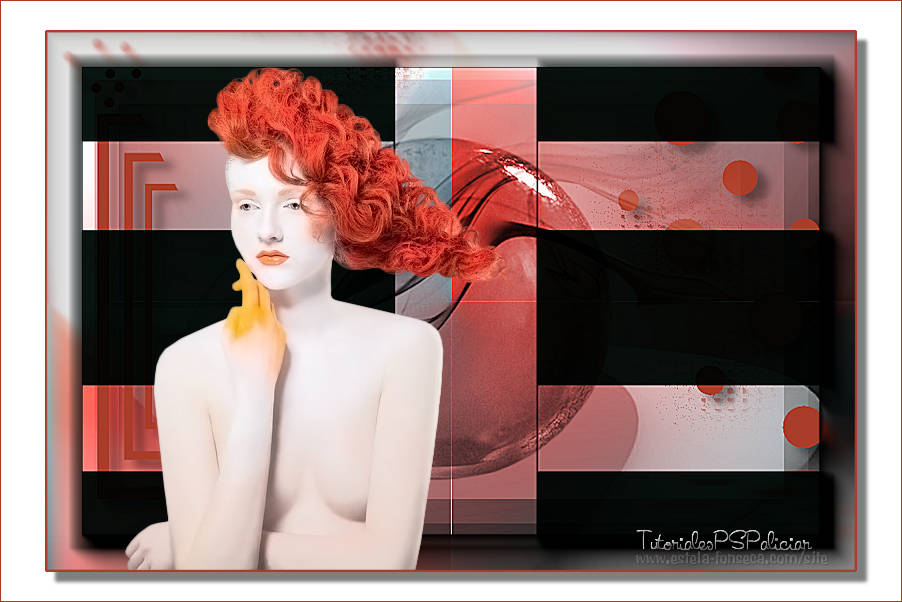
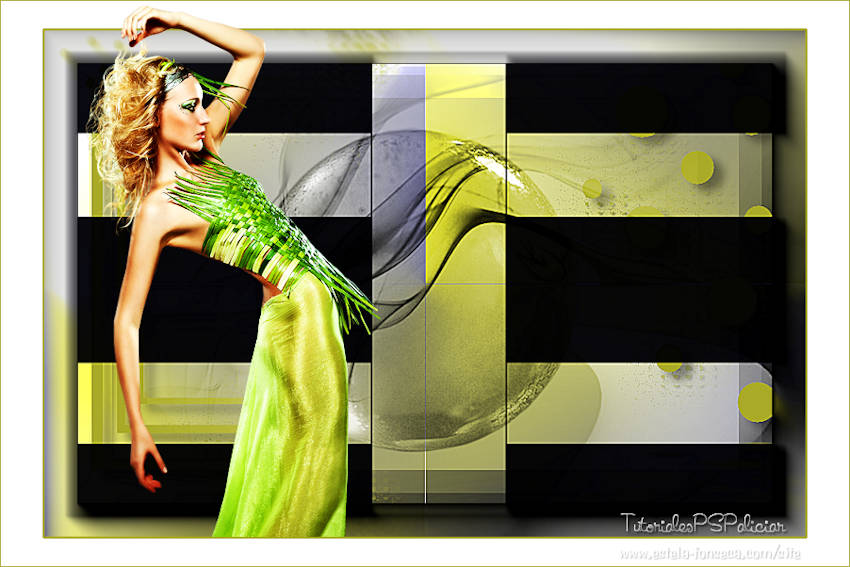
BEAUTY
Tutorial de ©Alicia Rodrigo - Original Aqui
Traduzido no PSP X8, mas pode ser feito com outras versões:
Materiais Necessários:
Tube <<Beauty_reverie_rousseur_CibiBijoux>>
Mary 0412-30
template_aliciar
Narah_mask_0715
Mask 20-20
Marca d'água de Alicia
Plugins Utilizados:Mock
Alien Skin Eye Candy 5: Impact
AAA Frames
Preparação:
Copie as seleções para a pasta de seleções do PSP.
Abra os tubes no PSP, duplique e feche os originais.
Abra a Mask no PSP e minimize.
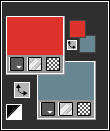
1) Primeiro Plano cor #dc352c, Segundo Plano cor #698792
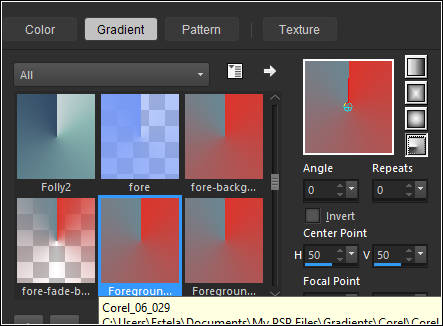
Gradiente estilo <<Radial>>
2) Abra uma nova imagem transparente de 900/600 pixels
Preencha com o Gradiente
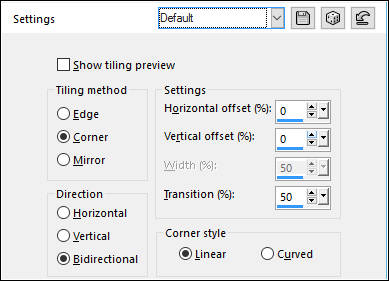
3)Effects / Image Effects / Seamless Tiling / Default
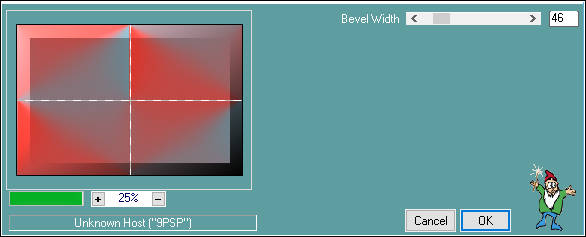
4) Effects / Plugin / Mock / Bevel
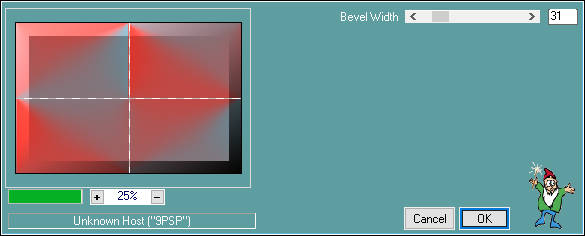
5) Effects / Plugin / Mock / Bevel
6) Layers / New Raster Layer
Layers / Arrange / Send to Bottom
Preencha com a cor branca (#ffffff)
7) Ative a Layer do topo
Layers / New Raster Layer
Preencha com a cor branca (#ffffff)
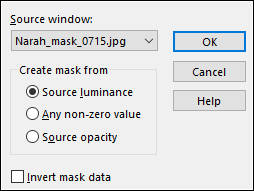
8) Layers / New Mask Layer / From Image: Narah_mask_0715
Layers / Merge / Merge Group
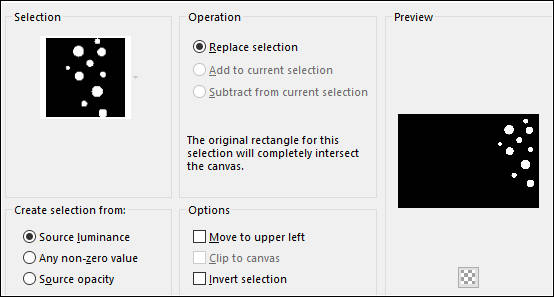
9) Selections / Load save selection / Load Selection from disk: sel3937_aliciar
Layers / New Raster LayerPreencha com a cor #aa3d29
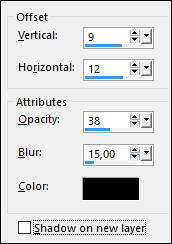
Selections / Select None10) Effects / 3D Effects / Drop Shadow: Cor #000000
11) Layers / Duplicate
Ative a Layer <<Raster 3>>
12) Effects / Texture Effects / Mosaic Glass
13) Effects / Image Effects / Seamless Tiling / Default
14) Ative a Layer do topo
Effects / Plugin / Alien Skin Eye Candy 5 / Impact / Perspective Shadow / Reflect in front, Short
15) Selections / Load save selection / Load Selection from disk:sel3938_aliciar
Layers / New Raster Layer
Preencha com a cor #aa3d29
Selections / Select None
16) Effects / 3D Effects / Drop Shadow: Cor #000000
17) Selections / Load save selection / Load Selection from disk: sel3939_aliciar
Layers / New Raster Layer
Preencha com a cor #aa3d29
Selections / Select None18) Effects / 3D Effects / Drop Shadow: Cor #000000
19) Abra o tube <<Mary 0412-30>>
Copie e Cole como nova layer
20) Layers / New Mask Layer / From Image: 20-20
Layers / Merge / Merge Group
21) Image / Resize / 90%...Resize all layers desmarcado
Blend Mode / Luminance
22) Abra o <<template _aliciar>> Ative a Layer <<Raster 1>>
Copie e Cole como nova layer
Blend Mode / Multiply
23) Layers / Merge / Merge Visible
Adjust / Sharpness / Sharpen More
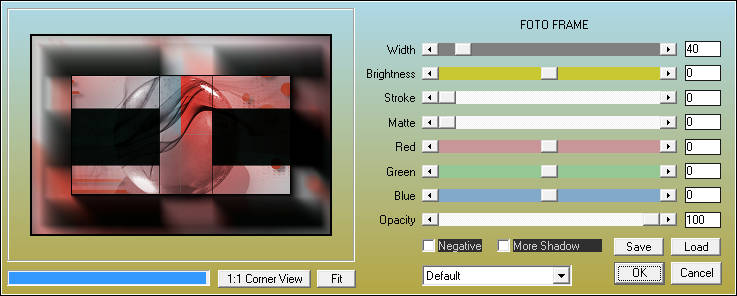
24) Effects / Plugin / AAA Frames / Foto Frame / default
25) Layers / New Raster Layer
Layers / Arrange / Send to Bottom
Preencha com a cor branca (#FFFFFF)
26) Ative a Layer do topo (Merged)
Selections / Select All
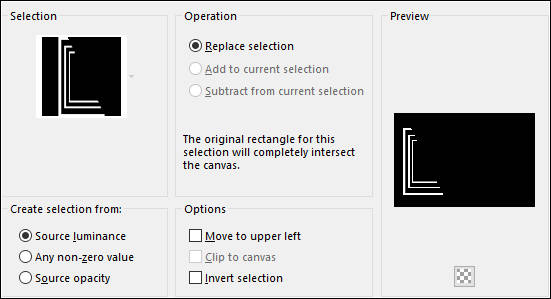
Selections / Modify / Select Selection Borders:
Preencha com a cor #aa3d29Selections / Select None
27) Image / Resize / 90%... Resize all layers desmarcado
28) Effects / 3D Effects / Drop Shadow: Cor #000000
29) Abra o tube <<Beauty_reverie_rousseur_CibiBijoux>>
Copie e Cole como nova layer
Posicione
30) Coloque a Marca d'água de Aliciar
Coloque a sua assinatura
Layers / Merge / Merge All
Salve como JPG.
Versão com tube de anna.br:
©Tutorial Traduzido por Estela Fonseca 08/05/2017.
Obrigada Alicia por me permitir traduzir seu trabalho.