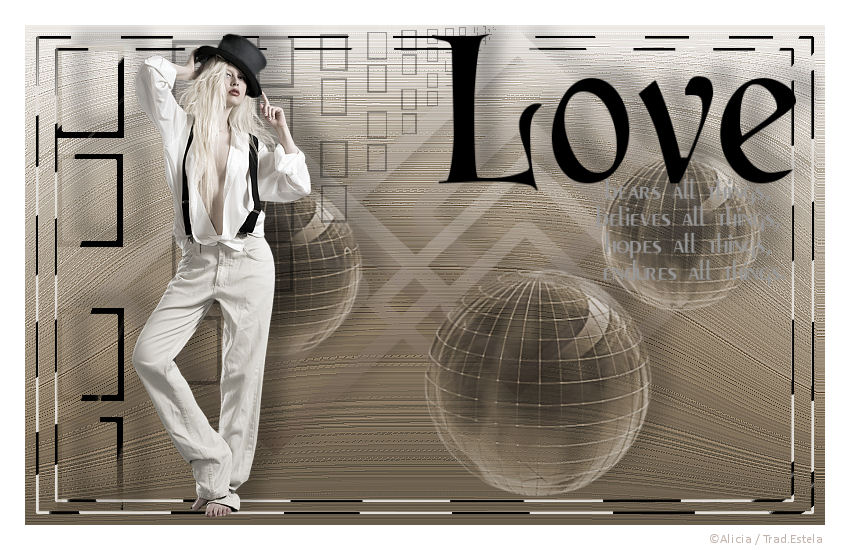
KILLING ME SOFTLY
Tutorial de ©Alicar Design. Obrigada Alicia pela sua amável autorização.
Materiais Necessários:
Pascale_110609_Photos_Model_Fashion
https://tech.groups.yahoo.com/group/CreativeTemptationTubes/
SKF_Balls108.08
Word Art QB_LoveWordArt4
Imagen.pspkilling me softly (Contém Seleções para carregar no canal Alpha)
Marca d'água da Alicia
Plugins Utilizados: Aqui
Virtual Painter/Virtual Painter 4
Abra os tubes, duplique e feche os originais.Coloque as seleções na pasta de seleção de My PSP Files
1 - Abra a imagem << killing me softly>>Preencha com o Gradiente Linear Angle e Repeats 0 / Formado das cores #87847c e #e4e1dc
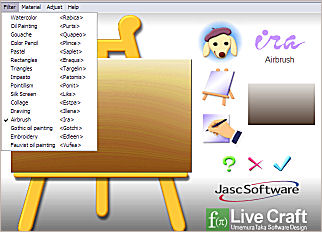
2 - Effects / Plugin / Virtual Painter / Virtual Painter 4: Filtro: Airbrush
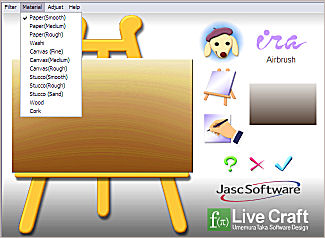
Em Material : Paper(Smooth)
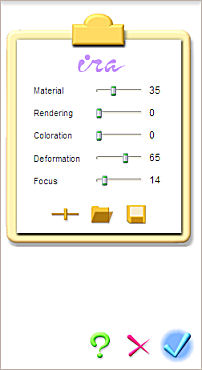
Clique em Adjust
E por fim aplique.
3 - Adjust / Hue and Saturation / Colorize: 25/40Effects / Edge Effects/ Enhance More
4 - Layers / New raster layer
Selections / Load Save Selection/ Load Selection From Alpha ChannelCarregue a seleção: "selection#1"
5- Preencha com o GradienteSelections / Select none.
Mude o blend da layer para luminance legacy
Baixe a opacidade para 50%
6- Layers / New raster layer
Selections / Load Save Selection/ Load Selection From Alpha Channel
Carregue a seleção: "selection#2"
Pinte com o mesmo GradienteSelections / Select none
Opacidade da layer 42%
7 - Abra o tube "SKF_Balls108.08 .pspimage"
Copie e cole como nova layerImage resize 90%, all layers desmarcado.
Opacidade 58%
8 - Adjust / Hue and Saturation / Colorize: 25/40
Posicione conforme o modelo.
9 -Abra o tube "Word Art QB_LoveWordArt4 .pspimage"
Copie e cole como nova layerImage resize 90%, all layers, desmarcado.
Posicione como o modelo.
10 - Layers, new raster layer
Selections / Load Save Selection/ Load Selection From Alpha Channel
Carregue a seleção: "selection#3"
Preencha com a cor #e4e1dc
Selections / Select noneMude o blend da layer para multiply
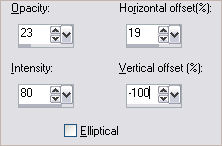
11 - Effects / Reflections / Feedback:
12 - Abra o tube " Pascale_110609_Photos_Model_Fashion .pspimage"
Copie e cole como nova layerImage / Resize 58% , all layers, desmarcado
Posicione conforme o modelo.
13 -Aplique a sombra: -10/22/30/25/#000000
Aplique a sombra nas layers: 2/3/4/5/e 6.
14-Ative a layer 1
Selections / Select all
Select / Modify / Contract 12 pixels
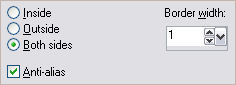
Selections / Select Borders:
15- Nova layers / Preencha com a cor #e4e1dc
Selections / Select none
16 - Ative a Ferramenta Scratch Remover Tool / Widht 178
Passe sobre a borda esquerda
17 - Layers / duplicate.
Image / Resize 95% / All layers, desmarcado.18 - Passe o Stratch Remover sobre a layer da sélection#3
19 - Image/Add borders : 25 pixels cor #ffffff
20 - Coloque a sua assinatura
21 - Layers, Merge All
22 - Export em JPEG Optmizer.
©Tutorial de Alicia, traduzido por Estela Fonseca em 30/10/2009.
Não alterar nem repassar sem autorização.