 |
TOP RAGSFALL
Agradeço as maravilhosas tradutoras: Clo e Pinuccia.
Os tubes utilizados são de Nena Silva (Floral) e Lily (Personagem) Seleção do Tutorial (Copie para a pasta de seleções do PSP)
** Agradeço por me permitir usar suas lindas criações (Mask e Tubes e afins) Não altere o nome nem remova a marca d'água. Não compartilhe em grupos ou ofereça-os em seus sites, blogs etc ... Seu uso nos tutoriais está sujeito a autorização dos autores. ** Plugins Utilizados: Simple / Diamonds Graphic Pluss / Vertical Mirror , Quick Tile I e Graphic Pluss Redfield / Latice Composer 102 Mura's Meister / Perspective Tiling
Abra o tube no PSP, duplique e feche o original.
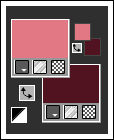
1- Primeiro Plano cor #e27883 / Segundo Plano cor #501520
Gradiente Radial Angle 90 / Repeats 0 / Horizontal e Vertical 15.
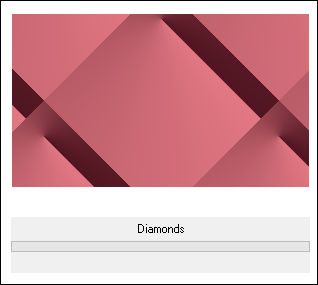
2-Abra uma nova imagem transparente de 1024 / 600 Pixels Preencha com o gradiente. 3- Effects / Plugins / Simple / Diamonds
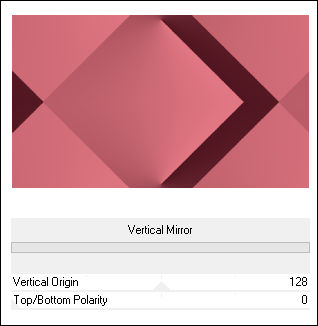
4- Effects / Plugins / Graphics Plus / Vertical Mirror
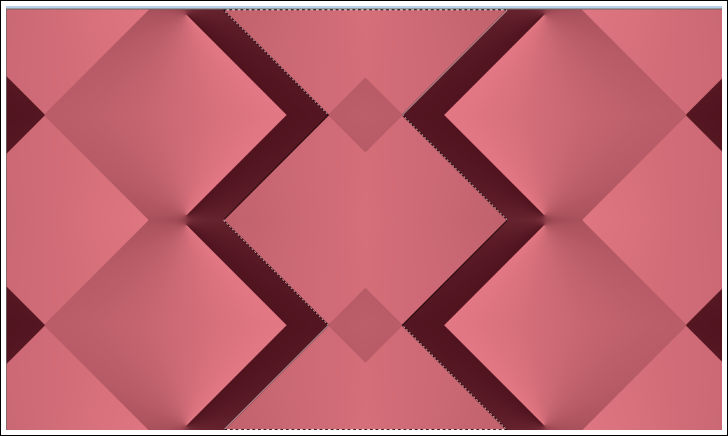
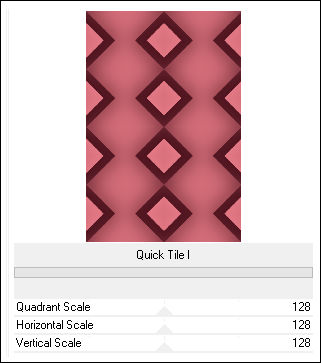
5- Effects / Plugins / Graphic Pluss / Quick Tile I
6- Ative a Verinha Mágica e Configure como segue:
Clique nos triângulos para selecionar como segue:
Adjust / Blur / Gaussian Blur / Radius 50 Mantenha a Seleção! 6- Effects / Plugins / Graphics Plus / Quick Tile l / Default
Selections / Select None 7- Selections / Load save selection / Load selection from disk: Ragsfall
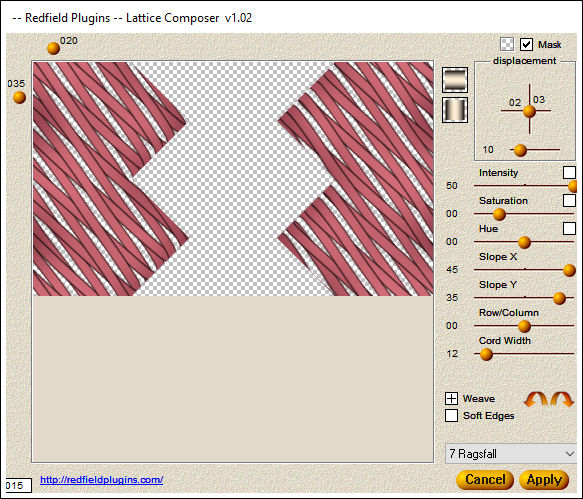
Adjust / Blur / Gaussian Blur / Radius 50 Selections / Promote selection to layer Effects / Plugins / Redfield / Latice Composer 102 / 2 vezes
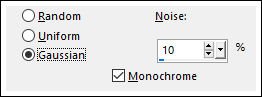
8- Effects / Plugins / Graphics Plus / Cross Shadow / Default 9- Ative a Layer do Fundo (Raster1) Adjust / Add Remove Noise / Add Noise
10- Effects / 3D Effects / Drop Shadow:0 / 0 / 60 / 30,00 / #000000 Selections / Select None Ative a Layer do Topo Blend Mode / Diference (ou outro) 11- Layers/ Merge / Merge All. Layers / Duplicate Effects / Plugins / Mura's Meister / Perspective Tiling
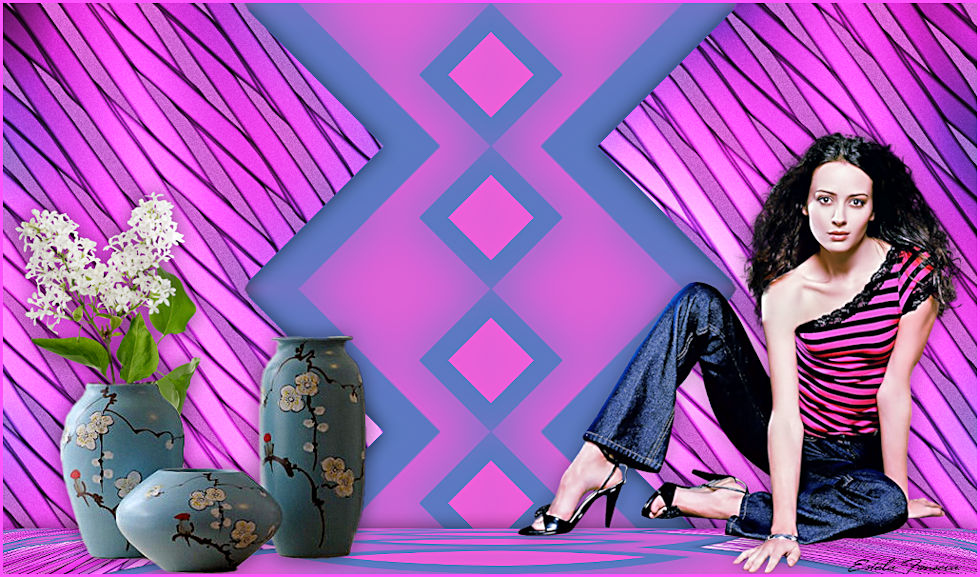
Effects / Distortion Effects / Punch / 100 ( 2 vezes) Efffects / 3D Effects / Drop Shadow: 0 / 0 / 50 / 30 / #000000 12- Abra o tube << Femme 616 by Lily >> copie e Cole como nova layer Image / Resize / 70% (Resize all layers desmarcado) Posicione Efffects / 3D Effects / Drop Shadow: 0 / 0 / 50 / 30 / #000000 13- Ative o tube <<vvs-Floral-0454 >> Copie e Cole como nova Layer Image / Resize / 70% (Resize all layers desmarcado) Posicione Efffects / 3D Effects / Drop Shadow: 0 / 0 / 50 / 30 / #000000 14- Layers / New Raster Layer Preencha com a cor do Primeiro Plano Selections / Select All Selections / Modify / Contract 3 Pixels Delete no Teclado Selections / Select None 15-Assine e Salve como JPG.
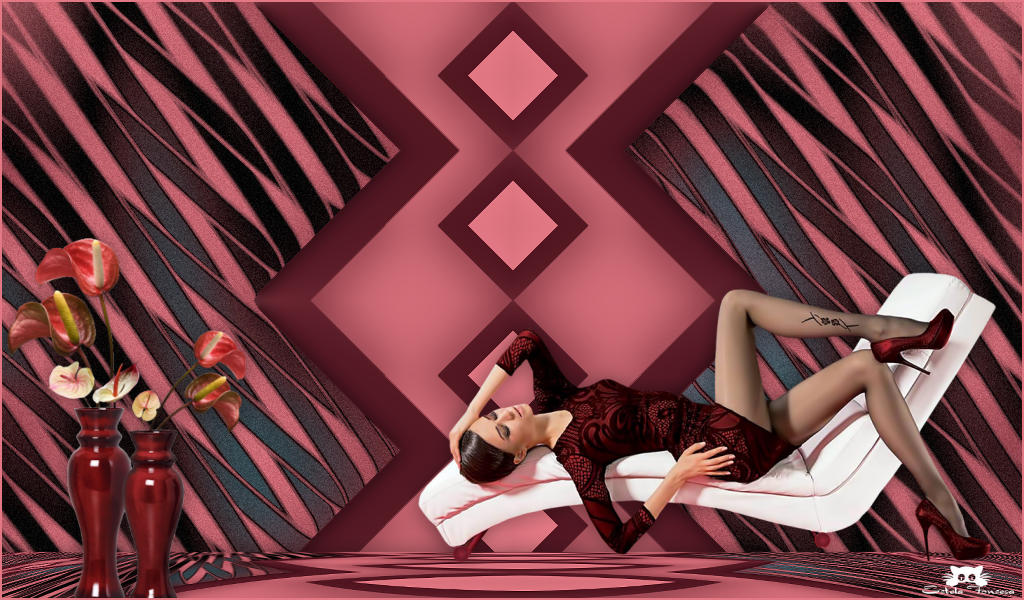
Versão 2: Tube de Azalée (Personagem ) E de Nena Silva (Vasos):
Testado por Vera Mendes:
Versão de Clo:
Versão de Pinuccia:
Angela das Graças:
Lili:
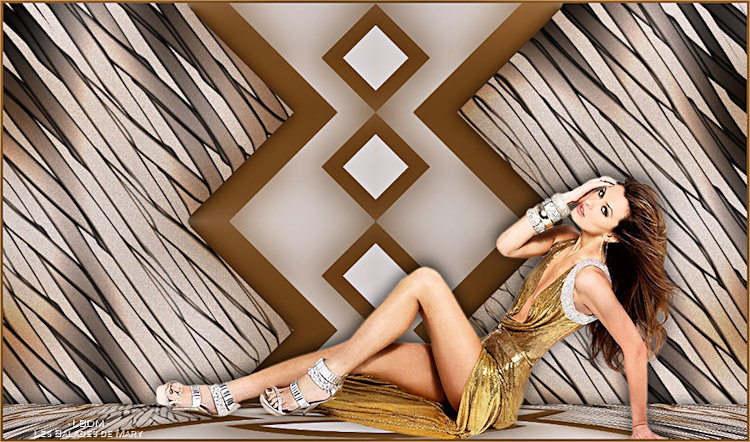
LBDM:
Merche:
2006. Tutorial criado por Estela Fonseca. |