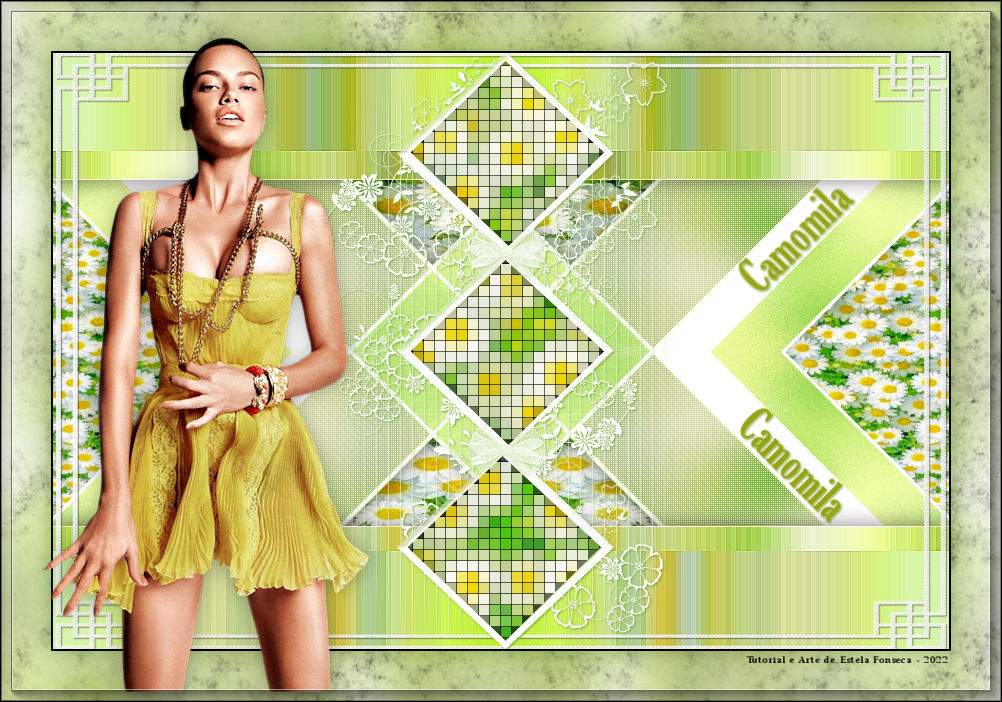
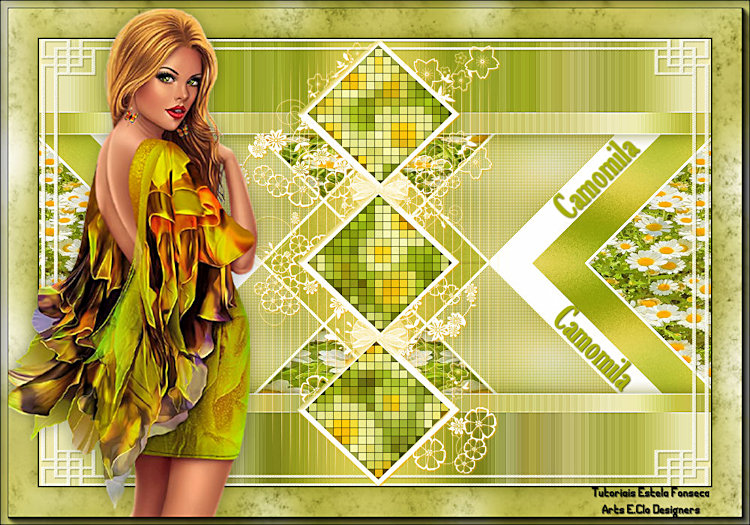
camomila
Este tutorial foi realizado no Corel PaintShop Pro 2019.


Agradeço as maravilhosas tradutoras: Pinuccia, Clo e Hillu.
Tube de Lana
Um dos decos foi feito a partir de uma imagem de Pinterest
Os outros decos eu mesma os criei.
**
Agradeço por me permitir usar suas lindas criações (Mask e Tubes e afins)
Não altere o nome nem remova a marca d'água.
Não compartilhe em grupos ou ofereça-os em seus sites, blogs etc ...
Seu uso nos tutoriais está sujeito a autorização dos autores.
**
Plugins:Simple / Pizza Slice Mirror & Left Right Wrap & Blintz & 4 Way Average**
Graphic Plus / Horizontal Mirror
Toadies / Blast 'em!
Penta Com / Color Dot
Photo Aging / Dirt_Dust**
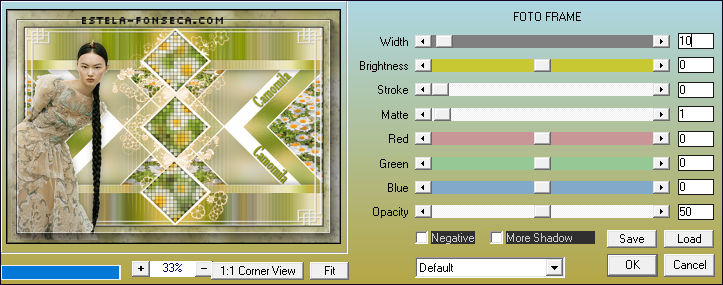
AAA Frame / Foto Frame
** Dentro do Unlimited 2.0
Cores:
01- Abra a <<EF-Camomila_Alpha>> Duplique e feche a original.
Selections / Select All
02- Abra a imagem <<JPG >> Copie e cole na seleção
Selections / Select None
03- Adjust / Blur / Gaussian Blur / Radius 25
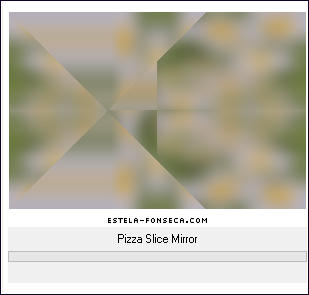
Effects / Plugins / Simple / Pizza Slice Mirror
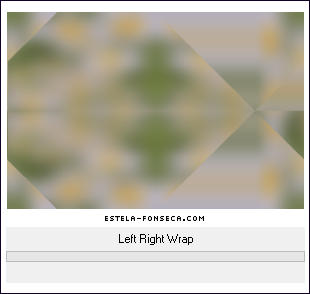
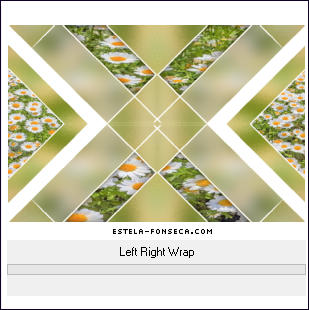
04- Effects / Plugins / Simple / Left Right Wrap
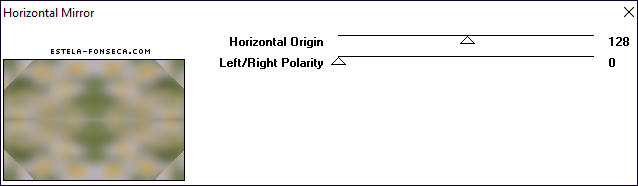
05- Effects / Plugins / Graphic Plus / Horizontal Mirror
Selections / Load Save selection / Load selection from Alpha Channel:Selection #1
06- Selections / Promote selection to layer
Selections / Select None
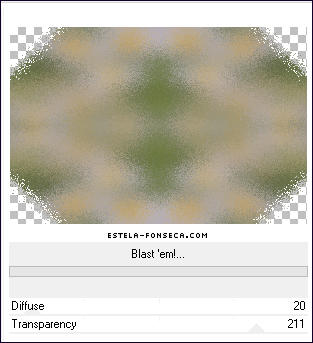
07- Effects / Plugins / Toadies / Blast 'em!
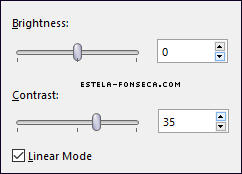
Adjust / Brightness and Contrast / Brightness/Contrast:
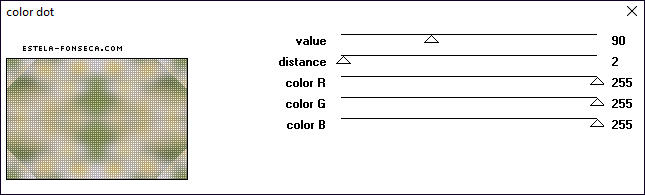
08- Ative a Layer do Fundo (Raster 1)
Effects / Plugins / Penta Com / Color Dot
09- Ative a Layer do TopoEffects / Plugins / Simple / Blintz ( 2 Vezes)
10- Effects / Plugins / Simple / 4 Way Average
Ative o <<EF_Camomila_Deco_1>> Copie e Cole como nova layer
11- Ative a Layer do Meio <<Promoted Selection>>
Selections / Load Save selection / Load selection from Alpha Channel:Selection #2
12- Delete no Teclado
Selections / Select None
13- Ative a Layer do Topo
Layers / New Raster Layer
14- Selections / Load Save selection / Load selection from Alpha Channel:Selection #3
Abra a imagem JPG copie e cole na seleção
Adjust / Sharpness / Sharpen
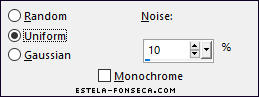
15- Adjust / Add Remove Noise / Add Noise
Layers / New Raster Layer
16- Effects / 3D Effects / Cutout
Selections / Select None
17- Selections / Load Save selection / Load selection from Alpha Channel:Selection #4
Selections / Modify / Contract / 50
18- Preencha com a cor branca
Selections / Modify / Contract / 4
19- Ative a imagem JPG, Copie e Cole na seleção
Selections / Select None
20- Adjust / Sharpness / Sharpen
Layers / Merge / Merge Visible
21- Effects / Plugins / Simple / Left Right Wrap
Effects / Reflection Effects / Rotating Mirror / Default
22- Selections / Load Save selection / Load selection from Alpha Channel:Selection #5
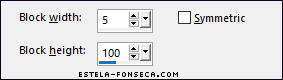
Effects / Distortion Effects /Pixelatte
Adjust / Hue and Saturation / Vibrancy 64
23- Selections / Promote Select to layer
Selections / Select None
Effects / Edge Effects / Enhance
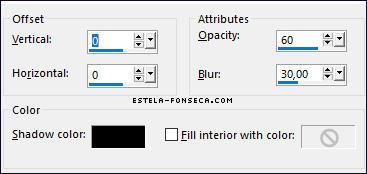
Effects / 3D Effects / Drop Shadow: 0 / 0 / 50 / 30 / #000000
24- Ative o <<EF-Camomila_Deco-2>> Copie e Cole como nova layer
Ative o <<EF-Camomila_Deco-3>> Copie e Cole como nova layer
25- Selections / Load Save selection / Load selection from Alpha Channel:Selection #6
Ative a imagem JPG copie e cole como nova layer
26- Selections / Invert
Delete no Teclado
27- Selections / Invert
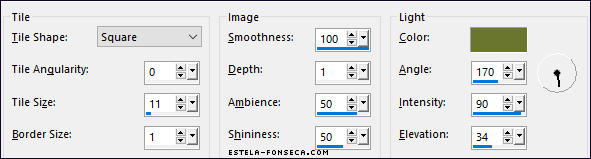
Effects / Texture Effects / Tiles: Cor 2
28- Selections / Select None
Layers / Merge / Merge Down
29- Effects / 3D Effects / Drop Shadow: 1 / 1 / 85 / 3 / Cor #fc981c
Ative o <<EF-Camomila_Texto>> Copie e Cole como nova layer
30- Ferramenta <<Pick Tool (K)>> Altere os valores de <<Posição de X=686,00 / Posição de Y= 135,00>>
Tecla "M" para desativar a Pick
Effects / 3D Effects / Drop Shadow: 1 / 1 / 85 / 3 / Cor #000000
31- Selections / Select All
Image / Add Borders / Symmetric Marcado / 50 Pixels cor #ffffff
Selections / Invert
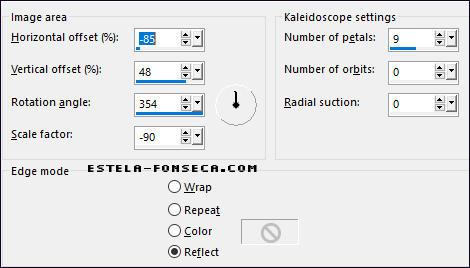
32- Effects / Reflection Effects / Kaleidoscope
Adjust / Blur / Gaussian Blur / Radius 25
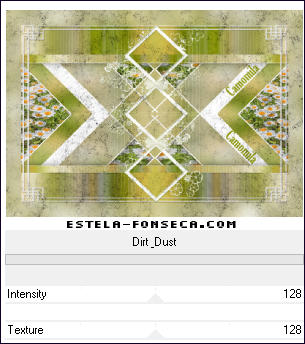
33- Effects / Plugins / Filters Unlimited 2.0 / Photo Aging Kit / Dirt_Dust / Default
Selections / Invert
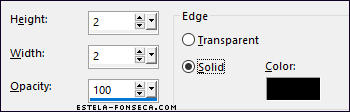
34- Effects / 3D Effects / Buttonize
Effects / 3D Effects / Drop Shadow: 0 / 0 / 50 / 30 / Cor #313600
Selections / Select None
35- Abra o tube da Personagem, copie e cole como nova layer
Image / Resize / 75%... Resize All Layers ... Desmarcado
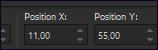
36- Ferramenta <<Pick Tool (K)>> Altere os valores de <<Posição de X=11,00 / Posição de Y= 55,00>>
Tecla "M" para desativar a Pick
Adjust / Sharpness / Unsharp Mask:
37- Effects / 3D Effects / Drop Shadow: 0 / 0 / 30 / 30 / Cor #000000
Layers / Merge / Merge Visible
38- Effects / Plugins / AAA Frames / Foto Frame
Assine seu Trabalho e Salve como JPG.
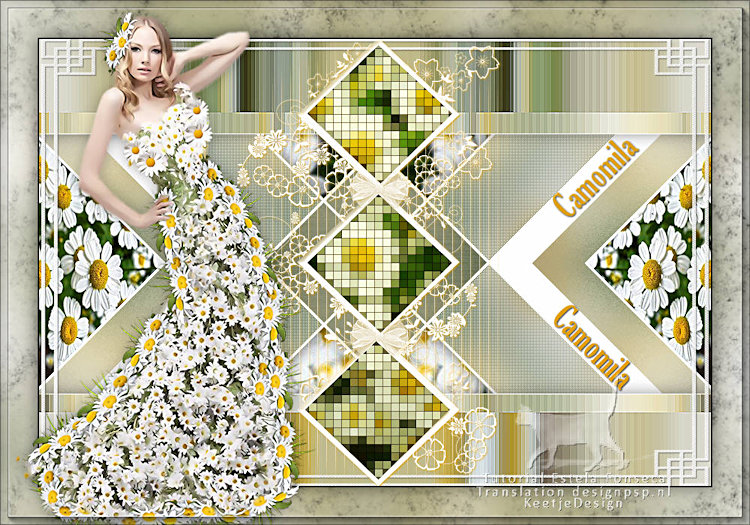
Versão com tube de PqnaAlice:
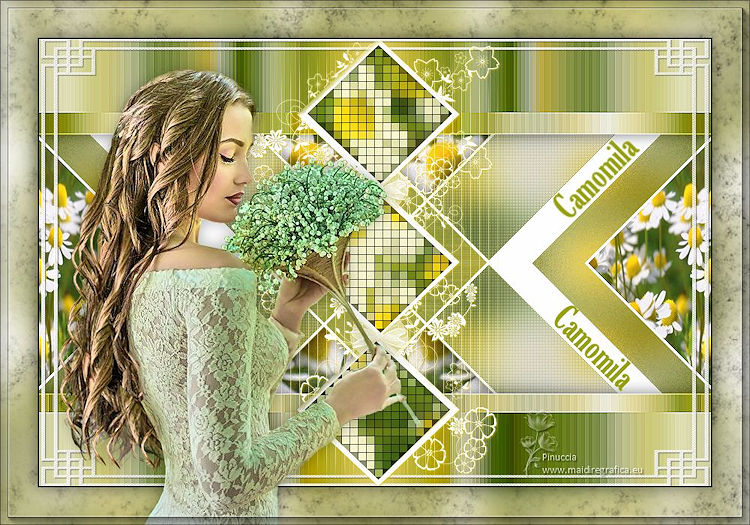
Versão de Pinuccia:
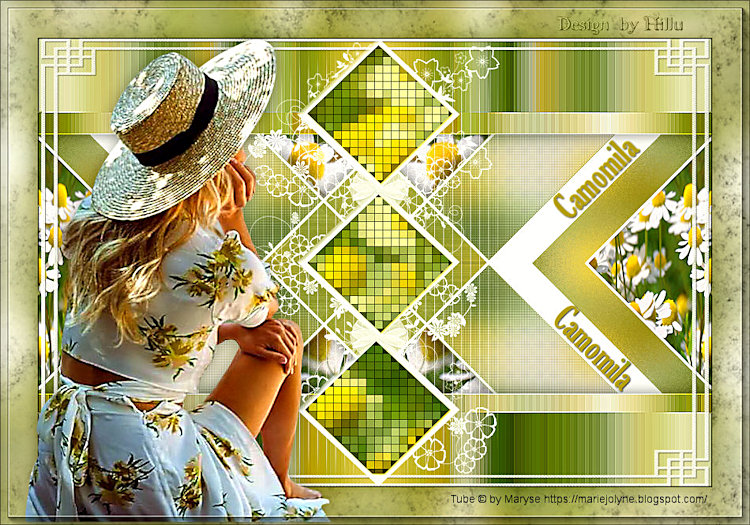
Versão de Hillu:
Versão de Clo:
Versão de Kathy:
©Tutorial criado por Estela Fonseca em 17/03/2022.
Não alterar nem repassar sem autorização.