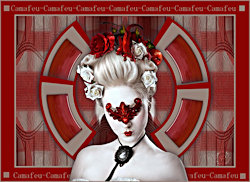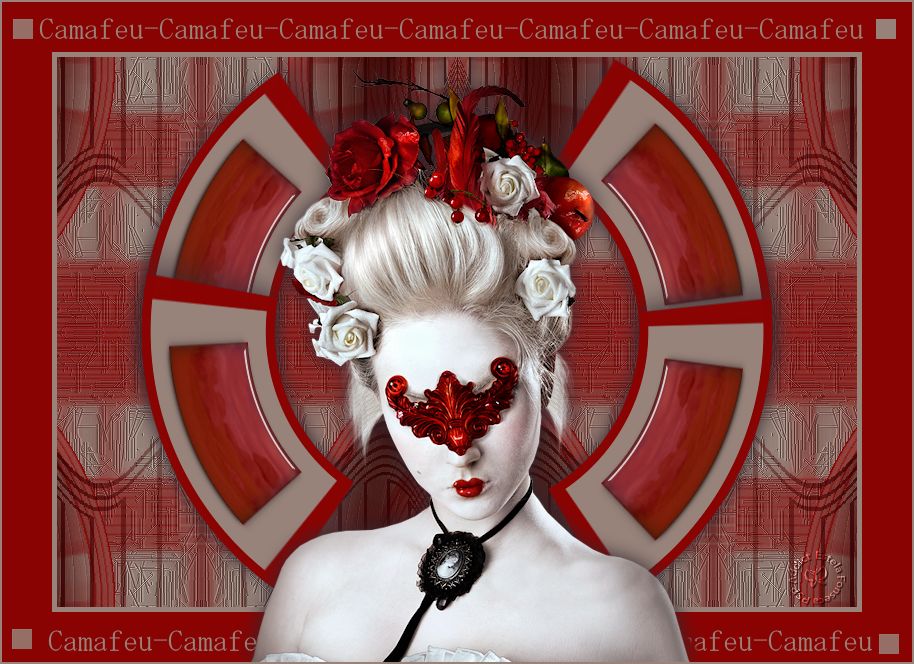
CAMAFEU
TRADUÇÕES:
Agradeço as tradutoras.
Material Necessário:
1 Tube (Guismo) + 1 Mask (Cameron Tags) Demais materiais criados para este tutorial por mim (Estela Fonseca)
Plugins Utilizados: Filter Factory Gallery N / Circulator RCS Filter Pak 1.0 / RCS Digi-Lens-Spiral Cut Unlimited 2.0 / Distortion Filters / Warp (Vertical) Graphics Plus / Quick Tile II Mura's Meister / Pole Transform Alien Skin Eye Candy 5 / Impact
Preparação: Abra os tubes no PSP, duplique e feche o original. Copie a seleção para a pasta de seleções do PSP. Abra a Mask no PSP e Minimize.
Primeiro Plano cor Clara: #97837a Segundo Plano cor escura: #890302
Preencha com a cor do Primeiro Plano.
02- Layers / New raster layer Preencha com a cor do Segundo Plano
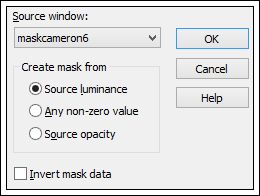
03- Layers / New Mask Layer / From Image: maskcameron6
Layers / Merge / Merge group
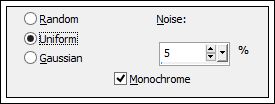
04- Adjust / Add Remove Noise / Add Noise:
05- Layers / Merge / Merge visible Layers / Duplicate
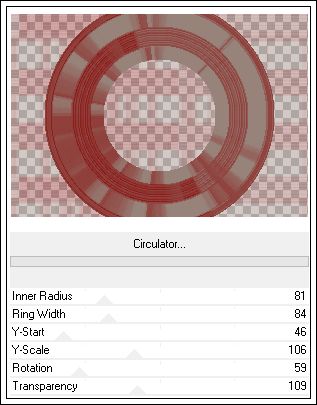
06- Effects / Plugins / Filters Unlimited 2.0 / Filter Factory Gallery N / Circulator
Ative a layer «Merged»
07- Effects / Texture Effects / Straw wall: (2 Vezes)
Ative a layer do topo
08- Selections / Load save selection / Load selection from disk: Camafeu_Sel1_ef:
Effects / 3D Effects / Drop Shadow: 0 / 0 / 100/ 30 / #000000
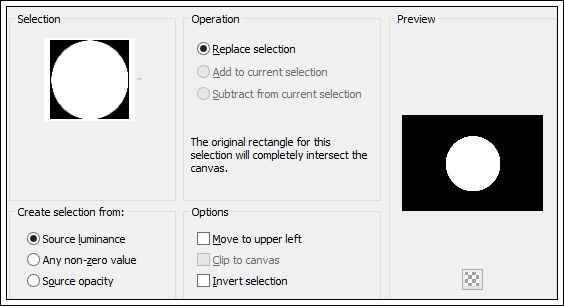
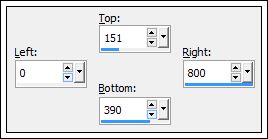
09- Selections / Select None Selections Tool (S) / Custom Selection:
10- Selections / Promote selection to layer Adjust / Blur / Gaussian Blur / Radius 50
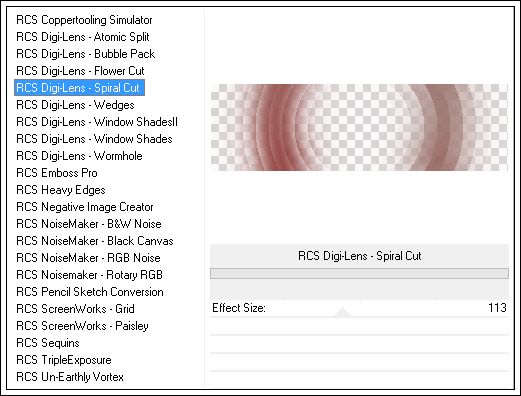
11- Effects / Plugins / Filters Unlimited 2.0 / RCS Filter Pak 1.0 / RCS Digi-Lens-Spiral Cut
Selections / Select None
12- Effects / Edge Effects / Enhance More Layers / New raster layer
13- Ative a Ferramenta Selection Tool / Custom Selection:
Preencha com a cor do segundo plano #890302
14- Selections / Modify/ Contract 5 pixels Delete no teclado.
15- Selections / Select None Effects / Reflection Effects / Feedback:
Opacidade 65
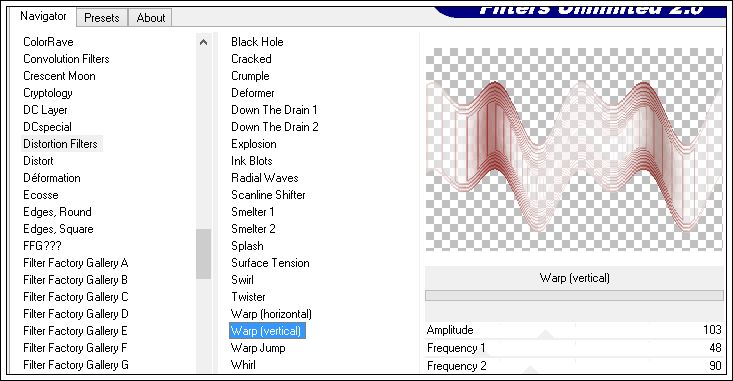
16- Layers / Merge / Merge Down Effects / Plugins / Filters Unlimited 2.0 / Distortion Filters / Warp (Vertical)
Blend Mode / Multiply
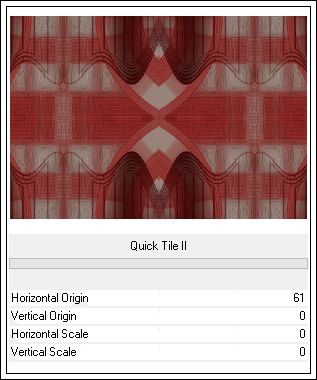
17- Layers / Merge / Merge Visible Effects / Plugins / Filters Unlimited 2.0 / Graphics Plus / Quick Tile II
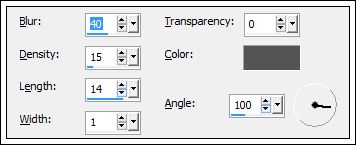
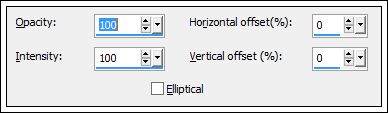
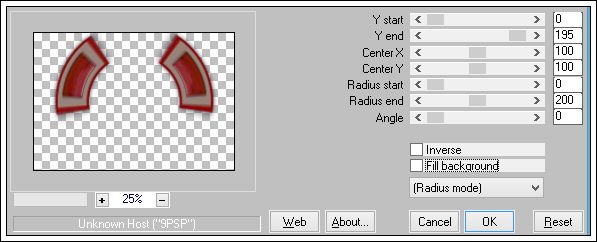
18- Layers / New raster layer Ative a ferramenta Airbrush configure como segue:
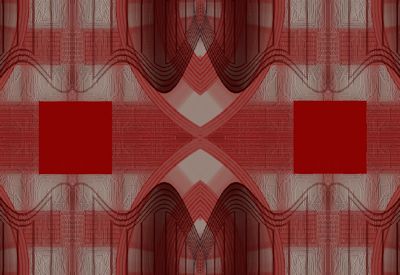
19- Ative a Varinha Mágica e Selecione os dois quadrados. Selections / Modify / Contract 10 pixels ... Preencha com a cor do Primeiro Plano Selections / Modify / Contract 20 pixels ... Preencha com a cor do Segundo Plano
20- Effects / Plugins / Alien Skin Eye Candy 5 / Impact / Glass/ Preset: Clear With reflection Selections / Select None
21- Effects / 3D Effects / Drop Shadow: 0/ 0 / 100/ 30 / #000000 Effects / Plugins / Mura's Meister / Pole Transform
22- Layers / Duplicate Image / Mirror / Mirror Vertical (não Mova)
23- Image / Add Borders / Symmetric Marcado / 5 pixels cor do Primeiro Plano Image / Add Borders / Symmetric marcado /50 pixels cor do Segundo Plano
24- Abra o «Deco-Camafeu» Copie e cole como nova layer Effects / 3D Effects / Drop Shadow: 1 / 1 / 85 / 10,00/ #000000
25- Abra o tube «calguisnatalisshau27119» Copie e cole como nova layer Image / Resize / 80% ... Resize All Layers ... Desmarcado Posicione à gosto!
26- Effects / 3D Effects / Drop Shadow: 0/ 0 / 30/ 30 / #000000. Image / Add borders / Symmetric marcado / 1 pixels cor do Primeiro Plano
27- Assine seu trabalho Salve no formato JPG.
Versão Extra: Tube de Estela Fonseca...
Pinuccia:
Clo:
Angela:
Maria T:
Hillu:
©2010. Tutorial criado por Estela
Fonseca. |