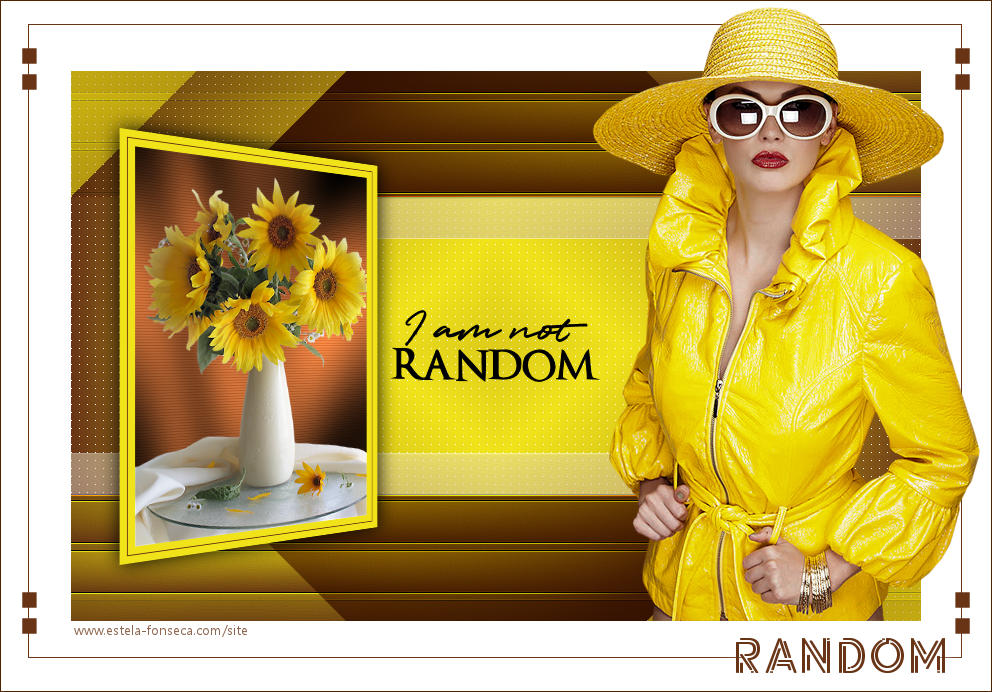
RANDOM


Agradeço as Tradutoras: Pinuccia, Clo , Angela e Hillu.
Material Necessário:
Tube de K@rinne Dreams...AQUI.
O outro tube é de Nurso53.
Plugins Utilizados:
Andromeda
Penta Com
Simple
Toadies
Graphics Plus
Preparação:
Abra os tubes no PSP , duplique e feche os originais.
01-Abra uma imagem de 850 x 550 transparente
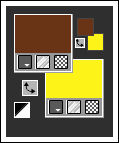
Primeiro Plano cor escura / Segundo Plano cor clara do tube:
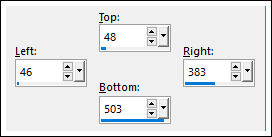
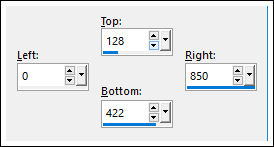
02- Selection Tool (S) / Custom Selection:
Preencha a Seleção com a cor do Segundo Plano
Selections / Modify / Contract 8 pixels
Preencha com a cor do Primeiro Plano
03- Selections / Modify / Contract 1 pixel
Preencha com a cor do Primeiro Plano
Selections / Modify / Contract 8 pixels
Preencha com a cor do Primeiro Plano
04- Effects / Plugins / Penta Com / VTR / Default
Effects / Plugins / Graphics Plus / Cross Shadow / Default
05- Ative o tube <<NS_256_0509.pspimage>> copie e cole Como nova layer
Image / Resize / 70%... Resize all Layers ... Desmarcado
Posicione sobre a seleção
Selections / select none.
Layers / Merge / Merge Down
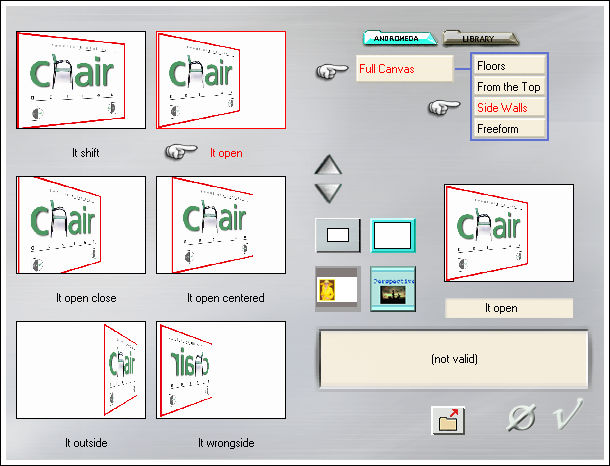
06- Effects / Plugins / Andrômeda Perspective:
Effects / 3D Effects / Drop Shadow: 0 / 0 / 100 / 30 / cor preta
07- Layers / New raster layer
Layers / Arrange / Move Down
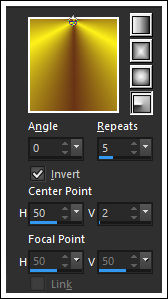
Preencha com o gradiente estilo <<Radial>> formado das cores iniciais:
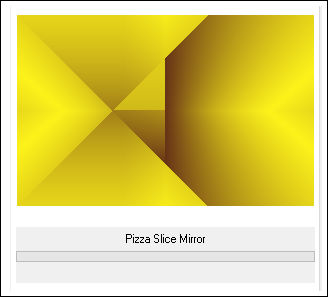
Effects / Plugins / Simple / Pizza Slice Mirror
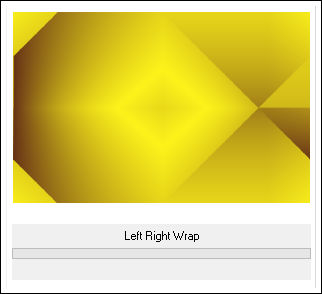
08- Effects / Plugins / Simple / Left Right Wrap
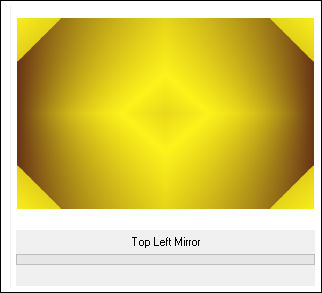
Effects / Plugins / Simple / Top Left Mirror
08- Selection Tool (S) / Custom Selection
Selections / Promote Selection to Layer
Selections / Select None
09- Effects / Plugins / Simple / Top Botom Wrap
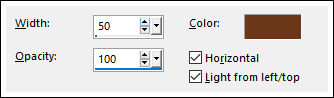
Effects / Texture Effects / Blinds:
10- Effects / Plugins / Toadies / What Are You / Default
Effects / Edge Effects / Enhance More
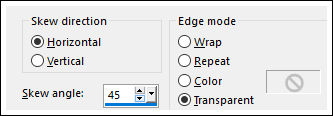
Effects / Geometric Effects / Skew
Layers / Duplicate
11- Effects / Plugins / Simple / 4 Way Average
Blend Mode / Multiply (Ou outro)
12- Ative a Layer <<Merged>>
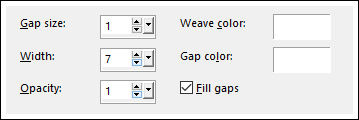
Effects / Texture Effects / Weaver
13- Ative a Layer do topo
Ative o tube <<Texto>> Copie e cole como nova layer
14- Image / Add Borders / Symmetric Marcado / 70 pixels cor #ffffff
Ative o tube << _k@rine_ dreams _Lady_Yellow_2526_Mai_2013>> Copie e Cole como nova layer
Image / Resize / 70%... Resize All layers ... Desmarcado
Posicione como no modelo
Adjust / One Step Foto Fix
Ative o tube <<Deco-1>> Copie e Cole como nova layer
15- Image / Add Borders / Symmetric Marcado / 1 pixel cor #4e2402
Assine seu trabalho e salve como jpg.
Versão com tubes de Beatrice:
Pinuccia:
Clo:
AngelaC:
Hillu:
Celline:
Daniella:
FelineC31:
Gerda:
LBDM:
Liliana:
©Tutorial criado por Estela Fonseca em 28/02/2010.
Não alterar nem repassar sem autorização.