RETRATOSMeu agradecimento especial as tradutoras Clo e Pinuccia.
Material Necessário: Tube de Karinne Dreams: https://karinedreamsgraphic.centerblog.net/
Plugin Utilizado: Lenk's / Zitah FM Tile Tools / Blend Emboss Penta.Com / jeans Kang 1 / Penzilla AAA Frame / Foto Frame
Preparação: Abra o tube no PSP, duplique e feche o original. Remova a Marca d'água apenas da cópia do tube.
1- Abra uma Nova imagem transparente de 850 / 550 pixels
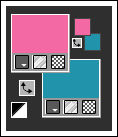
2- Primeiro Plano cor #f369a3 / Segundo Plano cor #2294ac
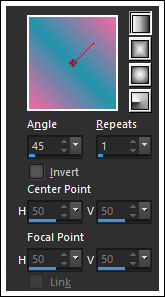
Gradiente <<Linear>>
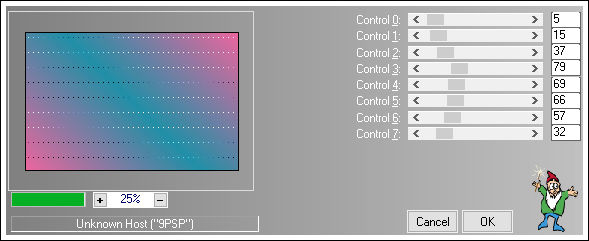
3-Effects / Plugins / Lenk's / Zitah
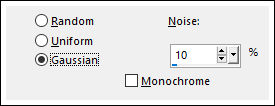
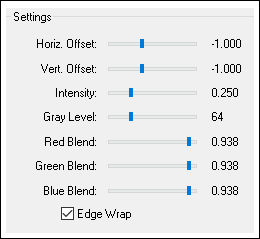
4- Adjust / Add Remove Noise / Add Noise:
Effects / Plugins / FM Tile Tools / Blend Emboss / Default
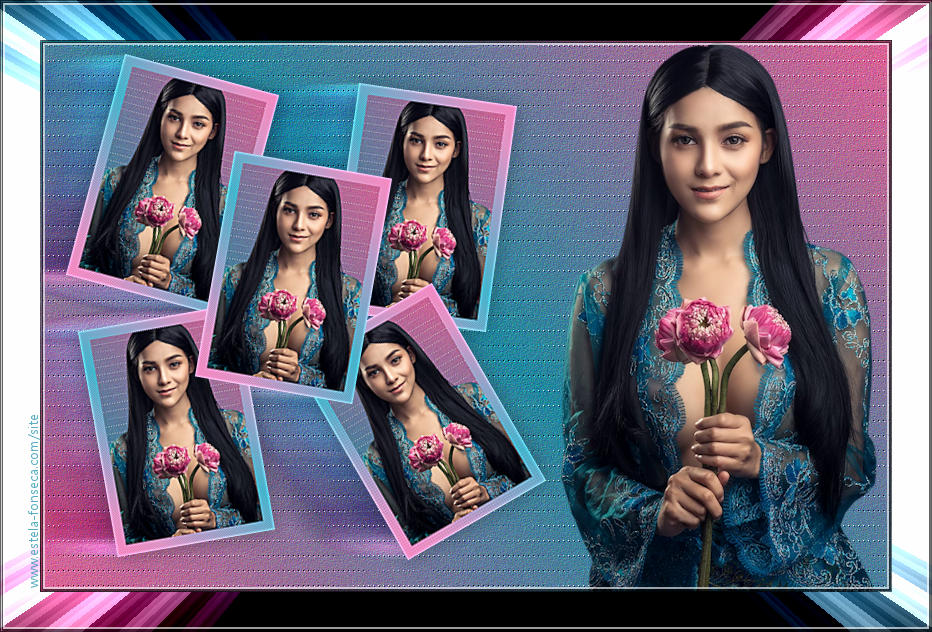
5- Ative o tube <<K@rine_dreams_Pretty_Woman_3716_Fevrier_2018 >> Copie e Cole como nova layer Image / Resize / 70% ... Resize All Layers ... Desmarcado Posicione à Direita Layers / Merge / Merge Visible
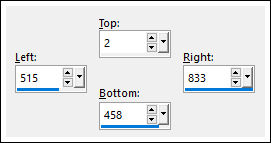
6- Selection Tool (S) / Custom Selection:
Nota: Se você trabalha com outro tube , selecione uma parte do tube... como desejar. Selections / Promote Selection to Layer
7- Layers / New Raster Layer Preencha a seleção com o Gradiente Selections / Modify / Contract / 20 pixels Delete no teclado Selections / Select None
8- Effects / Plugins / Penta.Com / jeans 62/4
Layers / Merge / Merge Down
9- Image / Resize / 50%... Resize All Layers ... Desmarcado Adjust / Sharpness / Sharpen More
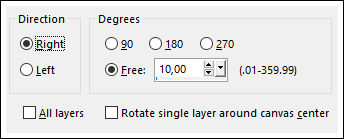
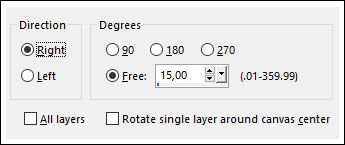
10- Layers / Duplicate ( 4 vezes) Image / Free Rotate:
Ferramenta Pick Tool (K) , Scale , Position de X e de Y como segue:
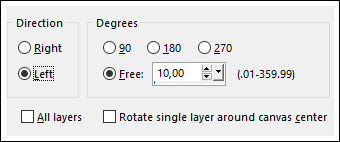
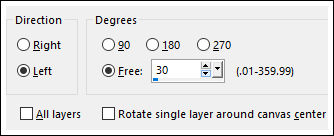
11- Ative a Layer <<Copy (3) Promoted Selection>> Image / Free Rotate:
Ferramenta Pick Tool (K) , Scale , Position de X e de Y como segue:
12- Ative a Layer <<Copy (2) Promoted Selection>> Image / Free Rotate:
Ferramenta Pick Tool (K) , Scale , Position de X e de Y como segue:
13- Ative a Layer <<Copy of Promoted Selection>> Image / Free Rotate:
Ferramenta Pick Tool (K) , Scale , Position de X e de Y como segue:
14- Ative a layer <<Promoted Selection>> Ferramenta Pick Tool (K) , Scale , Position de X e de Y como segue:
Nota: Você pode usar a Ferramenta e Mover as "fotos" conforme sua preferência.
15- Oculte a Layer <<background>> Layers / Merge / Merge Visible Torne visivel a layer do fundo
16- Layers / Duplicate Ative a Layer do Meio Effects / Distortion Effects / Wind:
Blend Mode / Overlay
17- Ative a Layer do topo Effects / 3D Effects / Drop Shadow: 0 / 0 / 40 / 30,00 / #000000 Opacidade 59
18- Image / Add Borders / Symmetric Marcado / 1 pixel cor #000000 Copie Image / Add Borders / Symmetric Marcado / 40 pixels cor #ffffff Selecione essa borda com a varinha mágica Cole na seleção
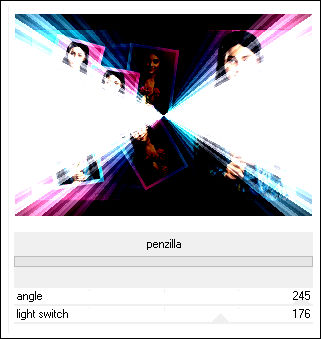
19- Adjust / Blur / Gaussian Blur / Radius 50 Effects / Plugins / Kang 1 / Penzilla:
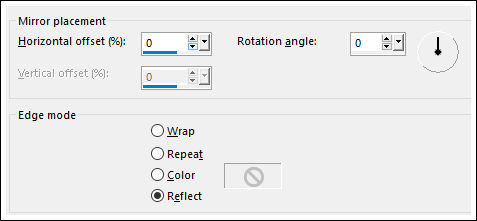
Effects / Reflection Effects / Rotating Mirror
Selections / Invert
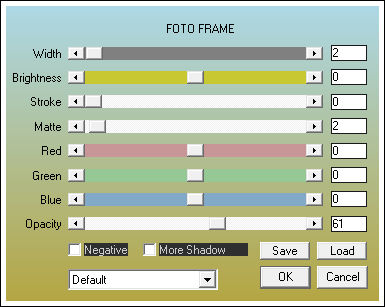
20- Effects / Plugins / AAA Frame / Foto Frame:
Selections / Select None
21- Effects / Plugins / AAA Frame / Foto Frame:
Assine seu trabalho Salve como jpg.
FIM
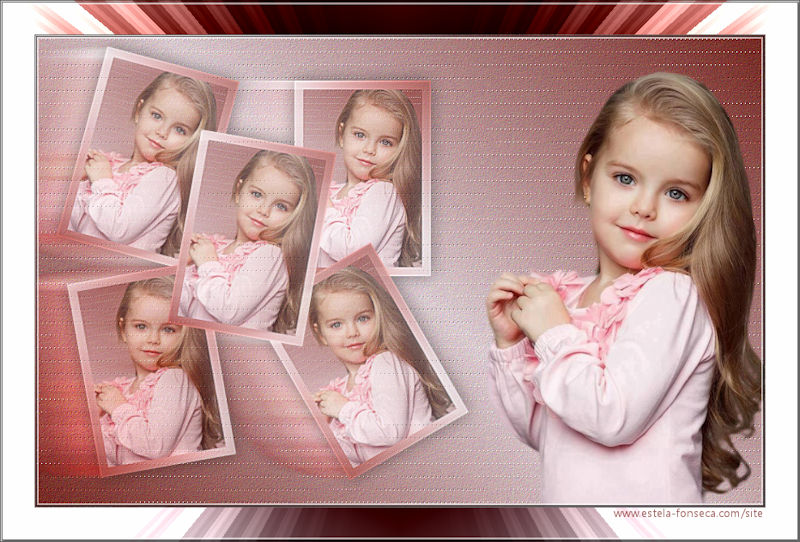
Versão com tube de Frannie Margot:
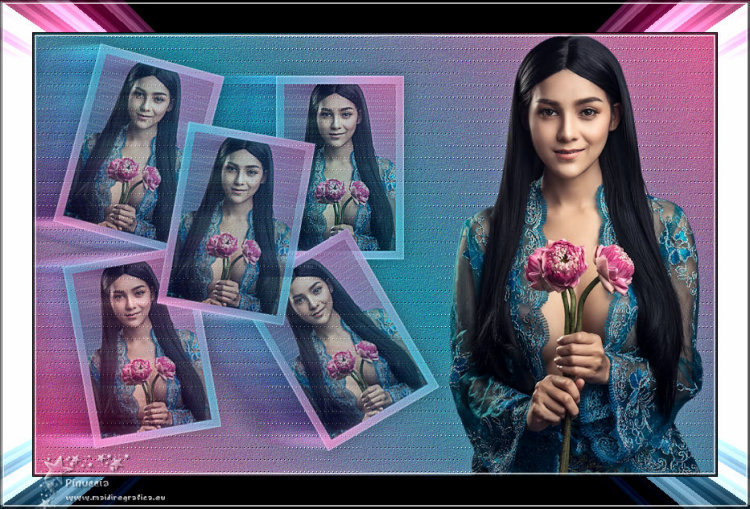
Versão de Pinuccia:
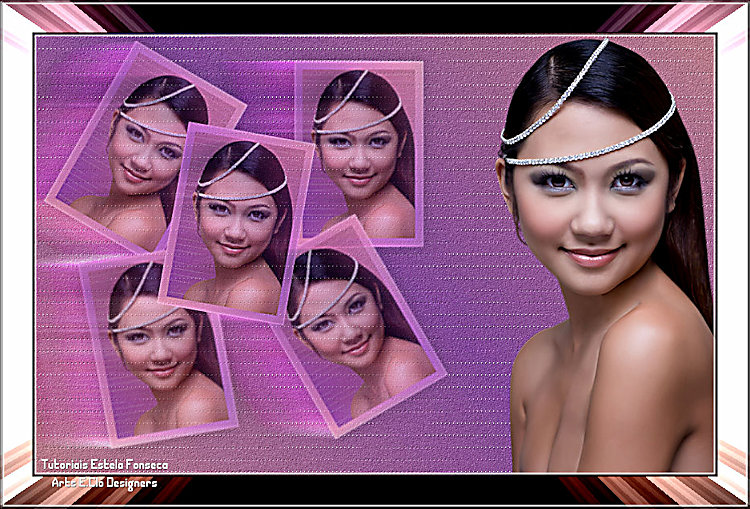
Versão de Clo:
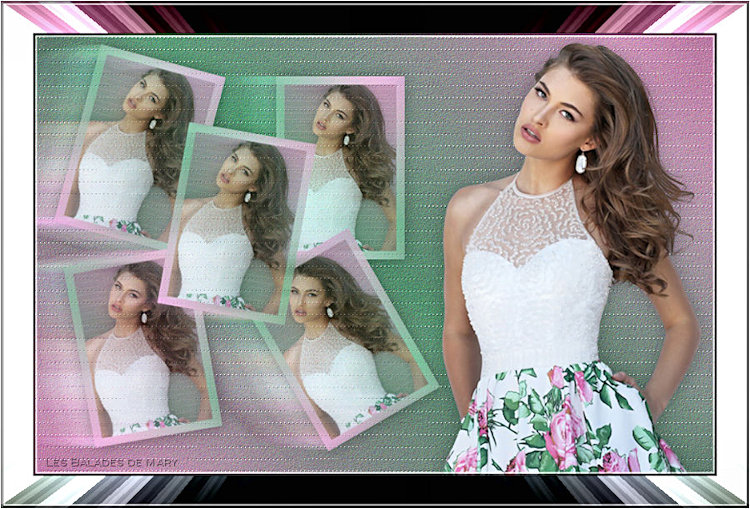
Versão de Mary:
2012. Tutorial criado por Estela Fonseca. |

