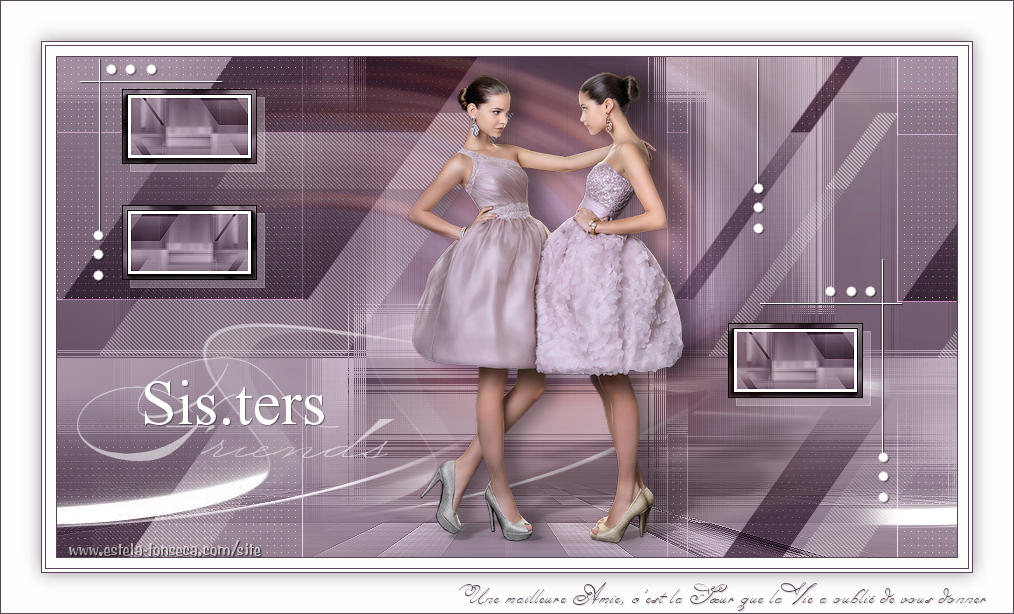
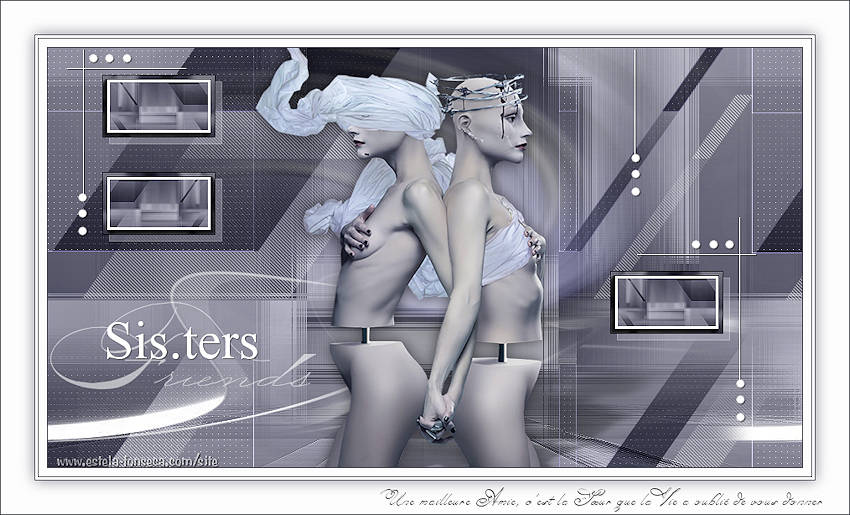
SIS.TERS
Tutorial de Violette Graphic , original, Aqui.

Tutorial realizado no PSP X8 mas pode ser feito em versões anteriores do PSP.
Materiais Necessários:
Tube de Azalée
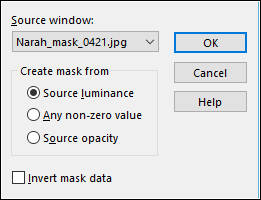
Mask de Narah (Narah_mask_0421.jpg)
Seleção <<Vyp_Sisters.PspSelection >>
Outros materiais de @Violette
Plugins Utilizados:
&< BKG Designers sf10 II > Hinzeberg's Mirror 02
Mura's Meister/perspectives Tiling
Medhi/Sorting Tiles
Funhouse/Loom
Pentacom/jeans
AAA Frame/Foto Frame
Alien Skin Eye Candy 5 Impact
Preparação:
Abra os tubes, duplique e feche os originais.
Copie a Seleção para a pasta de seleções do PSP
01 - Primeiro Plano cor #c3b3c3 / Segundo Plano Cor #574355
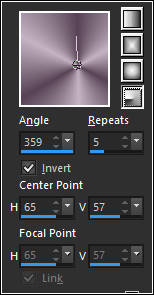
Gradiente <<Fore/Background>> Estilo <<Radial>> Angle : 359°/ Repeats: 5 / Invet Marcado
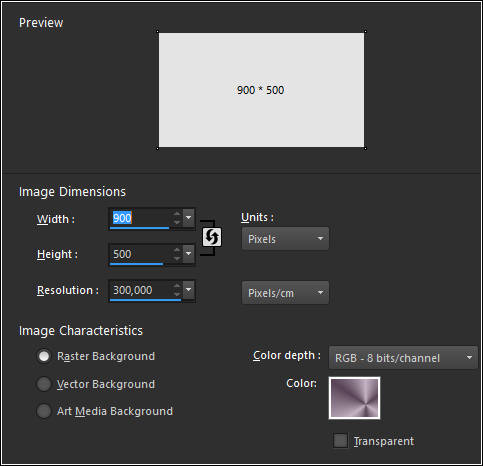
02 - Abra uma Nova Imagem Gradiente de 900/500 pixels
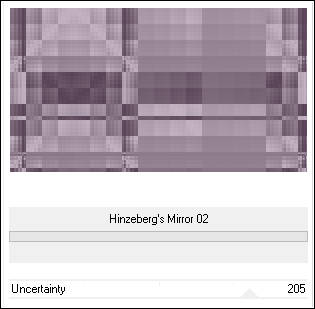
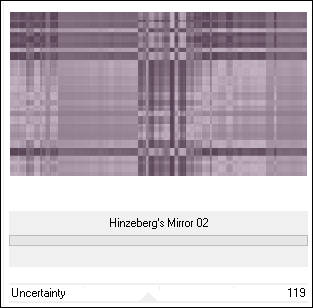
03 - Effects / Plugin / <I.C.NET Software> Filters Unlimited 2 &< BKG Designers sf10 II > Hinzeberg's Mirror 02
Effects / Plugin / <I.C.NET Software> Filters Unlimited 2 &< BKG Designers sf10 II > Hinzeberg's Mirror 02
04- Layers / Duplicate
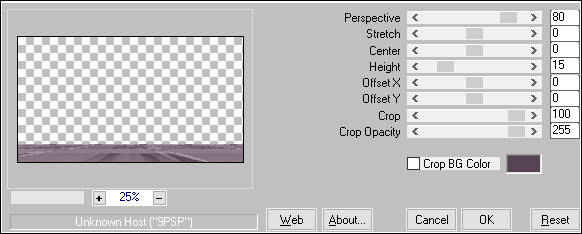
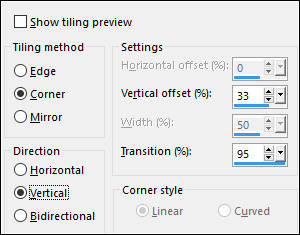
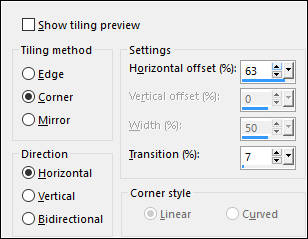
Effects / Plugin / Mura's Meister/perspectives Tiling:
Selecione a Parte transparente com a Varinha Mágica
Selections / Modify / Feather: 60
Pressione de 3 à 4 Vezes a tecla Delete do seu teclado
Selections / Select None
Effects / Edge Effects / Enhance
05 - Ative a Layer do Fundo <<Raster 1>>
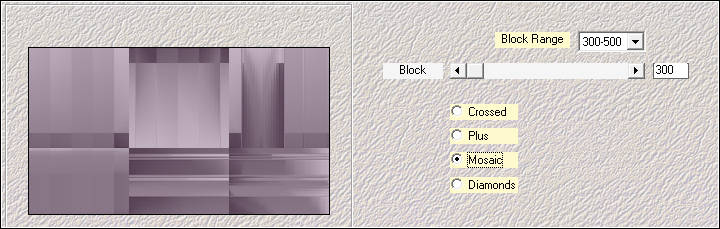
Effects / Plugin / Medhi / Sorting Tiles:
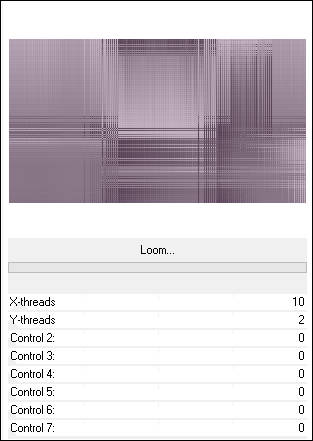
Effects / Plugin / Funhouse/Loom / Default
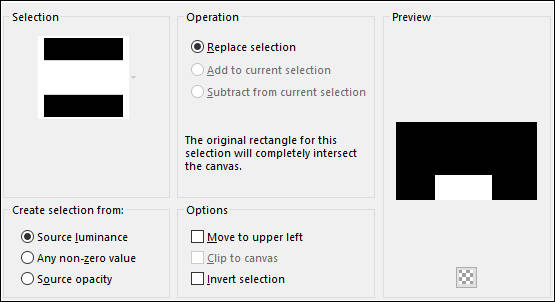
7 - Selections / Load save selection / Load selection from disk: Vyp_sisters01.PspSelection
Selections / Promote Selection to Layer
Layers / Arrange / Bring to Top
Selections / Select None
Effects / Edge Effects / Enhance
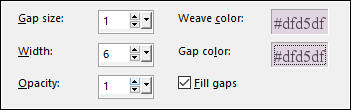
8 - Effects/ Texture Effects / Weave:
Effects / Image Effects / Seamless Tiling:
Blend Mode / Lighten
Layers / Duplicate
Blend Mode / Multiply
08 - Ative a Layer do Topo
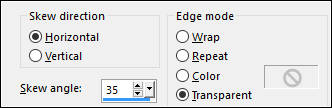
Effects / Geometric Effects / Skew
09 -Selections / Load save selection / Load selection from disk: Vyp_sisters02.PspSelection
Delete no teclado
Selections / Select None
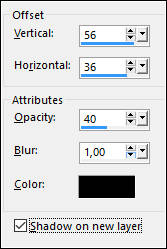
Effects/ 3D Effects / Drop Shadow: 56/36/40/1/cor #000000/ Marque "shadow on new layer"
Effects / Plugin / Penta com/jeans:
Blend Mode / Dodge
10 - Ative a Layer do Topo
Edit / Copy Special / Copy Merged
Cole como Nova Imagem
Image / Resize / 15% (resize all layers marcado)
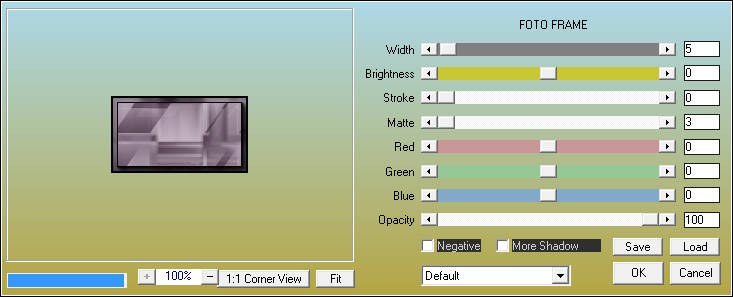
Effects / Plugin / AAA Frame / Foto Frame:
12 - Copie e Cole como nova layer
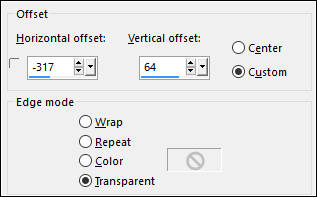
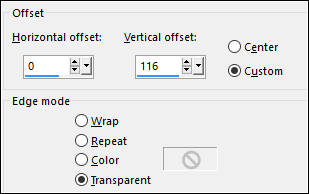
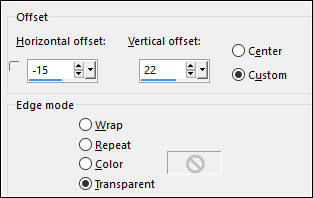
Effects / Image Effects / Offset:
Layers / Duplicate
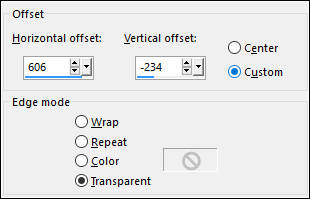
Effects / Image Effects / Offset
Image / Flip / Flip Horizontal
Layers / Duplicate
Effects / Image Effects / Offset:
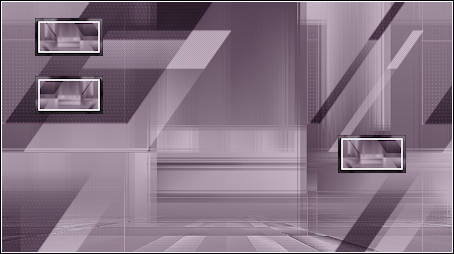
Resultado:
Ative a Layer do topo
Layers / Merge / Merge Down ( 2 vezes)
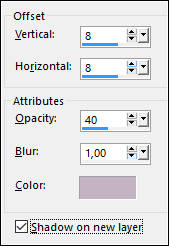
Effects/ 3D Effects / Drop Shadow: 8/8/40/1/cor #c3b3c3 (Shadow on New layer)
Effects / Edge Effects / Enhance
12 - Ative o tube <<Vyp_Sis.ters_deco01.pspimage>>
Copie e Cole como nova Layer
Effects / Image Effects / Offset
14 - Ative o tube <<Femme-1377-Azalee.png>>
Apague a Marca d'água
Copie e Cole como nova Layer
Image / Resize / 80% ( 3 vezes) ( desmarque: All Layers)
Adjust / Sharpness / Sharpen
Posicione
Layers / Duplicate
Ative a layer << Raster 4>>
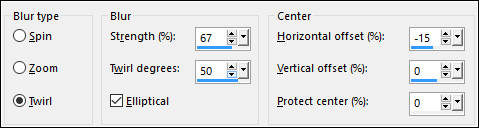
Adjust / Blur / Radial Blur
Blend Mode / Hard Light
15 - Ative a Layer do topo
Effects / Plugin / Alien Skin Eye Candy 5 /Impact / Perspective Shadow/ preset Vyp_Shadow_Sis.ters.f1s
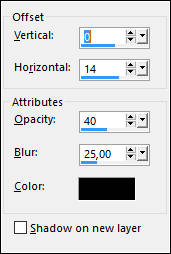
Effects / 3d Effects / Drop Shadow: 0 / 14 / 40 / 25,00 / #000000
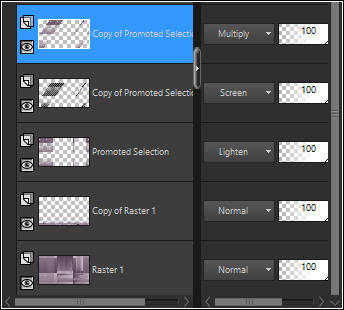
15- Ative a Layer <<Copy of Promoted selection>>
Layers / New Raster Layer
Preencha com a cor #ffffff
Abra a Mask <<Narah_mask_0421.jpg>>
Image / Flip / Flip Horizontal
Minimize
Layers / New Mask Layer / From Image: Narah_mask_0421.jpg
Layers / Duplicate
Layers / Merge / Merge Group
Effects / Image Effects / Seamless Tiling
Resultado
17 - Ative o tube << Vyp_Sis.ters_text01.pspimage>>
Copie e Cole como nova layer
Posicione como segue
18 - Image/Add Borders / Symmetric Marcado / 1 pixel cor #574355
Image/Add Borders / Symmetric Marcado / 10 pixels cor #fefefe
Image/Add Borders / Symmetric Marcado / 1 pixel couleur #574355
Image/Add Borders / Symmetric Marcado / 3 pixels couleur #fefefe
Image/Add Borders / Symmetric Marcado / 1 pixel couleur #574355
Image/Add Borders / Symmetric Marcado / 40 pixels couleur #fefefe19 - Selections / Select All
Selections / Modify / Contract 40 pixels
Effects / 3D Effects / Drop Shadow: 0/0/60/25/cor #574355
Selections / Select None20 - Ative o tube << Vyp_Sis-ters_text02.pspimage>>
Copie e Cole como nova layer
Posicione
21 -Image/Add Borders / Symmetric Marcado / 1 pixel cor #574355
22 - Coloque a sua assinatura
23 - Layers / Merge / Merge All
24- Exporte Como JPEG Optimizado
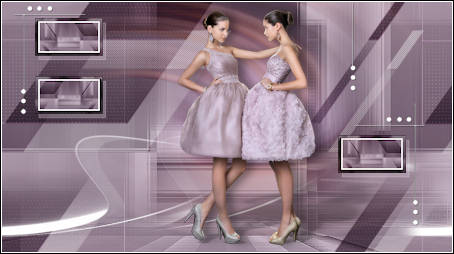
Versão com tube de Silvina Vanesa Orsi:
©Tutorial traduzido por Estela Fonseca em 08/05/2017.
Não alterar nem repassar sem autorização.