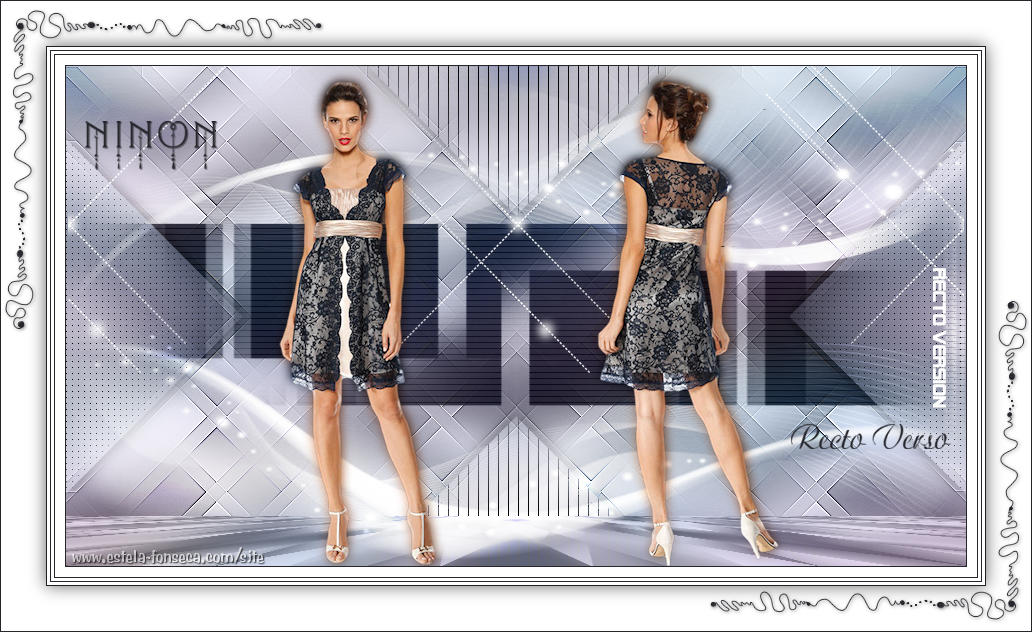
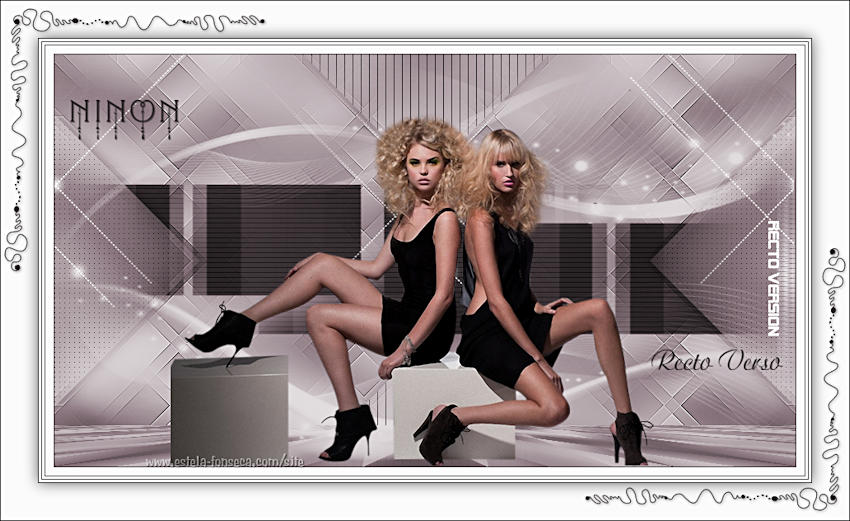
NINON
Tutorial de Violette Graphic , original, Aqui.

Tutorial realizado no PSP X8 mas pode ser feito em versões anteriores do PSP.
Materiais Necessários:
Tubes de franiemargot
Masque de Narah_mask_Abstract127.jpg
Outros Materiais de @Violette
Plugins Utilizados : AQUI
Medhi/Waby Labs/ Sorting Tiles
&<Bkg Designers sf10 IV> Instant Tiles
AP Lignes/ Silverlining /Dotty Grid/Line Options Vertical/Horizontal
Vanderlee/Defocus
Preparação:Abra os tubes, duplique e feche os originais.
Copie as Seleções para a pasta de Seleções do PSP.
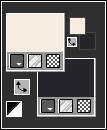
Primeiro Plano cor #f6ece1 / Segundo Plano cor #25252b
01 - Abra uma Nova Imagem transparente de 900 / 500 pixels
Effects /Plugin / Medhi / Waby Labs:
Observe os quadrados coloridos da tela do plugin:
O primeiro e o segundo quadrados contém as cores do Segundo e do Primeiro Plano...
o terceiro quadrado e o quarto quadrado você precisa modificar as cores para #99ccff e #cccccc respectivamente.
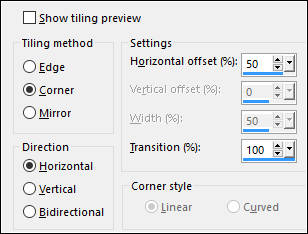
Effects / Image Effects / Seamless Tiling:
Adjust / Blur / Gaussian Blur / Radius 50
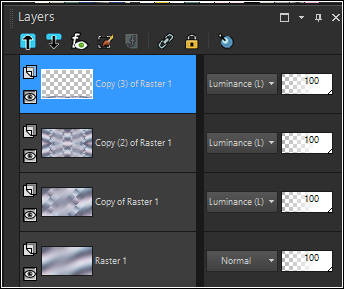
3 - Layers / Duplicate
Effects / Plugin / Medhi / Sorting Tiles:
Blend Mode / Luminance Legacy
4 - Layers / Duplicate
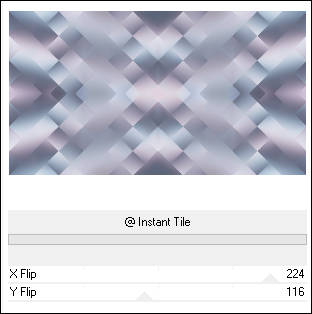
Effects / Plugin / <I.C.NET Software> Filters Unlimited 2.) / &<Bkg Designers sf10 IV> / @Instant Tiles:
Blend Mode / Luminance Legacy
5 - Layers / Duplicate
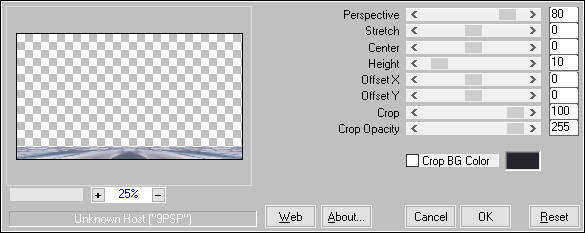
Effects / Plugin / Mura's Meister / Perspective Tiling:
Blend Mode / Luminance Legacy
6 - Ative a Segunda layer a partir da Layer do topo << Copy (2) of Raster 1>>
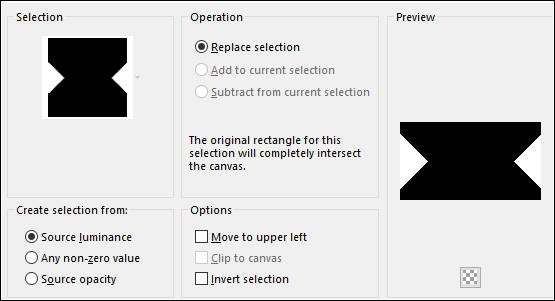
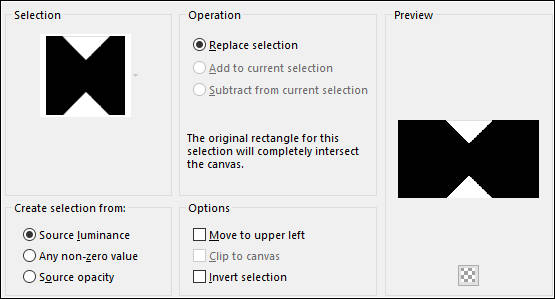
Selections / Load Save Selection / Load Selection / From Disk: Vyp_Ninon_01.PspSelection
Selections / Promote Selection to Layer
Adjust / Blur / Gaussian Blur / Radius 30
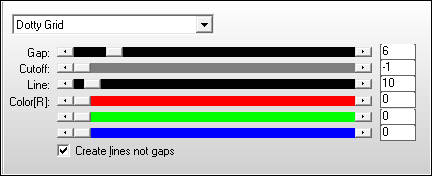
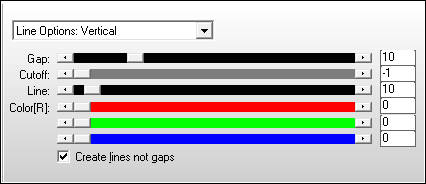
Effects / Plugin / AP [Lines] / Lines - Silverlining /Dotty Grid
Effects / 3D Effects / Drop Shadow: 0/0/50/25/cor #000000
Selections / Select None7 - Ative de Novo a Layer <<Copy (2) of Raster 1>>
Selections / Load Save Selection / Load Selection / From Disk: Vyp_Ninon_02.PspSelection
Selections / Promote Selection to LayerAdjust / Blur / Gaussian Blur / Radius 30
Effects / Plugin / AP [Lines] / Lines - Silverlining /Lines Options: Vertical
Effects / 3D Effects / Drop Shadow: 0/0/50/25/cor #000000
Selections / Select None8 - Ative de Novo a Layer <<Copy (2) of Raster 1>>
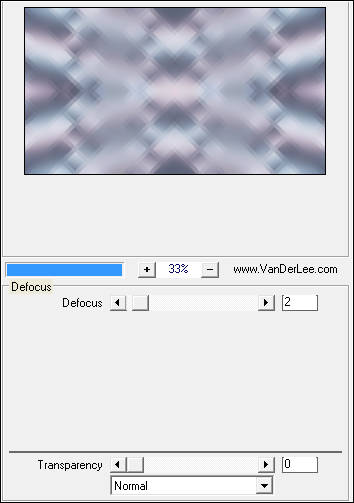
Effects / Plugin / Vanderlee / UnPlugged X / Defocus:
Effects / Edge Effects / Enhance More
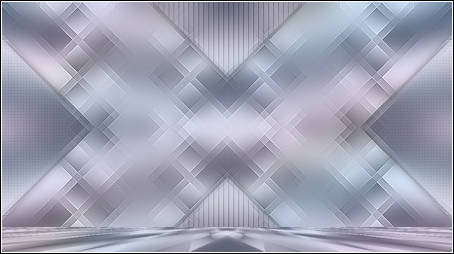
Resultado:
9 - Ative a Layer do topo
Layers / New Raster Layer
Preencha com a cor do Segundo Plano (#25252b)
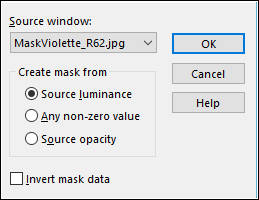
Ative a Mask <<MaskViolette_R62.jpg>> Minimize
Layers / New Mask Layer / From Image: MaskViolette_R62.jpg
layers / Merge / Merge Group
Layers / Duplicate
Blend Mode / Soft Light
Opacidade / 65%
Layers / Merge / Merge Down
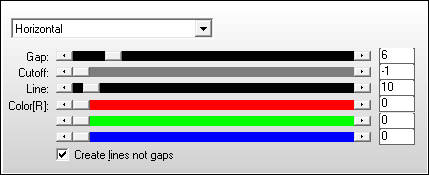
Effects / Plugin / AP -[Lines] / Lines -Silverlining /Horizontal
Blend Mode / Luminance Legacy
Layers / Arrange / Move Down ( 3 vezes)
10 - Ative a Layer do topo
Layers / New Raster Layer
Preencha com a cor branca #ffffff
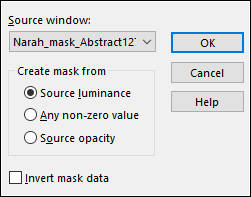
Abra a Mask <<Narah_mask_Abstract127.jpg>> Minimize
Layers / New Mask Layer / From Image: Narah_mask_Abstract127.jpg
Layers / Merge / Merge Group
Blend Mode / Overlay
11 - Ative o tube <<Vyp_Ninon _ deco01.pspimage>>
Copie e Cole Como Nova Layer
Objets / Align / Top
12 - Ative o tube <<Vyp_Ninon _ deco02.pspimage>>
Copie e Cole Como Nova Layer
Objets / Align / Right
Ative a Ferramenta <<Pick Tool (K) >> Position X:867,00/ Position Y:125,00
13 - Ative o tube <<woman_64_franiemargot.pspimage>>
Copie e Cole Como Nova Layer
Image / Resize / 80%... Resize All Layers... Desmarcado ( 2 vezes)
Image / Resize / 85%... Resize All Layers ... Desmarcado
Ative a Ferramenta <<Pick Tool (K) >> Position X:213,00/ Position Y:14,00
Tecla <<A>> para sair da Ferramenta
Adjust / Sharpness / Sharpen
Layers / Duplicate
Adjust / Blur / Gaussian Blur / Radius 5
Layers / Arrange / Move Down
Blend Mode / Multiply
14 - Ative a Layer do Topo
Ative o tube <<woman_65_franiemargot.pspimage>>
Copie e Cole Como Nova Layer
Image/Resize / 80%... Resize All Layers ... Desmarcado ( 2 Vezes)
Image / Resize / 85%... Resize All Layers ... Desmarcado
Ative a Ferramenta <<Pick Tool (K) >> Position X:531,00/ Position Y:14,00
Tecla <<A>> para sair da Ferramenta
Adjust / Sharpness / sharpen
Layers / Duplicate
Adjust / Blur / Gaussian Blur / Radius 5
Layers / Arrange / Move Down
Blend Mode / Multiply
15 - Ative o tube <<Vyp_Ninon _ text01.pspimage>>
Copie e Cole Como Nova Layer
Posicione no canto superior esquerdo
16 - Ative o tube << Vyp_Ninon _ text02.pspimage>>
Copie e Cole como nova Layer
Posicione Como na imagem final
17 - Image/Add Borders / Symmetric Marcado / 1 pixel cor #25252b
Image / Add Borders / Symmetric Marcado / 10 pixels Cor #ffffff
Image / Add Borders / Symmetric Marcado / 1 pixel Cor #25252b
Image / Add Borders / Symmetric Marcado / 3 pixels Cor #ffffff
Image / Add Borders / Symmetric Marcado / 1 pixel Cor #25252b
Image / Add Borders / Symmetric Marcado / 3 pixels Cor #ffffff
Image / Add Borders / Symmetric Marcado / 1 pixel Cor #25252b18 - Selections / Select All
Image / Add Borders / Symmetric Marcado / 45 pixels Cor #ffffff
Effects/ 3D Effects / Drop Shadow: 0/0/60/25/cor #000000
Selections / Select None19 - Image / Add Borders / Symmetric Marcado / 1 pixel Cor #25252b
20 - Ative o tube <<déco Vyp_Ninon_deco3.pspimage>>
Copie e Cole Como Nova Layer
21 - Coloque a sua Assinatura
22 - Layers / Merge / Merge All (Flatten)
23 - Exporte como JPEG Optimizado
Versão com tube de Claudia Viza:
©Tutorial traduzido por Estela Fonseca em 11/06/2017.
Não alterar nem repassar sem autorização.
