MADDY
Tutorial de Violette Graphic , original, Aqui.

Tutorial realizado no PSP X9 mas pode ser feito em versões anteriores do PSP.
Materiais Necessários:
Tube de RoseArt
Mask de Narah_mask_Abstract203.jpgDemais materiais de Violette
Plugins Utilizados: AQUIToadies/"Sucking Toads" Bevel 1
Toadies/Weaver
Medhi/Sorting Tiles
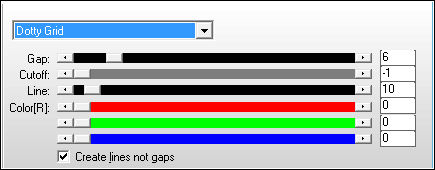
AP Lignes/ Silverlining /Dotty grid
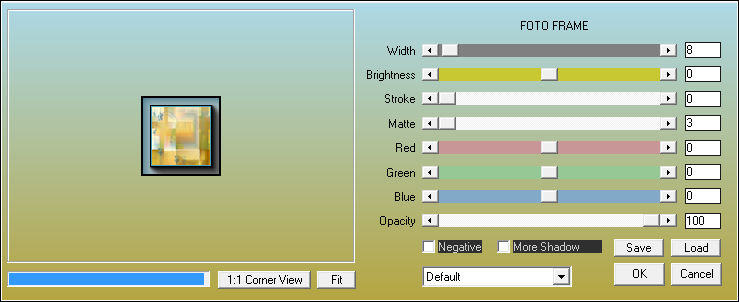
AAA Frame/Foto frame
Preparação:Abra os tubes no PSP. Duplique e feche o Original
Abra a Mask no PSP e Minimize
Seleções em canal alfa.
Tabela de Cores:
01 - Primeiro Plano cor #fee299 / Segundo Plano cor #c98e40
02 - Abra a imagem << Vyp_Alpha_Maddy.pspimage>>
Window / DuplicateMinimize e Feche o original
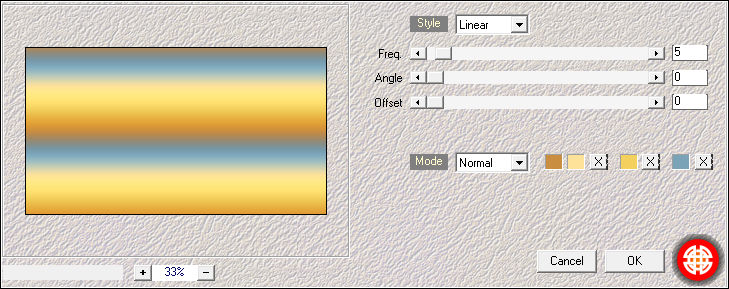
03- Effects / Plugin / Medhi / Wavy lab 1.1:
Nota: Cores dos quadradinhos: #c98e40/#fee299/#f5cf60/#7aa3b9
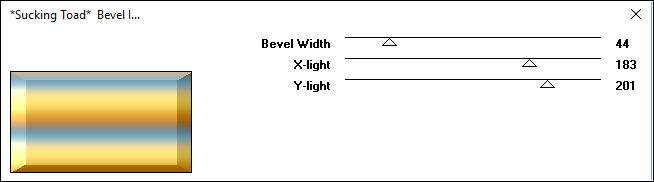
04 - Effects/ Plugins / Toadies / "Sucking Toads" Bevel I:
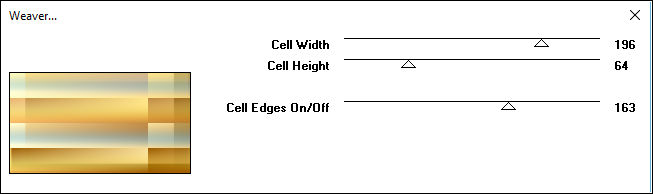
05 - Effects / Plugin / Toadies / Weaver:
06 - Layers / Duplicate
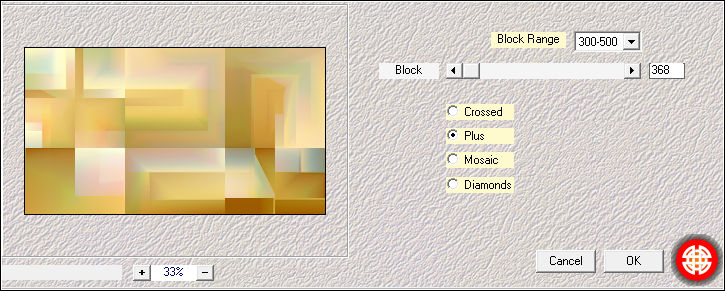
Effects / Plugin / Medhi / Sorting Tiles:
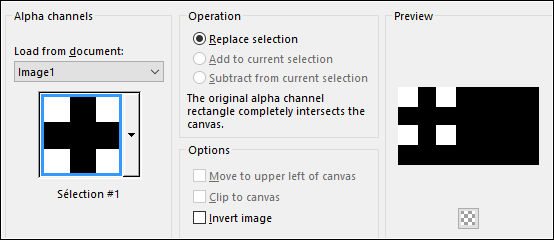
07 - Selections / Load Save Selection / Load Selection From Alpha Channel: Selection #1
Selections / Promote Selection to Layer
Selections / Select None
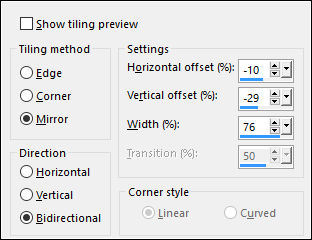
Effects / Image Effects / Seamless Tiling
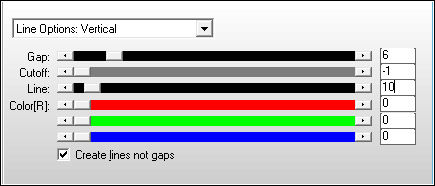
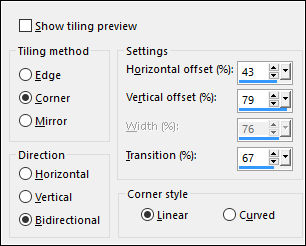
Effects / Plugin / AP Lines / Lines Silverlining:
Effects / Image Effects / Seamless Tiling
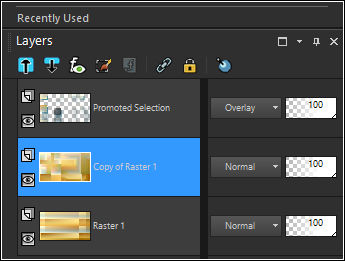
Blend Mode / Overlay
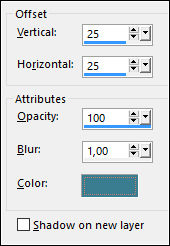
Effects / 3D Effects / Drop Shadow: Cor #3b7d91
08 - Ative a Layer << Copy of Raster 1>>
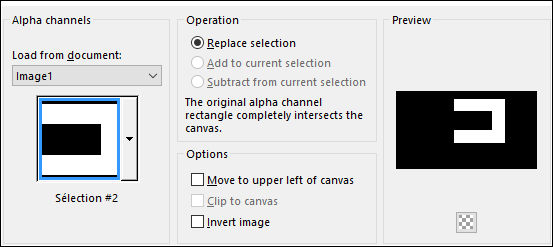
Selections / Load Save Selection / Load Selection From Alpha Channel: Selection #2
Selections / Promote Selection to Layer
Selections / Select None
Effects / Edge Effects / Enhance
Layers / Arrange / Bring to top
Effects / Plugin / AP Lines / Lines Silverlining / Dotty grid
Effects / 3D Effects / Drop Shadow: 2/2/20/0/cor #000000
09 - Ative o tube <<Vyp_Maddy_Deco1.pspimage>>
Copie e Cole Como Nova LayerObjects/Align / Top
Opacidade / 60%
10 - Ative a Layer <<Raster 2>>
Edit / Copy Special / Copy MergedCole Como Nova Imagem
Image / Resize / 58 x 58 pixels
Image / Add Borders / Symmetric Marcado / 1 pixel cor #4497af
Image / Add Borders / Symmetric Marcado / 8 pixels cor #ffffff
Image / Add Borders / Symmetric Marcado / 1 pixel cor #4497afEffects / Plugin / AAA Frame/Foto Frame:
Copie
11 - Retorne ao seu trabalho
Layers / New Raster LayerSelections / Load Save Selection / Load Selection From Alpha Channel: Selection #3
Cole na seleção
Selections / Select None
12 - Layers / Duplicate
Image/Resize / 85%... Resize all layers ...DesmarcadoFerramente <<Pick Tool(K)>> Mode: Scale Posicione:
13 - Layers / Duplicate
Ferramente <<Pick Tool(K)>> Mode: Scale Posicione:
Layers / Merge / Merge Down ( 2 vezes)
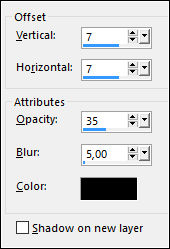
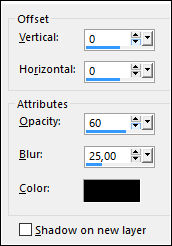
Effects / 3D Effects / Drop Shadow: 7/7/35/5/cor #000000
14 - Ative o tube <<Vyp_Maddy_Deco2.pspimage>>
Copie e Cole como nova LayerObjects / Align / Right
15 - Ative a Layer do topo
Layers / New Raster Layer
Preencha com a cor #ffffff
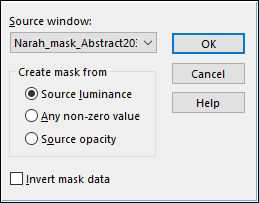
Layers / New Mask layer / From Image: Narah_mask_Abstract203.jpg
Layers / Merge / Merge Group
Blend Mode / Dodge
Opacidade / 50%
Layers / Arrange / Move Down ( 2 vezes)16 - Ative o tube <<GjX7fQ1ZmwB_UsNUqbpEdlAM_Lw.png>>
Copie e Cole como nova LayerImage / Resize / 60%... Resize all layers...Desmarcado ( 2 vezes)
Image / Resize / 70%... Resize all layers...Desmarcado
Ferramente <<Pick Tool(K)>> Mode: Scale Posicione:
Layers / Duplicate
Layers / Arrange / Move Down
Adjust / Blur / Gaussian Blur / Radius 10
Opacidade / Multiply
Ative a Layer do topo
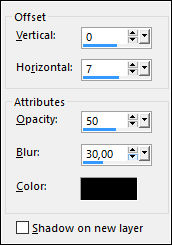
Effects / 3D Effects / Drop Shadow: Cor #000000
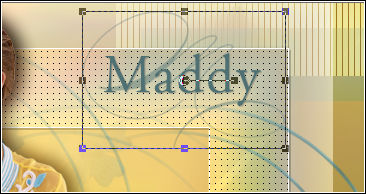
17 - Ative o tube << Vyp_Maddy_text01.pspimage>>
Copie e Cole como nova LayerPosicione
18 - Image / Add Borders / Symmetric Marcado / 1 pixel cor #4497af
Image / Add Borders / Symmetric Marcado / 20 pixels cor #ffffffImage / Add Borders / Symmetric Marcado / 1 pixel cor #4497af
Image / Add Borders / Symmetric Marcado / 3 pixels cor #ffffff
Image / Add Borders / Symmetric Marcado / 1 pixel cor #4497af19 - Selections / Select All
Image / Add Borders / Symmetric Marcado / 40 pixels cor #ffffff
Effects / 3D Effects / Drop Shadow: Cor #000000
Selections / Select None18 - Ative o tube <<Vyp_Maddy_Deco3.pspimage>>
Copie e Cole como nova layerImage / Add Borders / Symmetric Marcado / 1 pixel cor #4497af
19 - Coloque a sua assinatura
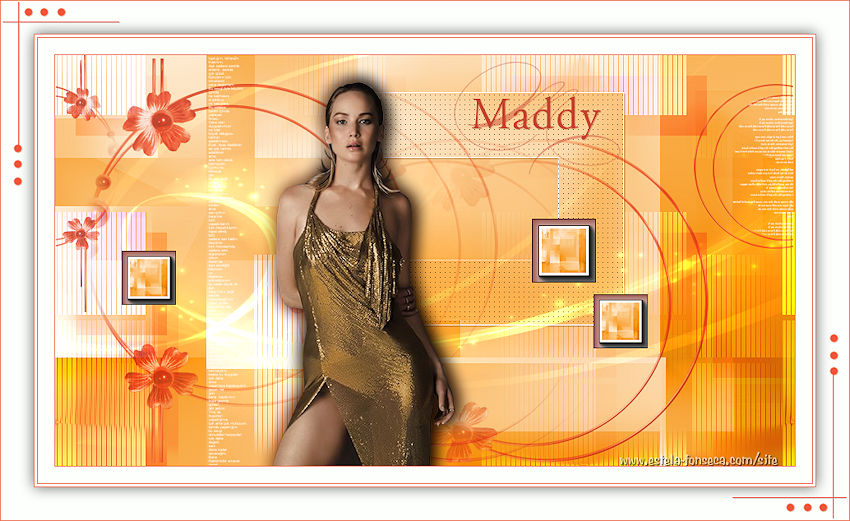
20 - Layers / Merge / Merge All
21 - Exporte como JPG Otimizado.Versão com tube de Luz Cristina
©Tutorial traduzido por Estela Fonseca em 26/08/2017.
Não alterar nem repassar sem autorização.