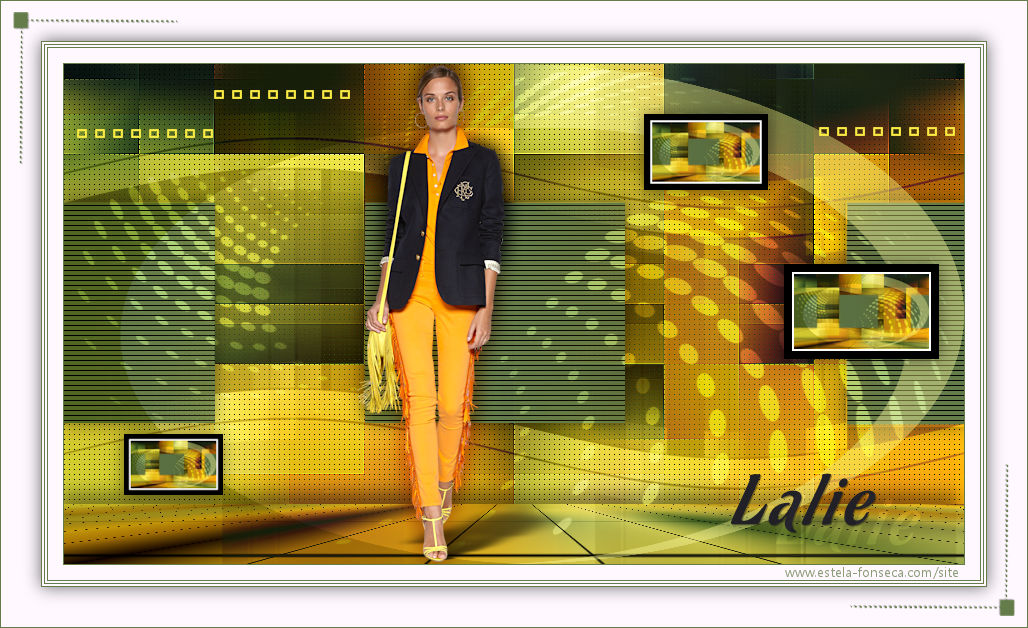
LALIE
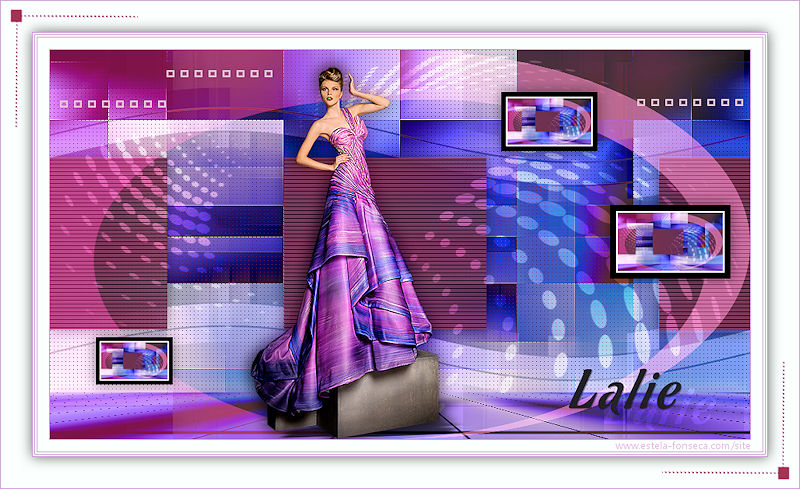
Tutorial de Violette Graphic , original, Aqui.

Tutorial realizado no PSP X9 mas pode ser feito em versões anteriores do PSP.
Materiais Necessários:
Tube de Cady
Masks de Violette (MaskViolette_R63.jpg) e de Aditascreations_mask_16.jpg
Seleções: Vyp_Alpha_Lalie01.Pspimage
Demais materiais de @Violette
Plugins Utilizados:Medhi/Waby Labs/ Sorting Tiles
Toadies/Ommadan
Mura's Meister/Perspectives Tiling
AP Lignes/ Silverlining /Horizontal/Dotty grid
AAA Frame/Foto frame
Alien Skin Eye Candy 5 /Impact Perspective Shadow
Preparação:Abra os tubes no PSP, duplique e feche os originais
Dê dois cliques no preset do Alien Skin para importá-lo.
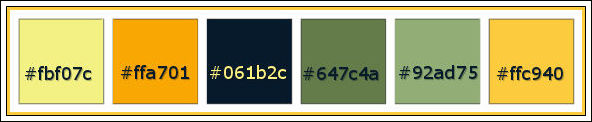
Tabela de Cores:
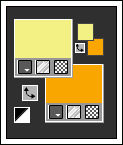
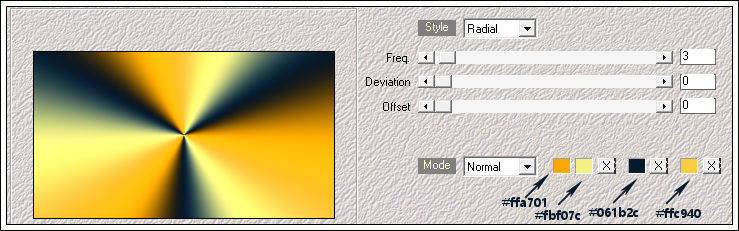
1 - Primeiro Plano cor #fbf07cSegundo Plano cor #ffa701
2 - Abra a layer transparente << Vyp_Alpha_Lalie01.Pspimage>>
Windows / Duplicate (Feche a original)
Selections / Select None
Effects / Plugins / Medhi / Waby Labs:
Adjust / Blur / Gaussian Blur / Radius 50
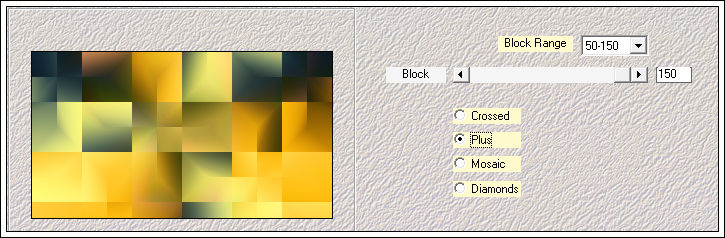
3 - Effects / Plugin / Medhi / Sorting Tiles:
Effects / Image Effects / Seamless Tiling
Image / Flip / Flip Vertical
4 - Layers / Duplicate
Image / Flip / Flip Vertical
Blend Mode / Overlay
Opacidade / 44%
Layers / Merge / Merge Down
Effects / Edge Effects / Enhance
Image / Flip / Flip Vertical
5 - Layers / Duplicate
Effects / Image Effects / Seamless Tiling:
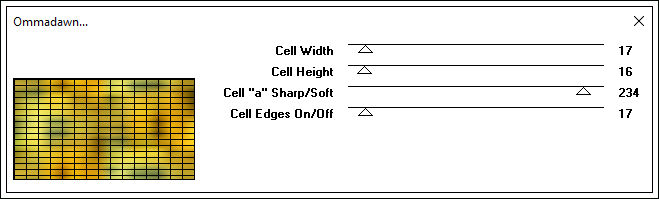
Effects / Plugins / Toadies / Ommadawn :
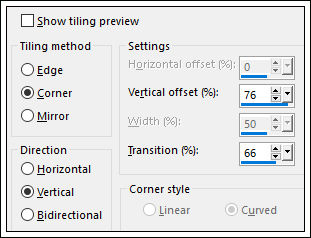
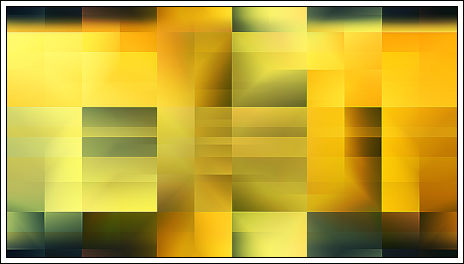
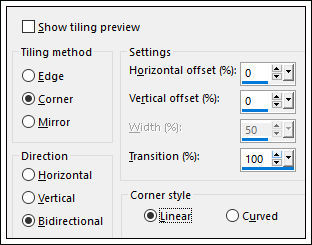
Effects / Plugin / Mura's Meister / Perspectives Tiling :
Effects / 3D Effects / Drop Shadow: -12/-5/40/25/cor #000000
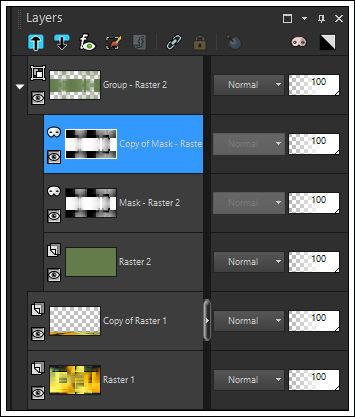
6 - Layers / New Raster Layer
Preencha com a cor #647c4a
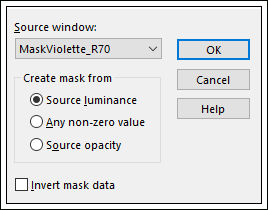
Ative a Mask <<MaskViolette_R70.jpg>> Minimize
Layers / New Mask Layer / From Image: MaskViolette_R70.jpg
Layers / Duplicate
Layers / Merge / Merge Group
7 - Ative a Layer transparente do material <<Vyp_Alpha_Lalie>> Minimize no PSP
Volte para seu trabalho:
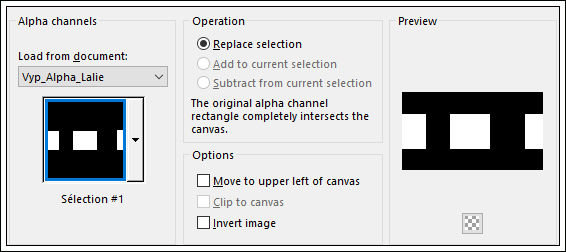
Selections / Load-save Selection / Loas-selection from Alpha Channel: Selection #1
Selections / Promote Selection to Layer
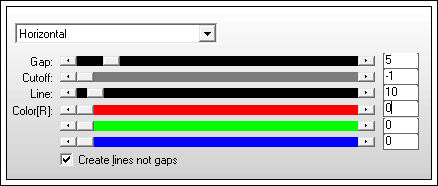
Effects / Plugins / AP [Lines] / Lines-Silverlining /Horizontal:
Effects / 3D Effects / Drop Shadow: 0/0/50/25/cor #000000
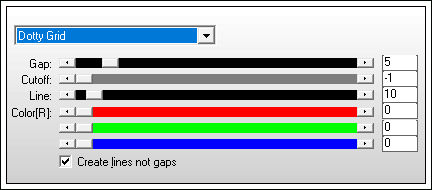
Selections / Select None8 - Ative a Layer << Raster 1>>
Effects / Plugins / AP [Lines] / Lines-Silverlining /Dotty Grid:
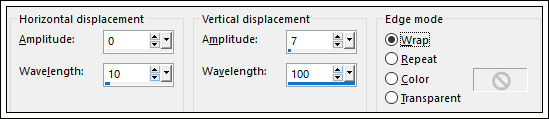
9 - Ative a Layer << group of Raster 2>>
Effects / Distortion Effects / Wave
Blend Mode / Difference
Opacidade / 60%
Layers / Duplicate
Blend Mode / Overlay
Opacidade / 60%
10 - Ative a Layer do topo
Layers / New Raster Layer
Preencha com a cor #ffffff
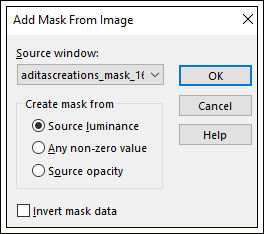
Ative a Mask <<Aditascreations_mask_16.jpg>> Minimize
Layers / New Mask Layer / From Image: Aditascreations_mask_16.jpg
Layers / Merge / Merge Group
Blend Mode / Overlay
Opacidade / 65%
11 - Layers / New Raster Layer
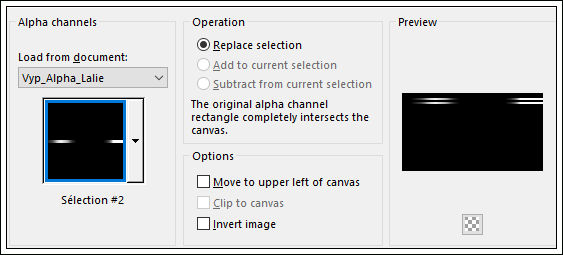
Selections / Load-save Selection / Loas-selection from Alpha Channel: Selection #2
Preencha com a cor #92ad75
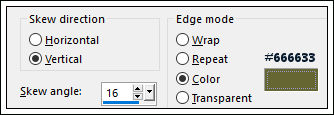
Selections / Select NoneEffects / Geometric Effects / Skew
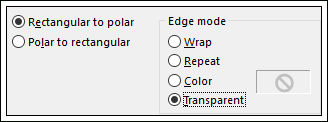
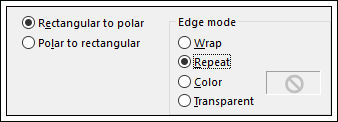
Effects / Distortion Effects / Polar Coordenates
Blend Mode / Screen
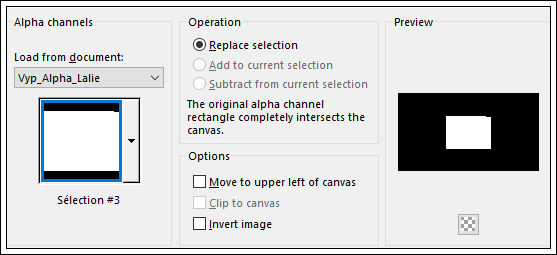
Selections / Load-save Selection / Loas-selection from Alpha Channel: Selection #3
Delete no teclado
Selections / Select None
12 - Layers / New Raster Layer
Selections / Load-save Selection / Loas-selection from Alpha Channel: Selection #2
Preencha com a cor #92ad75
Selections / Select NoneEffects / Geometric Effects / Skew
Effects / Distortion Effects / Polar Coordenates:
Image / Mirror / Mirror Horizontal
Blend Mode / Hard Light
Opacidade / 85%
Selections / Load-save Selection / Loas-selection from Alpha Channel: Selection #3
Delete no teclado
Selections / Select None
13 - Edit / Copy Special / Copy Merged
Cole como nova imagem
Image / Resize / 15%... Resize All Layers ... Marcado
Image / Add Borders / Symmetric Marcado / 10 pixels cor #ffffff
Effects / Plugins / AAA Frame / Foto Frame
Copie e Cole como nova layer
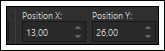
Ferramenta <<Pick Tool>> Posicione
Pressione qualquer tecla para sair da ferramenta
Layers / Duplicate
Image / Resize / 80%... Resize All Layers ... Desmarcado
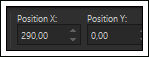
Ferramenta <<Pick Tool>> Posicione
Pressione qualquer tecla para sair da ferramenta
Layers / Duplicate
Image / Resize / 80%... Resize All Layers ... Desmarcado
Ferramenta <<Pick Tool>> Posicione
Pressione qualquer tecla para sair da ferramenta
Em cada <<Quadro>>:
Effects / 3D Effects / Drop Shadow: 0/0/50/25/cor #000000
14 - Ative o tube <<Vyp_Lalie _ deco01.pspimage>> Copie e Cole como nova layer
Posicione
15 - Ative o tube <<Tt-E9IWGuUVxDq2WpmL3XlGPA60.png>>
Copie e Cole Como Nova layer
Image / Resize / 50% ... Resize All Layers ... Desmarcado
Image / Resize / 45%... Resize All Layes... Desmarcado
Posicione
Layers / Duplicate
Ative a Layer imediatamente inferior a essa <<Raster 5>>
Adjust / Blur / Gaussian Blur / Radius 10
Blend Mode / Multiply
16 - Ative a Layer do topo
Effects / Plugins / Alien Skin Eye Candy 5 /Impact / Perspective Shadow / preset Vyp_shadow_Lalie.f1s
17 - Ative o tube <<Vyp_Lalie _ text01.pspimage>> Copie e Cole como nova layer
Posicione no canto inferior direito
Layers / Duplicate
Posicione
Blend Mode / Dodge
18 - Image/Add Borders / Symmetric Marcado / 1 pixel cor #647c4a
Image/Add Borders / Symmetric Marcado / 15 pixels cor #ffffff19 - Image/Add Borders / Symmetric Marcado / 1 pixel cor #647c4a
Image/Add Borders / Symmetric Marcado / 2 pixels cor #ffffff
Image/Add Borders / Symmetric Marcado / 1 pixel cor #647c4a
Image/Add Borders / Symmetric Marcado / 2 pixels cor #ffffff
Image/Add Borders / Symmetric Marcado / 1 pixel cor #647c4a20 - Selections / Select All
Image/Add Borders / Symmetric Marcado / 40 pixels cor #ffffff
Effects/ 3D Effects / Drop Shadow: 0/0/60/25/cor #00000021 - Ative o tube <<Vyp_Lalie _ deco02.pspimage>>
Copie e Cole como nova Layer
22 - Image/Add Borders / Symmetric Marcado /1 pixel cor #647c4a
23 - Assine seu trabalho
24 - Layers / Merge / Merge All (Flatten)
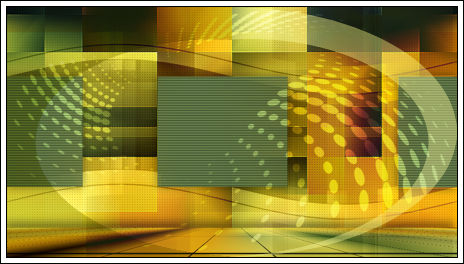
25 - Salve Como JPG
Versão com tube de Mentali:
©Tutorial traduzido por Estela Fonseca em 29/10/2017.
Não alterar nem repassar sem autorização.