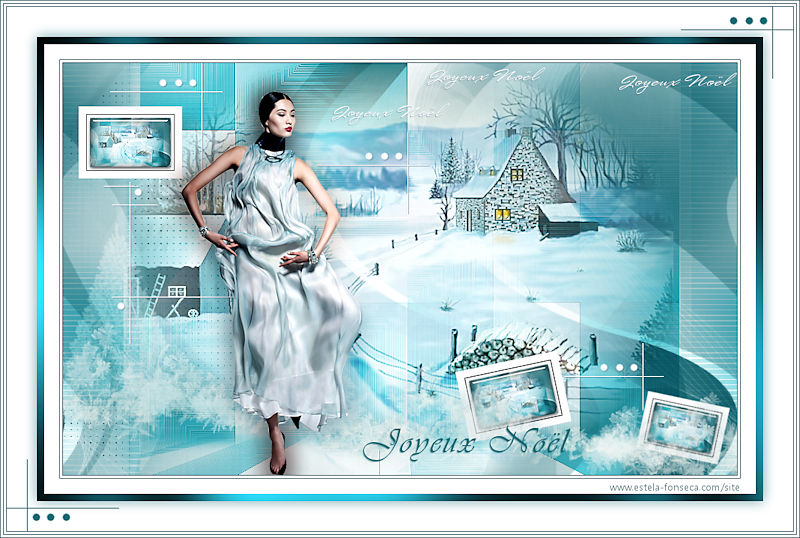
JOYEUX NOËL
Tutorial de Violette Graphic , original, Aqui.

Tutorial realizado no PSP X9 mas pode ser feito em versões anteriores do PSP.
Materiais Necessários:
Tubes de FranieMargot e de Nicole.
Máscaras: Narah_Mask_0878.jpg
Seleções em canal alfa: Vyp_Alpha_Noel.PspImage
Materiais de @Violette
Plugins Utilizados:Mehdi/Wavy lab 1.1/Wavy Labs/ Sorting Tiles
&< BKG Designers sf10 III > ZigZaggerate
&<Bkg Kaleidoscope/4QFlip UpperL
AP Lignes/ Silverlining/Dotty Grid
Carolaine & Sensibility /CS-texture
MuRa's Meister/Perspective Tiles
Alien Skin Eye Candy 5 /Glass
AAA Frame/Foto frame
Preparação:Abra os tubes no PSP, duplique e feche os originais. Abra a Mask no PSP e Minimize-a.
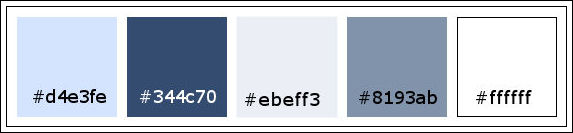
Tabela de Cores do Tutorial:
01- Primeiro Plano cor #344c70 e Segundo Plano cor #d4e3fe
02 - Abra o arquivo << Vyp_Alpha_Noël01.pspimage>> Window / Duplicate
Feche o Original.
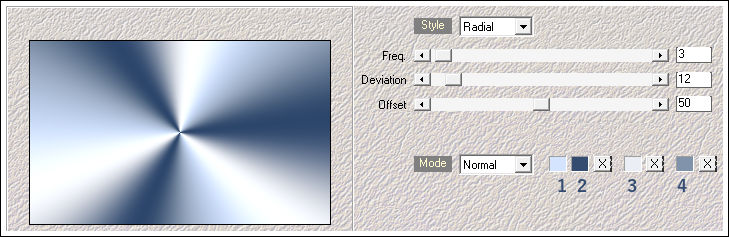
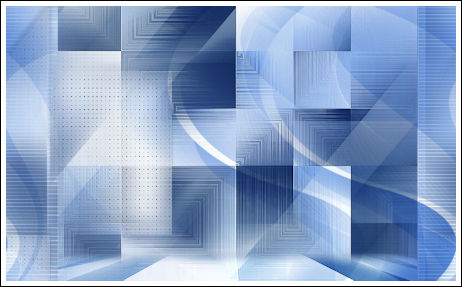
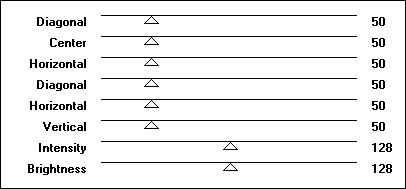
03- Effects / Plugins / Mehdi / Wavy lab 1.1:
Adjust / Blur / Gaussian Blur / Radius 20
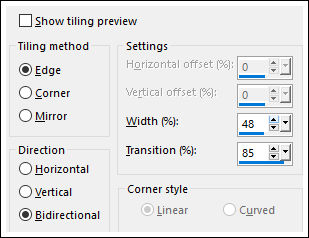
04 - Effects / Plugins / I.C.NET Software / Filters Unlimited 2 / &< BKG Designers sf10 III > ZigZaggerate:
05 - Layers / Duplicate
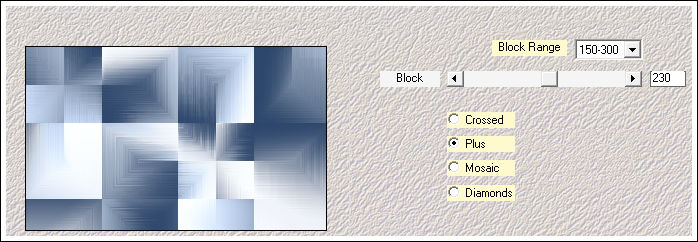
Effects / Plugins / Medhi / Sorting Tiles:
Layers / Merge / Merge Down
06 - Layers / Duplicate
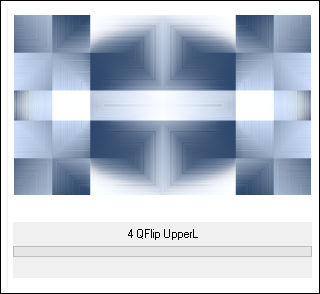
Effects / Plugins / I.C.NET Software / Filters Unlimited 2 /&<Bkg Kaleidoscope/4QFlip UpperL
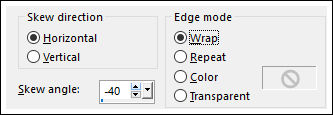
Effects / Geometric Effects / Skew:
Effects / Edge Effects / Erode
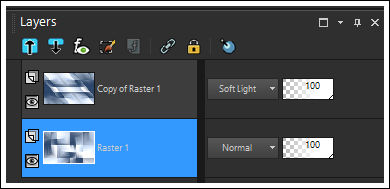
Blend Mode / Soft Light
Ative a Layer <<Raster 1>>
Effects / Edge Effects / Enhance
Ative a Layer do Topo <<Copy of Raster 1>>
Layers / Merge / Merge Down
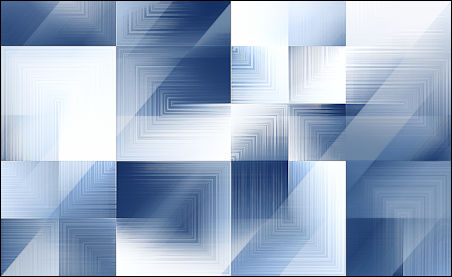
Image / Mirror / Mirror Vertical
Resultado:
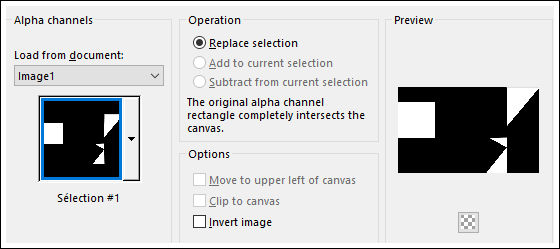
06 - Selections / Load save selection / Load selection from alpha channel: Selection #1
Selections / Promote Selection to Layer
Adjust / Blur / Gaussian Blur / Radius 20
Selections / Select None
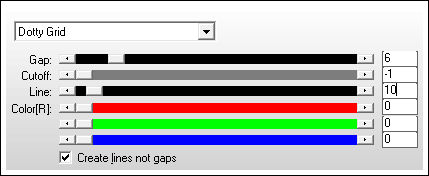
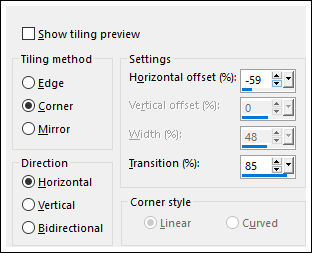
Effects / Plugins / AP [Lines] / Lines - Silverlining / Dotty Grid:
Effects / Image Effects / Seamless Tiling:
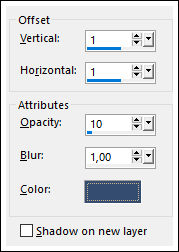
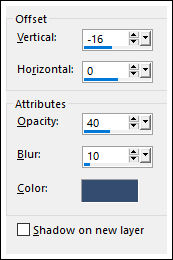
Effects / 3D Effects / Drop Shadow: 1 / 1 / 10 / 1,00 / Cor #344c70
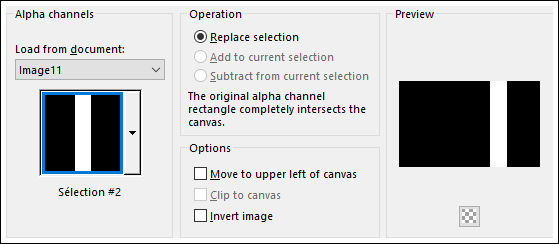
07 - Selections / Load save selection / Load selection from alpha channel: Selection #2
Ative a Layer <<Raster 1>>
Selections / Promote Selection to Layer
Adjust / Blur / Gaussian Blur / Radius 20
Selections / Select None
Effects / Edge Effects / Enhance
Effects / Plugins / Carolaine and Sensibility / CS-texture:
Effects / Image Effects / Seamless Tiling:
Layers / Duplicate
Effects / Image Effects / Seamless Tiling
08 - Ative a Layer <<Promoted Selection>>
Effects / 3D Effects / Drop Shadow: Cor #344c70
09 - Layers / New Raster Layer
Preencha com a cor do Primeiro Plano #344c70
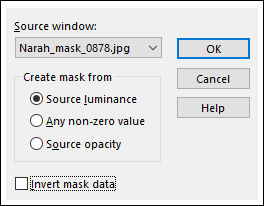
Ative a Máscara <<Narah_Mask_0878.jpg>> Minimize-a
Layers / New Mask Layer / From Image: Narah_Mask_0878
Layers / Merge / Merge Group
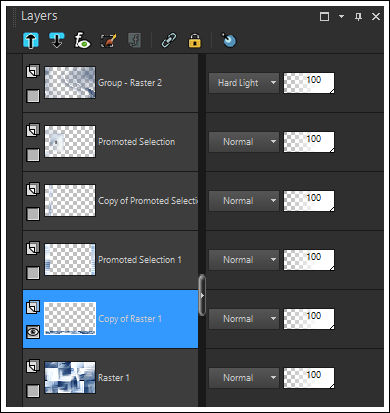
Blend Mode / Hard Light
Effects / Image Effects / Seamless Tiling
10 - Ative a Layer <<Raster 1>>
Layers / Duplicate
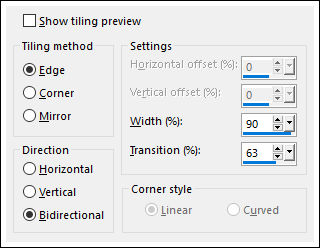
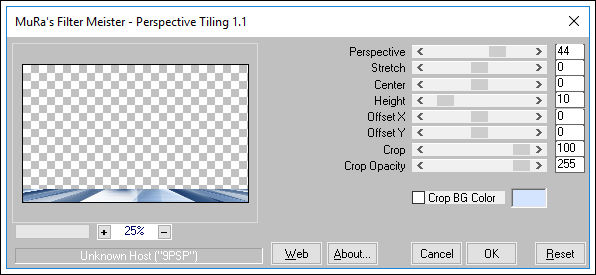
Effects / Plugins / Mura's Meister / Perspective Tiling:
Effects / Image Effects / Offset:
Feche Todas as Layers , exceto a layer <<Copy of Raster 1>>
Ative a Varinha Mágica e Selecione a parte transparente
Selections / Modify / Feather 30
Pressione a Tecla Delete 3 ou 4 Vezes.
Selections / Select None
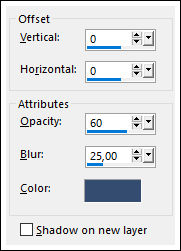
Effects / 3D Effects / Drop Shadow: 0/0/60/25/cor #344c70
Layers / Duplicate
Blend Mode / Screen
Torne Visivel todas as layers:
Resultado:
Layers / Merge / Merge Down
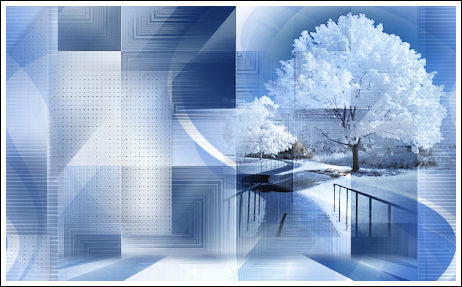
11 - Ative o tube <<nicole-mist-paysage-36-2012.pspimage>> Copie e Cole como nova layer
Image / Mirror / Mirror Horizontal
Image / Resize / 80%... Resize All Layers ... DesmarcadoLayers / Arrange / Bring to top
Posicione no Alto à Direita
Blend Mode / Hard Light
Layers / Duplicate
Blend Mode / Screen
Opacidade / 50%
Resultado:
12 - Ative o tube <<Vyp_Noel_deco01.pspimage>> Copie e Cole como nova layer
Objets / Align / Left
Desça um pouco como no modelo
Blend Mode / Soft Light
13 - Ative o tube <<Vyp_Noel_deco02.pspimage>> Copie e Cole como nova layer
Objects / Align / Bottom
14 - Edit / Copy Special / Copy Merged
Cole como nova imagem
Image / Resize / 12% ... Resize All Layers ... Marcado
Image / Add Borders / Symmetric Marcado / 15 Pixels cor #ffffff (branca)
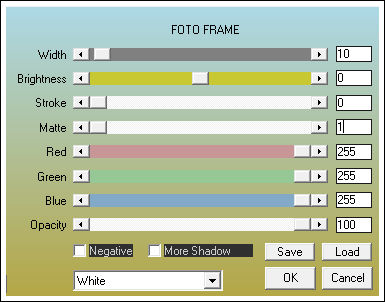
Effects / Plugins / AAA Frames / Foto Frame
Selections / Select All
Selections / Modify / Contract / 15 pixels
Effects / Plugins / Alien Skin Eye Candy 5 / Impact /Glass / Preset ClearAdjust / Sharpness / Sharpen More
Copie
15 - Retorne ao seu trabalho
Cole como nova layer
Ative a <<Pick Tool>> Posição de X e de Y como segue: (X = 21/ Y= 58)
Tecla "A" para sair da ferramenta
Effects / 3D Effects / Drop Shadow:cor #344c70
Layers / Duplicate
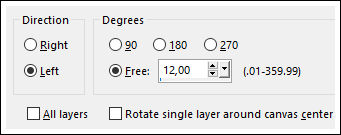
Image / Free Rotate/ Free / 12° / Left
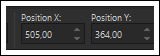
Ative a Pick Tool / Posição de X e de Y como segue:(X = 505/ Y= 364)
Tecla "A" para sair da ferramenta
Layers / Arrange / Move Down ( 2 vezes)
Layers / Duplicate
Image / Resize / 80% ... Resize All Layers ... Desmarcado
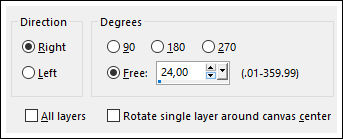
Image / Free Rotate / 24° / Free / Right
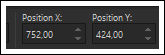
Ative a Pick Tool / Posição de X e de Y como segue: (X= 752/ Y= 424)
Tecla "A" para sair da ferramenta
Layers / Arrange / Move Down
16 - Ative a layer do Topo
Ative o tube <<Vyp_Noel_deco03.pspimage>> Copie e Cole como nova layer
Effects / Image Effects / Offset
17 - Ative o tube <<femme_robe_longue20_franiemargot.pspimage>> Copie e Cole como nova layer
Image / Resize / 80% ... Resize All Layers ... Desmarcado
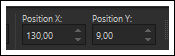
Ative a Pick Tool / Posição de X e de Y como segue: (X = 130 / Y= 9)
Tecla "A" para sair da ferramenta
Adjust / Sharpness / Sharpen
Layers / Duplicate
Ative a Layer imediatamente abaixo
Adjust / Blur / Gaussian Blur / Radius 15
Blend Mode / Multiply
Opacidade / 80%
28 - Ative o tube << Vyp_Noel_text01.pspimage>> Copie e Cole como nova layer
Posicione como segue:
22 - Ative o tube <<Vyp_Noel_text02.pspimage>> Copie e Cole como nova layer
Posicione como segue:
22 - Image / Add Borders / Symmetric Marcado / 1 pixel cor #344c70
Image / Add Borders / Symmetric Marcado / 3 pixels cor #ffffff
Image / Add Borders / Symmetric Marcado / 1 pixel cor #344c7023 - Image / Add Borders / Symmetric Marcado / 20 pixels cor #ffffff
Image / Add Borders / Symmetric Marcado / 10 pixels cor #344c70
Selections essa borda com a varinha mágicaEffects / Plugins / Graphic Plus / Cross Shadow: ( 2 vezes)
24 - Selections / Select All
Image / Add Borders / Symmetric Marcado / 40 pixels cor #ffffff
Effects / 3D Effects / Drop Shadow: Cor #344c70
Selections / Select None25 - Image / Add Borders / Symmetric Marcado / 1 pixel cor #344c70
Image / Add Borders / Symmetric Marcado / 3 pixels cor #ffffff
Image / Add Borders / Symmetric Marcado / 1 pixel cor #344c70
Image / Add Borders / Symmetric Marcado / 3 pixels cor #ffffff
Image / Add Borders / Symmetric Marcado / 1 pixel cor #344c7026 - Ative o tube << Vyp_Noel_Deco04.pspimage>> Copie e Cole como nova layer
27 - Coloque a sua assinatura
28- Layers / Merge / Merge All
29 - Salve Como JPG
Versão com tube de Thafs (Misted) e de Verlaine (Personagem):
©Tutorial traduzido por Estela Fonseca em 02/12/2018.
Não alterar nem repassar sem autorização.