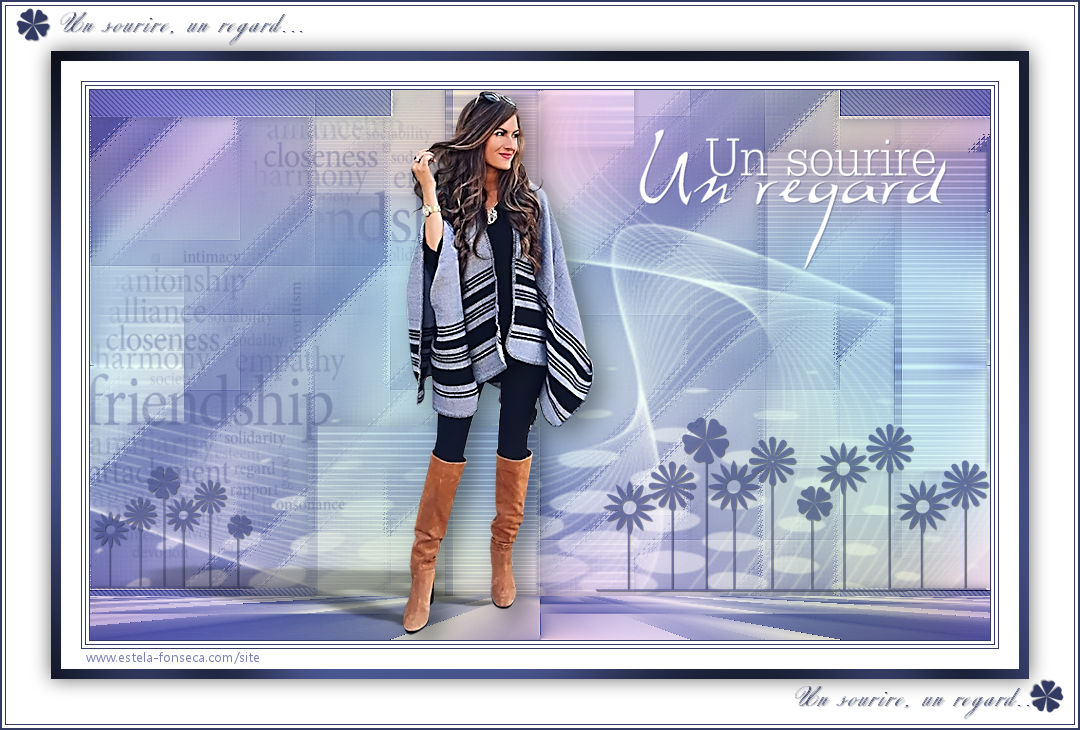
JENNY
Tutorial de Violette Graphic , original, Aqui.

Tutorial realizado no PSP X9 mas pode ser feito em versões anteriores do PSP.
Materiais Necessários:
Tube de Coly
Máscara de : adita_mask_02.jpg ( Abra no Psp e minimize)
Seleções em canal alfa: Vyp_Alpha_Jenny.PspImage
Demais materiais de @Violette
Plugins Utilizados:
Mehdi/Wavy lab 1.1/Sorting Tiles
Carolaine & Sensibility /CS-DLines/CS-texture
Sybia/Tremorsc
Mura's Meister/Perspective Tiling
Alien Skin Eye Candy 5 /Impact Perspective Shadow
Graphic Plus/Cross Shadow
Preparação:Abra os tubes no PSP, duplique e feche os originais.
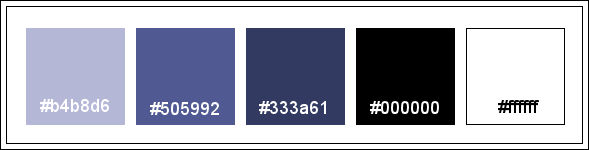
Tabela de Cores:
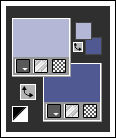
1 - Primeiro Plano cor #b4b8d6 e Segundo Plano cor #505992
2 - Abra o arquivo << Vyp_Alpha_Jenny.pspimage>>
Estes arquivo contém seleções em canal alfaWindows / Duplicate
Feche a original
Trabalhe na cópia
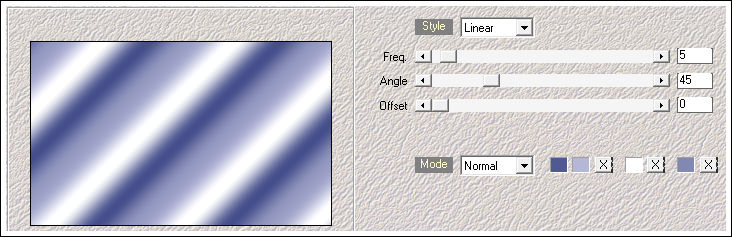
3- Effects / Plugins / Mehdi / Wavy lab 1.1:
Adjust / Blur / Gaussian Blur / Radius: 35
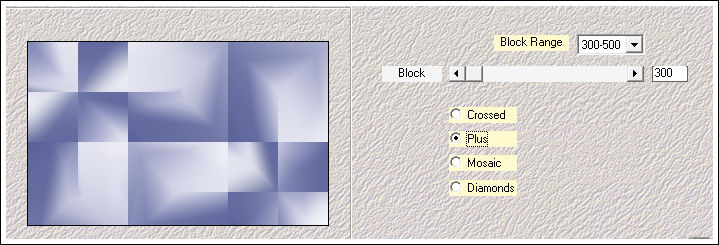
4 - Effects / Plugins / Medhi / Sorting Tiles:
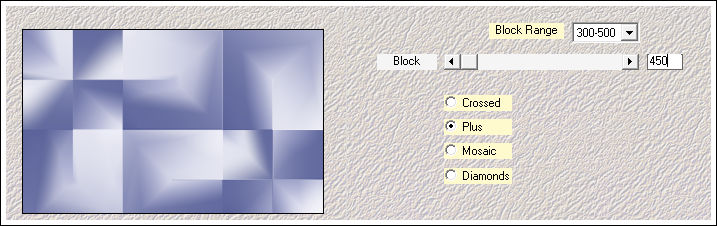
5 - Effects / Plugins / Medhi / Sorting Tiles:
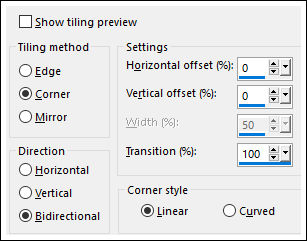
6 - Effects / Image Effects / Seamless Tiling:
Effects / Edge Effects / Enhance
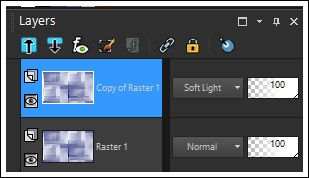
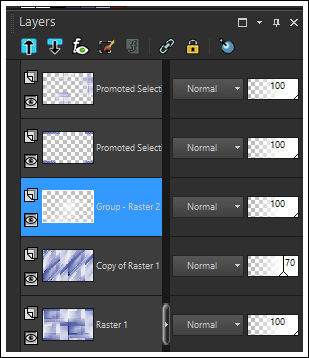
Layers / Duplicate
Blend Mode / Soft Light
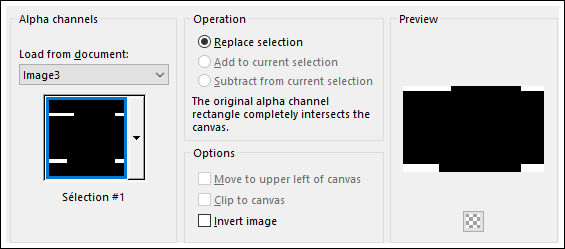
Layers / Merge / Merge Down6 - Selections / Load Save selection / Load selection from alpha channel: Selection #1
Selections / Promote selection to layer
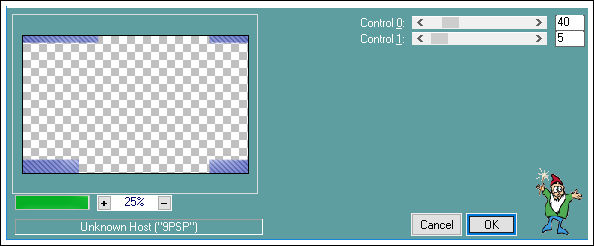
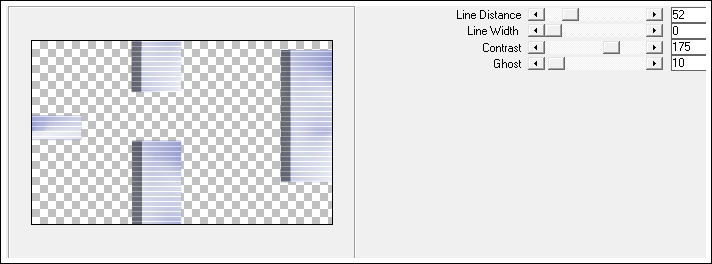
Effects / Plugins / Carolaine & Sensibility / CS-DLines:
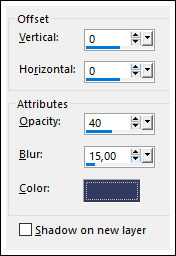
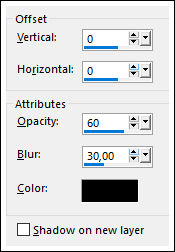
Effects / 3D Effects / Drop Shadow: 0/0/40/15/cor #333a61
Selections / Select None7 - Ative a Layer <<Raster 1>>
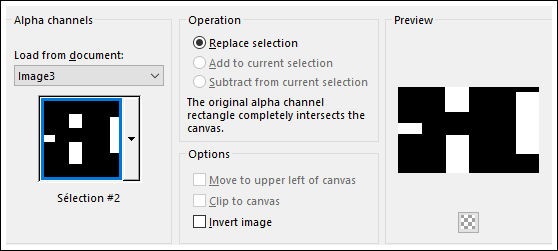
Selections / Load Save selection / Load selection from alpha channel: Selection #2
Selections / Promote selection to layer
Layers / Arrange / Bring to top
Effects / Plugins / Carolaine & Sensibility / CS-texture:
Effects / 3D Effects / Drop Shadow: 0/0/40/15/cor #333a61
Selections / Select None8 - Ative a Layer <<Raster 1>>
Layers / Duplicate
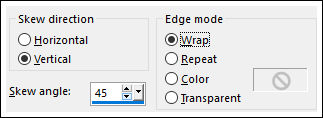
Effects / Geometric Effects / Skew:
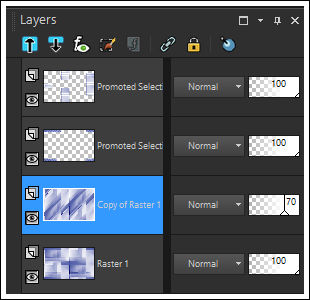
Opacidade / 70%
Effects / Plugins / Sybia /Tremorsc :
9 - Ative a Layer do topo
Effects / Distortion Effects / Punch:
Effects / Image Effects / Seamless Tiling:
10 - Ative a Layer <<Raster 1>>
Layers / New Raster Layer
Preencha com a cor #ffffff
Ative a Mask <<adita_mask_02.jpg>> Minimize
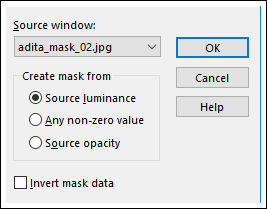
Layers / New Mask Layer / From Image: adita_mask_02.jpg
Layers / Merge / Merge GroupLayers / Arrange / Move Up
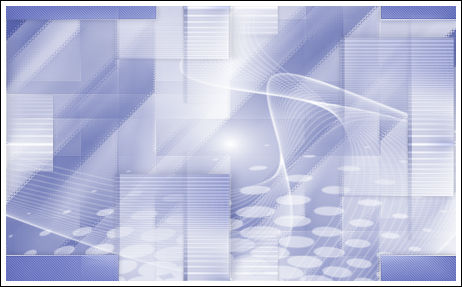
Resultado:
11 - Ative a Layer <<raster 1>>
Layers / Duplicate
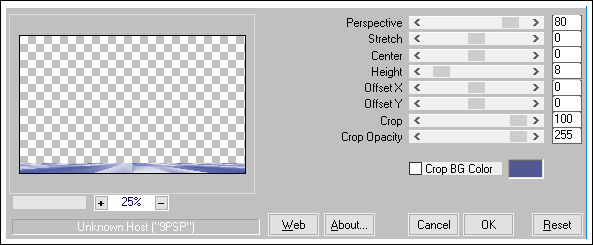
Effects / Plugins / Mura's Meister / Perspective Tiling:
Layers / Arrange / Brint to top
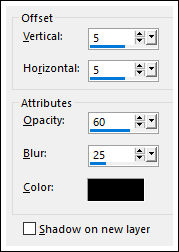
Effects / 3D Effects / Drop Shadow: 5/5/60/25/cor #000000
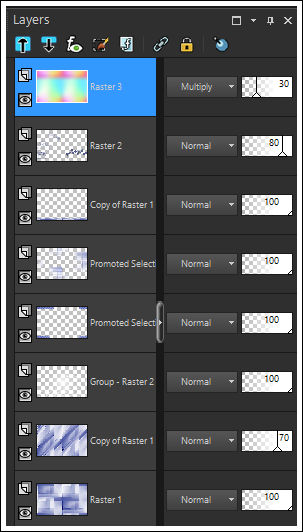
12 - Ative o tube <<Vyp_Jenny_Deco1.pspimage>> Copie e Cole como nova layer
Objects/ Align / Top
Opacidade / 80%
13 - Layers / New Raster Layer
Selections / Select All
Ative o tube <<Vyp_Jenny_Deco2.pspimage>> Copie e Cole na seleção
Selections / Select None
Blend Mode / Multiply
Opacidade / 30%
14 - Ative o tube << femme567-coly.png>> Remova a marca da autora
Copie e Cole como nova layer
Image / Mirror / Mirror Horizontal
Image / Resize / 70%... Resize All Layers ... DesmarcadoImage / Resize / 95%... Resize All Layers ... Desmarcado
Adjust / Sharpness / Sharpen
Ferramenta <<Pick Tool (K)>> Posição de X: 312 / Posição de Y: 0
Tecla "A" para sair da ferramenta
Effects / Plugins / Alien Skin Eye Candy 5 / Impact / Perspective Shadow / preset : Vyp_Shadow_Jenny.f1s
Effects / Plugins / Alien Skin Eye Candy 5 / Impact / Perspective Shadow / preset : Vyp_Shadow2_Jenny.f1s
18 - Ative o tube <<Vyp_Jenny_text01.pspimage>> Copie e Cole como nova layer
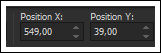
Ferramenta <<Pick Tool (K)>> Posição de X: 549 / Posição de Y: 39
Tecla "A" para sair da ferramenta
19 - Image /Add Borders / Symmetric Marcado / 1 pixel cor #333a61
Image /Add Borders / Symmetric Marcado / 3 pixels cor #ffffff
Image /Add Borders / Symmetric Marcado / 1 pixel cor #333a61
Image /Add Borders / Symmetric Marcado / 3 pixels cor #ffffff
Image /Add Borders / Symmetric Marcado /1 pixel cor #333a61
20 - Image /Add Borders / Symmetric Marcado / 20 pixels cor #ffffff
Image /Add Borders / Symmetric Marcado / 10 pixels cor #333a61
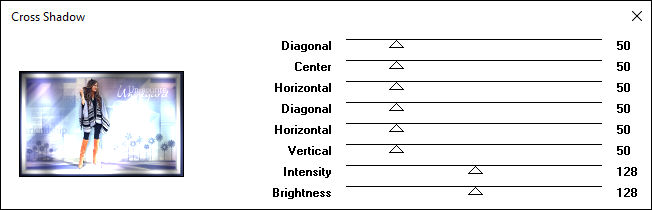
Selecione com a Varinha Mágica essa bordaEffects / Plugins / Graphic Plus/Cross Shadow / Default
20 - Selections / Select All
Image /Add Borders / Symmetric Marcado / 45 pixels cor #ffffff
Effects / 3D Effects / Drop Shadow: 0/0/60/30/cor #000000
Selections / Select NoneImage /Add Borders / Symmetric Marcado / 1 pixel cor #333a61
Image /Add Borders / Symmetric Marcado / 3 pixels cor #ffffff
Image /Add Borders / Symmetric Marcado / 1 pixel cor #333a6121 - Ative o tube <<Vyp_Jenny_Deco03.pspimage>> Copie e Cole como nova layer
22 - Image /Add Borders / Symmetric Marcado / 1 pixel cor #333a61
23 - Coloque a sua assinatura24 - Layers / Merge / Merge All (Flatten)
25 - Exporte como JPG Otimizado.
Versão com tube de Verlaine:
©Tutorial traduzido por Estela Fonseca em 24/01/2019.
Não alterar nem repassar sem autorização.