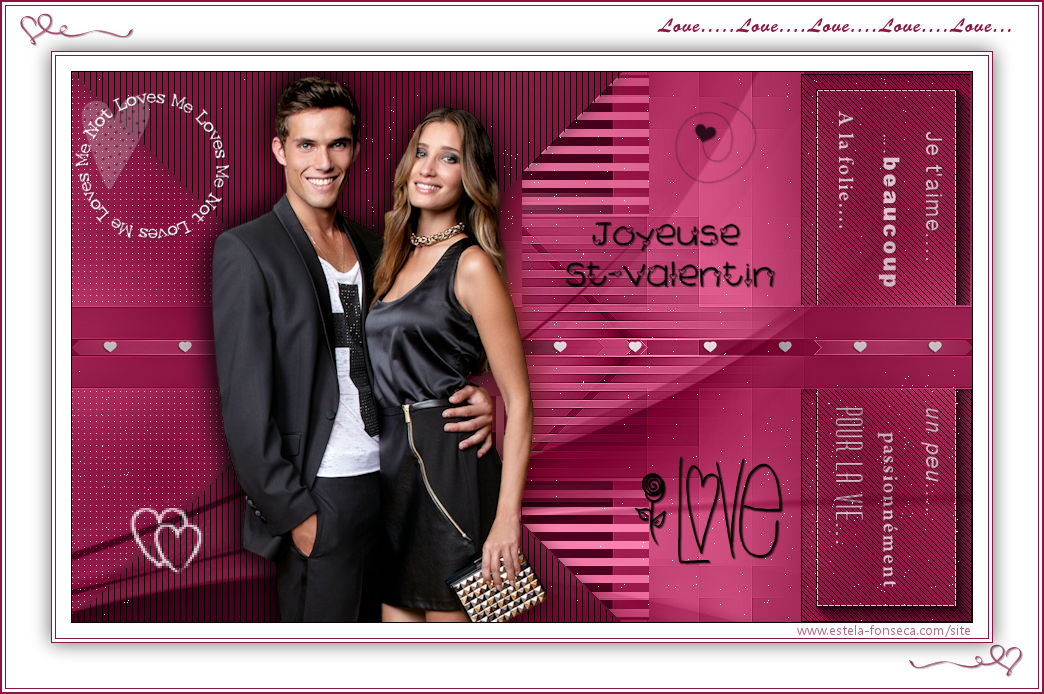
DUO
Tutorial de Violette Graphic , original, Aqui.

Tutorial Traduzido no PSP X9
Materiais Necessários:
Tube de Franie Margot.
Masks: Astrid masker 143.jpg / Narah_mask_Abstrack271.jpg
Seleções em Canal Alfa << Vyp_Alpha_Duo.PspImage>>
Demais materiais de @Violette
Plugins Utilizados:
Mehdi / Wavy lab 1.1
Toadies / What are you??
Carolaine & Sensibility / CS-Linear
Toadies / Weaver
AP Lignes / Silverlining /Blackslach /Doty grid / Lines Option Vertical
AAA Frame / Foto frame
Preparação:
Abra os tubes no PSP, duplique e feche os originais.
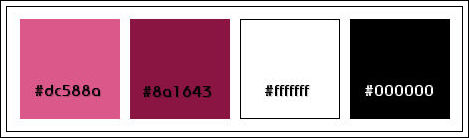
Tabela de Cores:
01 - Primeiro Plano Cor #dc588a / Segundo Plano Cor #8a1643
02 - Abra o arquivo << Vyp_Alpha_Duo.pspimage>>
Window / Duplicate
Feche o Original
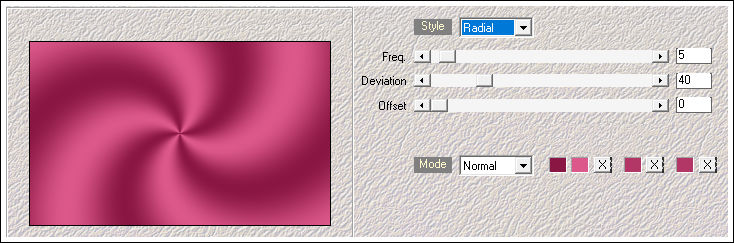
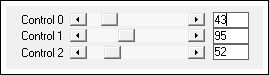
03- Effects / Plugins / Mehdi / Wavy lab 1.1:
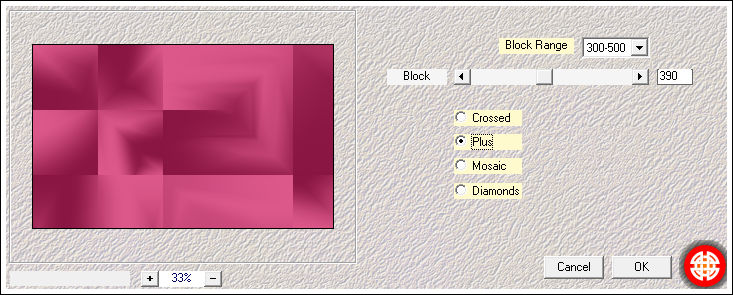
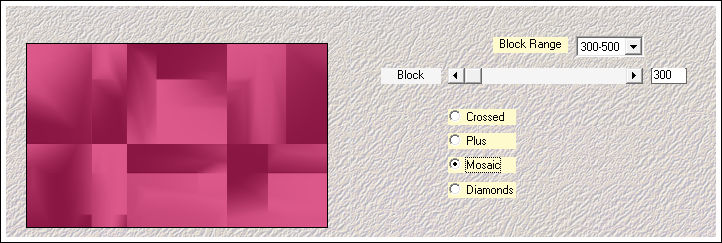
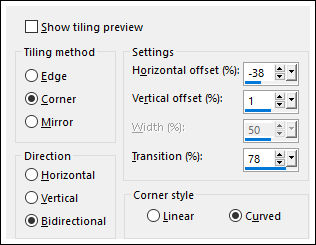
04 - Effects / Plugins / Medhi / Sorting Tiles:
05 - Effects / Plugins / Medhi / Sorting Tiles:
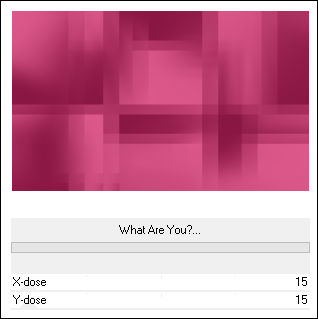
06 - Effects / Plugins /Unlimited 2.0 /Toadies / What are you??..
Effects / Edge Effects / Enhance
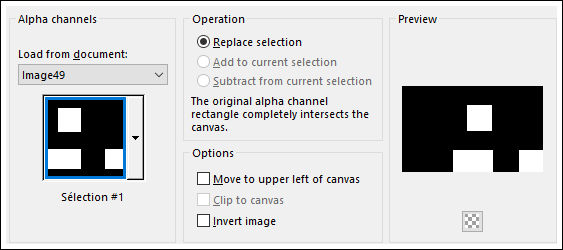
07 - Selections / Load-Save Selection / Load-selection From Alpha Channel: Sélection#1
Selections / Promote Selection to Layer
Effects / Plugins / Carolaine & Sensibility /CS-Linear H:
Selections / Select None
Blend Mode / Luminance (Legacy)
08 - Layers / Duplicate
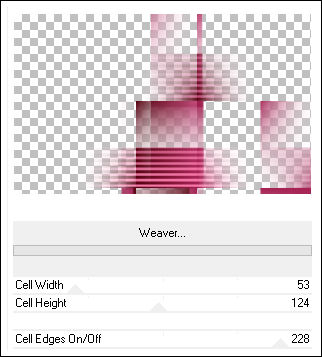
Effects / Plugins / Unlimited 2.0 / Toadies / Weaver:
Image /Mirror / Mirror Horizontal
Image / Mirror / Mirror Vertical
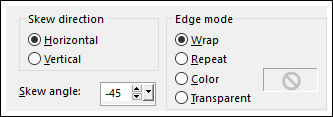
Effects / Geometric Effects / Skew
Blend Mode / Luminance (legacy)
Effects / Edge Effects / EnhanceEffects / 3D Effects / Drop Shadow: 0/0/60/25/cor #000000
Layers / Merge / Merge Visible09 - Effects / Plugins / Simple / Pizza Slice Mirror
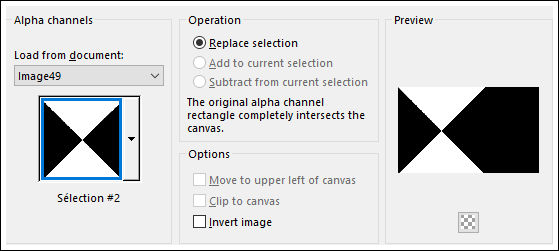
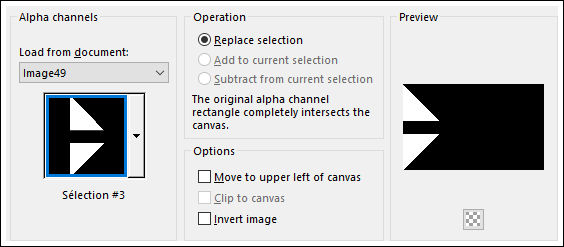
10 - Selections / Load-Save Selection / Load-selection From Alpha Channel: Sélection#2
Selections / Promote Selection to Layer
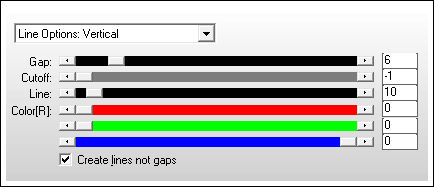
Effects / Plugins / AP LiNes / Lines- Silverlining / Line Options Vertical:
Effects / 3D Effects / Drop Shadow: 0/0/60/25/cor #000000
Selections / Select None11 - Selections / Load-Save Selection / Load-selection From Alpha Channel: Sélection#3
Ative a Layer <<Raster 1>>
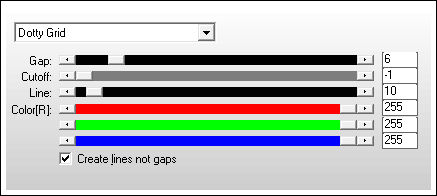
Effects / Plugins / AP Lines / Lines - Silverlining /Dotty Grid:
Selections / Select None
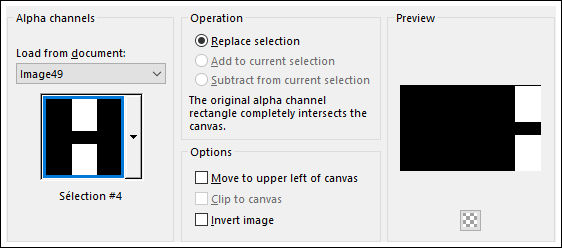
12 - Selections / Load-Save Selection / Load-selection From Alpha Channel: Sélection#4
Ative a Layer <<raster 1>>
Selections / Promote Selection to Layer
Layers / Arrange / Bring to Top
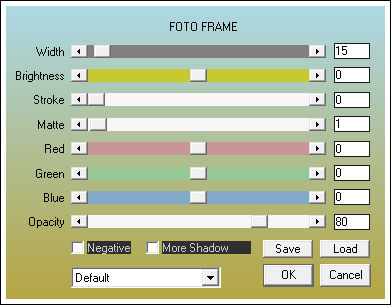
Effects / Plugins / AAA Frame / Foto frame:
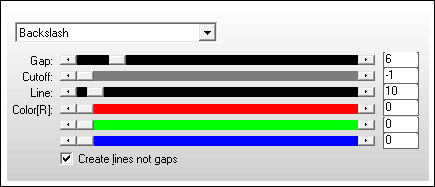
Effects / Plugins / AP Lines/ Lines -Silverlining /Backslash:
Selections / Select None
13 - Ative o tube << Vyp_Duo_Deco1.pspimage>>
Copie e Cole Como Nova LayerFerramenta Pick Tool (K) posição de X=764 / Posição de Y= 39
Tecle "A" para sair da ferramenta
Opacidade 79%14 - Ative o tube <<Vyp_Duo_Deco2.pspimage>>
Copie e Cole como nova layerNão Mova!
15 - Layers / New Raster Layer
Preencha com a cor #000000
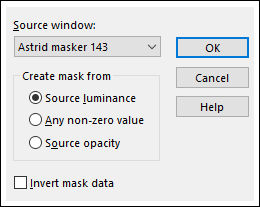
Ative a Mask <<Astrid masker 143.jpg>> Minimize no PSP
Layers / New Mask Layer / From Image: Astrid masker 143.jpg
Layers / Duplicate
Layers / Merge / Merge Group
Blend Mode / Luminance (Legacy)
Image / Mirror / Mirror Horizotal
16 - Layers / New Raster Layer
Preencha com a cor #ffffff
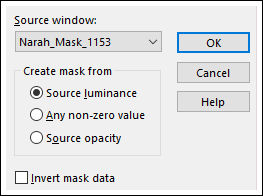
Ative a Mask <<Narah_mask_1153.jpg>> Minimize
Layers / New Mask layer / From Image: Narah_mask_1153.jpg
Layers / Merge / Merge Group
Image / Mirror / Mirror Vertical
Effects / Image Effects / Seamless Tiling:
Blend Mode / Dissolve
Opacidade / 4%
16 - Ative o tube <<Vyp_Duo_Deco3.pspimage>>
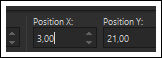
Copie e Cole Como Nova LayerFerramenta Pick Tool (K) posição de X=3 / Posição de Y= 21
Tecle em "A" para sair da ferramenta17 - Ative o tube <<couple_54_franiemargot.psd>>
Apague a Marca d'águaCopie e Cole como nova layer
Image / Resize / 75% ... Resize All Layers ... Desmarcado
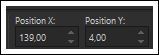
Ferramenta Pick Tool (K) posição de X=139 / Posição de Y= 4
Tecle em "A" para sair da ferramenta
Layers / Duplicate
Ative a Layer <<Raster 4>>
Adjust / Blur / Gaussian Blur / Radius 15
Blend Mode / Multiply
Opacidade / 80%
Ative a Layer do topo
Effects / 3D Effects / Drop Shadow: 0/-7/50/30 /cor #000000
18 - Ative o tube <<Vyp_Duo_text01.pspimage>> Copie e Cole como nova layer
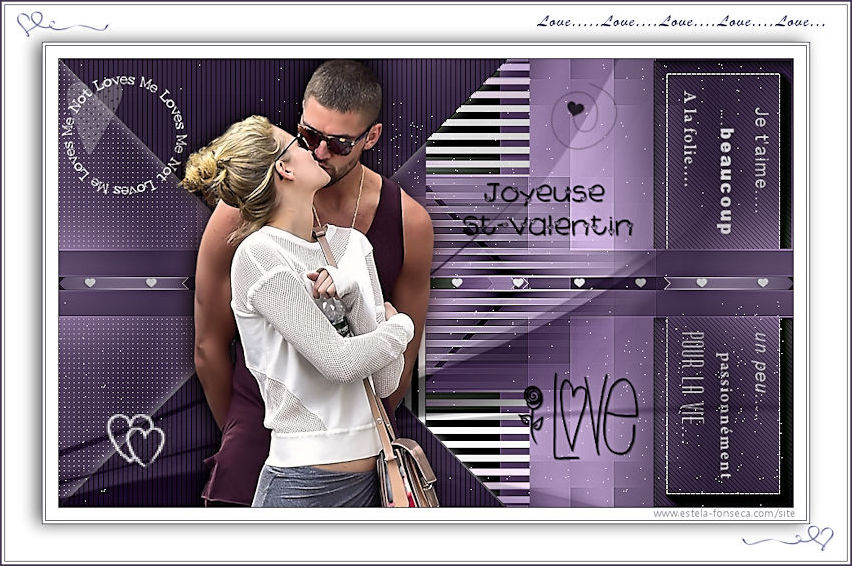
Posicione como na imagem final
19 - Image / Add Borders / Symmetric Marcado / 1 pixel cor #000000
Image / Add Borders / Symmetric Marcado / 15 pixels cor #ffffffImage / Add Borders / Symmetric Marcado / 1 pixel cor #8a1643
Image / Add Borders / Symmetric Marcado / 3 pixels cor #ffffff
Image / Add Borders / Symmetric Marcado / 1 pixel cor #8a164320 - Selections / Select All
Selections / Modify / Contract 45 pixels cor #ffffff
Effects / 3D Effects / Drop Shadow: 0/0/60/30/cor #000000
Selections / Select NoneImage / Add Borders / Symmetric Marcado / 1 pixel cor #8a1643
Image / Add Borders / Symmetric Marcado / 3 pixels cor #ffffff
Image / Add Borders / Symmetric Marcado / 1 pixel cor #8a164321 - Ative o tube <<Vyp_Duo_Deco04.pspimage>>
Copie e Cole Como Nova Layer22- Image / Add Borders / Symmetric Marcado / 1 pixel cor #8a1643
23 - Coloque a sua assinatura
24 - Layers / Merge / Merge All
25- Salve Como JPG
Versão com tube de Azalee:
©Tutorial traduzido por Estela Fonseca em 05/02/2018.
Não alterar nem repassar sem autorização.