.jpg)
Tutorial realizado no Corel PaintShop Pro X9, mas pode ser feito em outras versões do PSP
Materiais Utilizado:
Tube de Alies. Alies fechou seu grupo.
Mask de Narah <<Narah_mask_0413.jpg >>
Demais Materiais de @Violette
Plugins Necessários:
L&K / Paris & Zitah
Simple /Pizza Slice Mirror
Vanderlee /Unplugged X
AFS Import / sqborder2
AP Lines / Lines-Silverlining
Mura's Meister / Copies
Graphic Plus / Cross Shadows
Unlimited 2.0 /Paper textures
***
Os tubes são oferecidos para uso pessoal.
Você não tem permissão para colocar esses tubes em outro site sem a permissão do criador.
***
Preparação:Abra os tubes no PSP, duplique e feche os originais.
Abra a Mas no PSP e Minimize-a.
Cores do Tutorial:
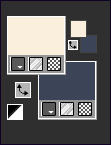
01 - Primeiro Plano cor #f2d0b4 e Segundo Plano cor #3c4459
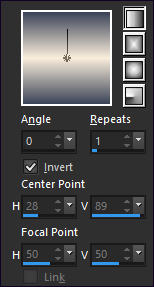
Configure um Gradiente <<Linear>> Angle 0 / Repeats 1 / Invert Marcado
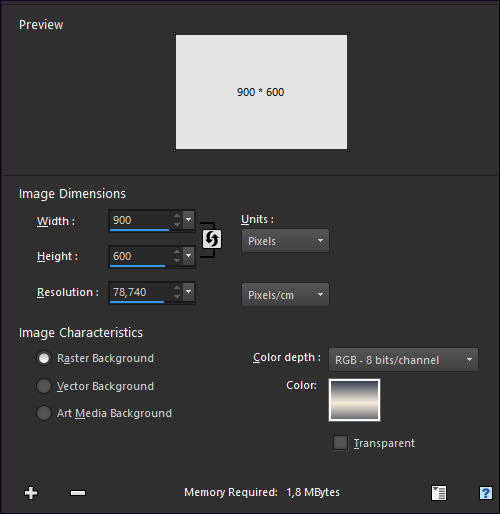
02- Abra uma nova imagem de 900/600 Pixels.
Clique no quadrado <<Color>> e escolha o Gradiente configurado acima.
03- Adjust / Blur / Gaussian Blur / Radius 50
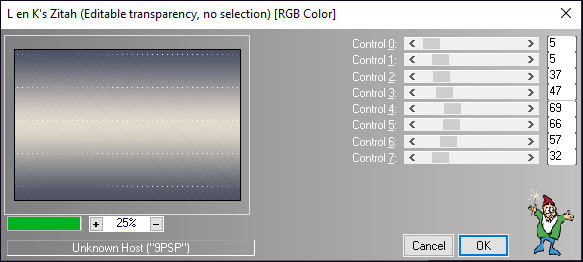
04 - Effects / Plugins / L&K/ Paris / Default
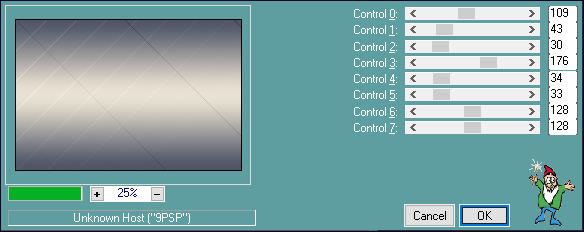
05- Effects / Plugins / L&K/ Zitah:
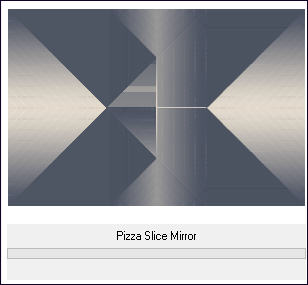
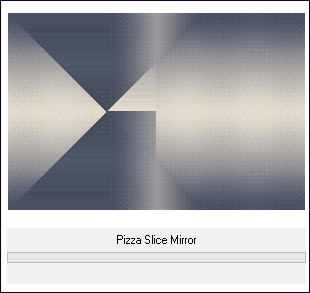
06- Effects / Plugins / Simple/Pizza Slice Mirror ( 2 vezes)
07- Selections / Load save selection / Load selection from disk: Vyp_Alysea01.PspSelection
Selections / Promote Selection to Layer
Selections / Select None
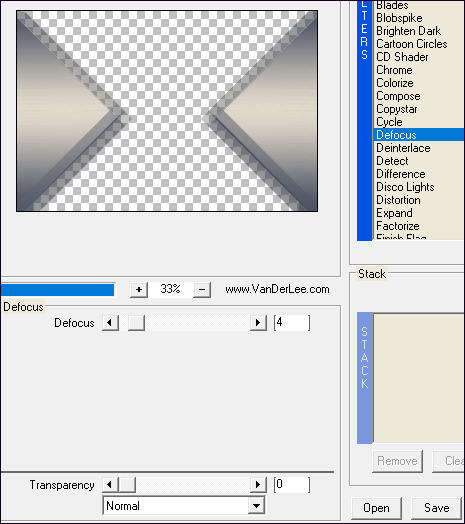
08 - Effects/ Plugins / Vanderlee /Unplugged - x /Defocus:
Effects / 3D Effects / Drop Shadow: 1/1/40/25/cor #000000
09 - Ative a Layer <<Raster 1>>
Selections / Load save selection / Load selection from disk: Vyp_Alysea02.PspSelection
Selections / Promote Selection to Layer
Selections / Select None
10- Layers / Duplicate
Layers / Arrange / Move Up
Effects / 3D Effects / Drop Shadow: 1/1/40/25/cor #000000
Image / Mirror / Mirror Horizontal
Blend Mode / Hard Light
11 - Ative a Layer <<raster 1>>
Effects / Plugins / AFS Import /sqborder2:
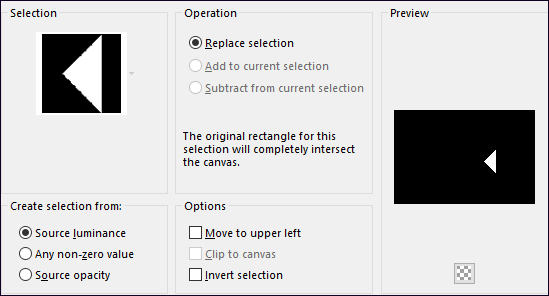
Selections / Select All
Selections / Modify / Contract 30 Pixels
Selections / Invert
Selections / Promote selection to layer
Selections / Select None
Layers / Arrange / Bring to top
Blend Mode / Multiply
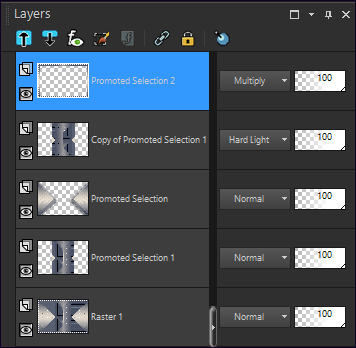
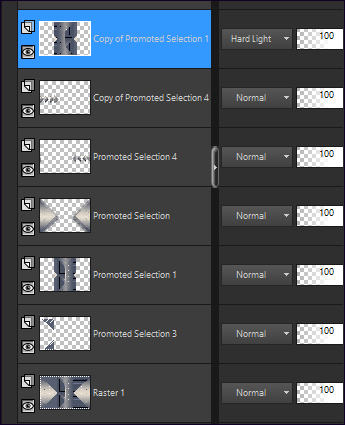
12- Paleta das Layers:
13 - Ative a Layer <<raster 1>>
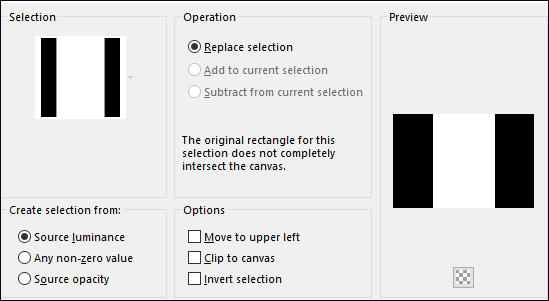
Selections / Load save selection / Load selection from disk: Vyp_Alysea03.PspSelection
Selections / Promote Selection to Layer
Selections / Select None
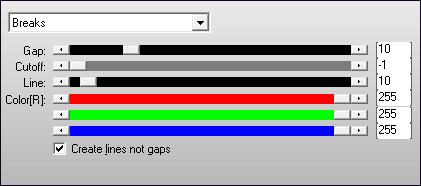
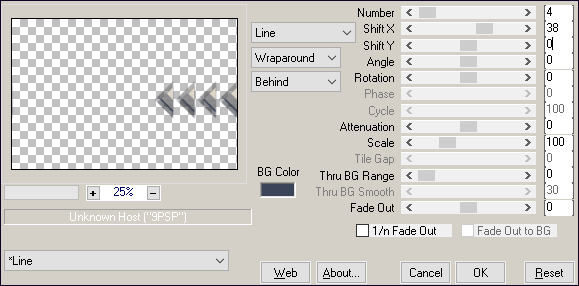
Effects / Plugins / AP [Lines] / Lines-Silvelining: Breaks
14 - Ative a Layer <<Promoted Selection>>
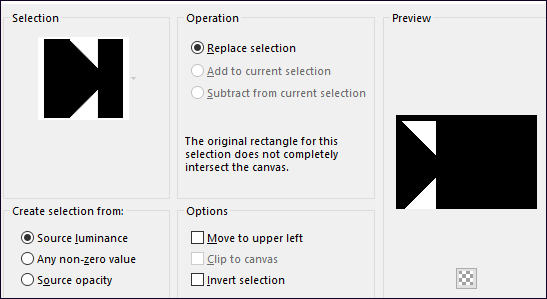
Selections / Load save selection / Load selection from disk: Vyp_Alysea04.PspSelection
Selections / Promote Selection to Layer
Selections / Select None
Effects / Plugins / Mura's Meister / Copies:
15 - Layers / Duplicate
Image / Mirror / Mirror Horizontal16 - Ative a Layer do topo
Layers / New Raster Layer
Preencha com a cor #f9eddd
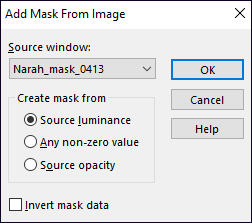
Layers / New Mask layer / From Image: Narah_mask_0413.jpg
Layers / DuplicateLayers / Merge / Merge Group
Image / Mirror / Mirror Vertical
Blend Mode / Hard Light
17 - Ative o tube <<Vyp_Alysea_deco.pspimage>> Copie e Cole como nova layer
18 - Ative o tube <<Alies 1-2VR256-woman-18042015.pspimage>>
Copie e Cole como nova layerImage/Resize /92% ... Resize All Layers ... Desmarcado
Image / Mirror / Mirror Horizontal
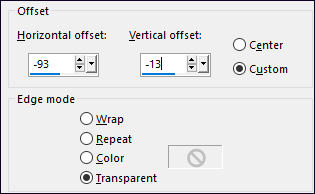
Effects / Image Effects / Offset:
Layers / Duplicate
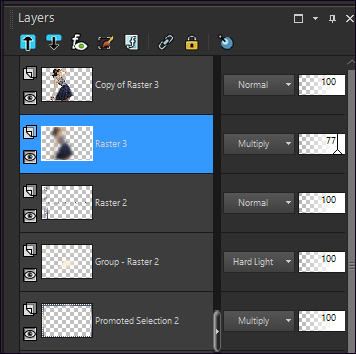
Ative a Layer <<Raster 3 >>
Adjust / Blur / Gaussian Blur / Radius 25Multiply / Multiply
Opacidade / 77%Resultado:
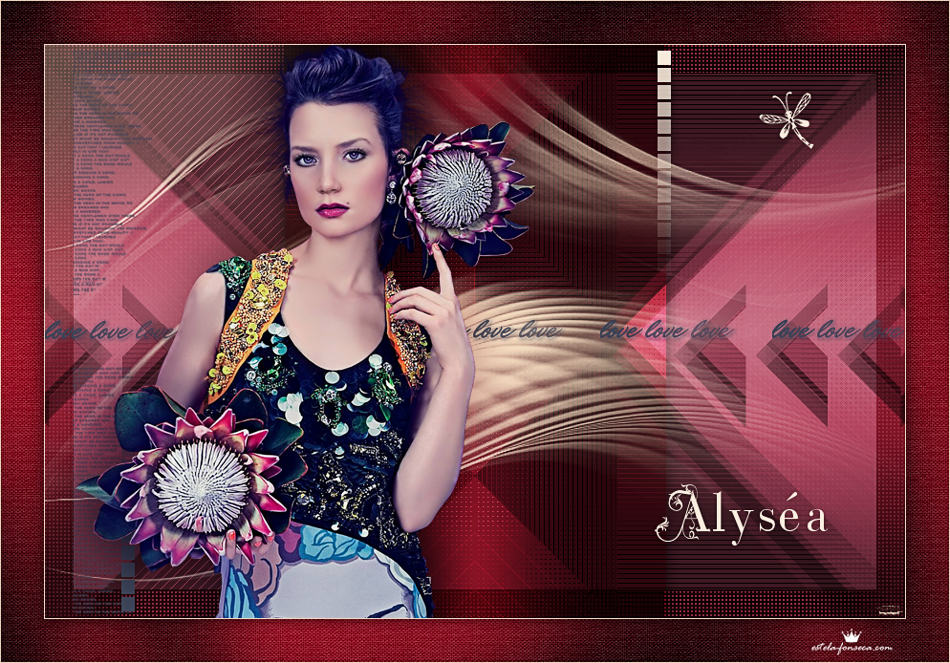
17 - Ative o tube <<Vyp_Alysea_Texte.pspimage>> Copie e Cole como nova layer
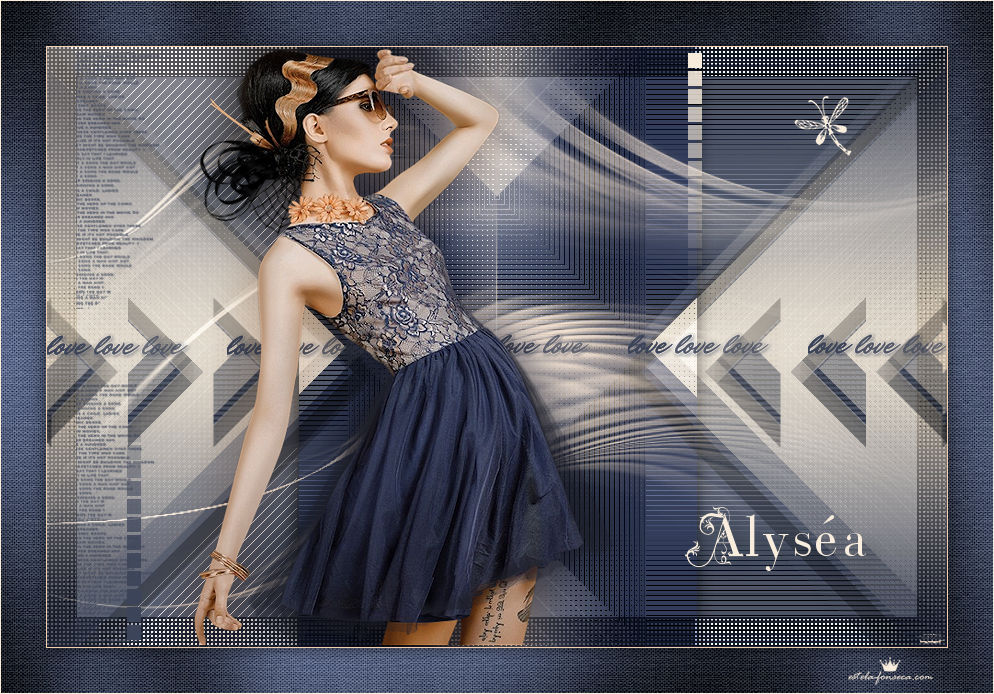
Posicione como na imagem final.
18- Image /Add Borders / Symmetric Marcado / 1 pixel cor #f2d0b4
19 - Image /Add Borders / Symmetric Marcado / 45 pixels cor #3c4459
Ative a Varinha Mágica configurada como segue:
Effects / Graphic Plus /Cross Shadow / Default
Effects / Plugins / Unlimited 2.0 / Paper Textures / Canvas Fine / Default
20 - Selections / Invert
Effects / 3D Effects / Drop Shadow: 0/0/60/25/cor #000000
Selections / Select None21 - Image / Add Borders / Symmetric Marcado / 1 pixel cor #f2d0b4
22 - Coloque a sua assinatura
23 - Layers / Merge / Merge All
24 - Exporte como JPG.
Versão com tube de Tocha:
©Tutorial traduzido por Estela Fonseca em 03/07/2020.
Não alterar nem repassar sem autorização.