.jpg)
Tutorial realizado no Corel PaintShop Pro X9, mas pode ser feito em outras versões do PSP
Materiais Necessários:
Tube de Cicka
Tube de Maryse
Tube de Luna
Plugins Utilizados:
<I.C.NET Software> / Filters Unlimited 2.0
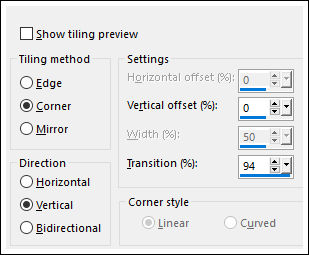
Mehdi / Wavy Lab 1.1 e Sorting Tiles
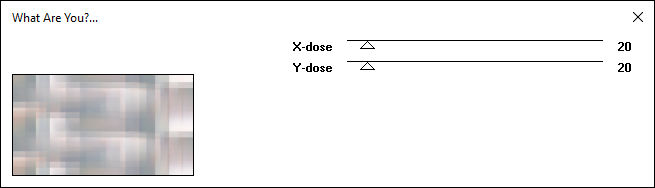
Toadies / What Are You?
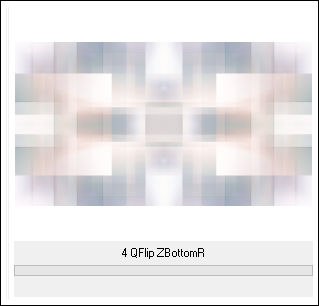
&<Bkg kaleidoscope> / 4QFlip ZBottomR*
&<Bkg Designers sf10 IV> / @Drag *
Carolaine and Sensibility / cs_texture
AP [Lines] / SilverLining
MuRa's Meister / Perspective Tiling
Flaming Pear / Flood
Graphics Plus / Cross Shadow
* Importados para o Unlimited 2
Preparação:
Abra os tubes no PSP e Minimize-os.
Cores:
Nota: Ao trabalhar com suas próprias cores, jogue com o Blend Mode e / ou Opacity a seu próprio critério!
Primeiro Plano cor #ffefff
Segundo Plano cor #9aa9a6
NOTA: Se você estiver usando cores diferentes, talvez seja necessário colorir
01- Abra o arquivo "Vyp_Alpha_Aglae"
Window / Duplicate (Ou Shift+D)
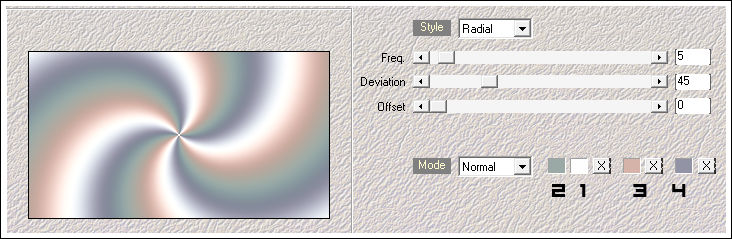
Feche o original continue seu trabalho na cópia!02- Effects / Plugins / Mehdi / Wavy Lab 1.1
Adjust / Blur / Gaussian Blur / Radius: 20
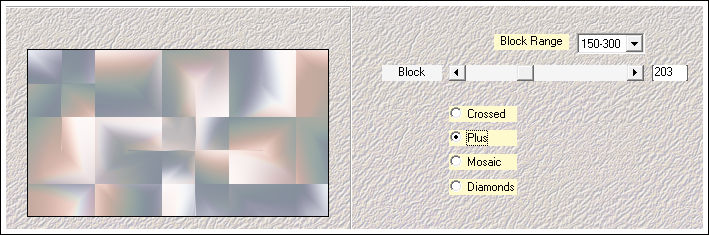
03- Effects / Plugins / Mehdi / Sorting Tiles
04- Layers / Duplicate
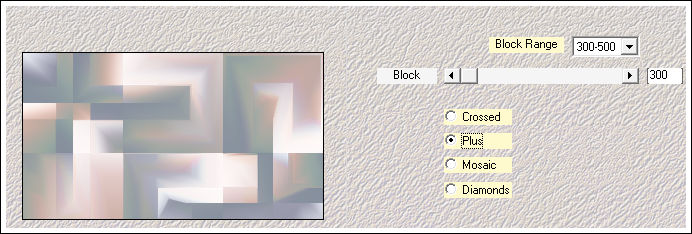
Effects / Plugins / Mehdi / Sorting Tiles
Effects / Image Effects / Seamless Tiling
05- Effects / Plugins / Toadies / What Are You?
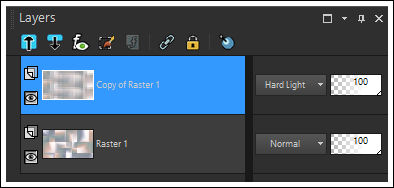
Blend Mode / Hard Light
Effects / Edge Effects / Enhance
Layers / Merge / Merge Down06- Effects / Plugins / Fliters Unlimited / &<Bkg Kaleidoscope> / 4QFlip ZBottomR
Layers / Duplicate
Blend Mode / Multiply
Layers / Merge / Merge Down
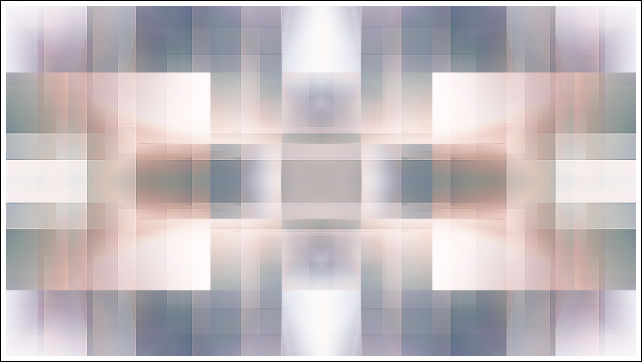
Resultado:
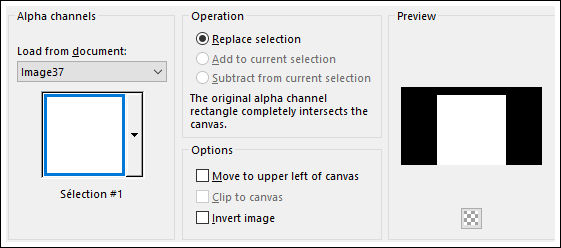
07- Selections / Load/Save selection / Load Selection From Alpha Channel: Selection#1
Selections / Promote Selection to Layer
Adjust / Blur / Gaussian Blur / Radius: 20
Effects / 3D Effects / Drop Shadow: 0/ 0/ 80 / 40,00 / Cor #444658
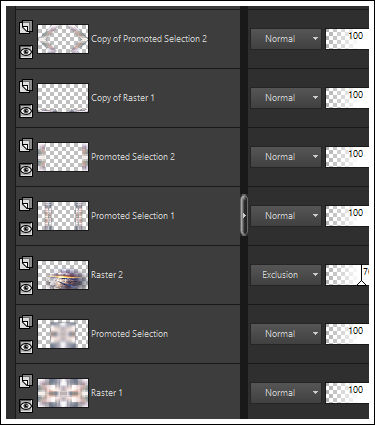
Selections / Select NoneAbra <<lunapaisagem2494>> Copie e Cole como nova layer
Objects / Align / Bottom
Objects / Align / Right
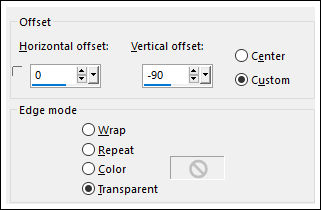
Effects / Image Effects / Offset
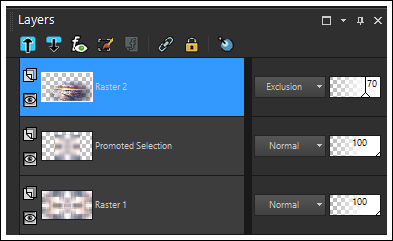
Blend Mode / Exclusion
Opacidade / 70
08- Ative a Layer do fundo (Raster1)
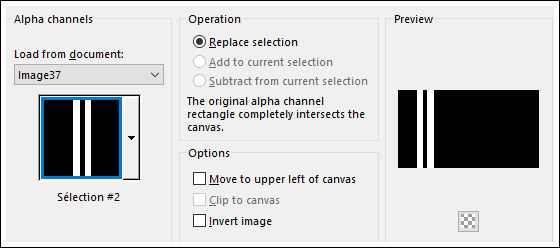
Selections / Load/Save Selection / Load Selection From Alpha Channel: Selection#2
Selections / Promote Selection to Layer
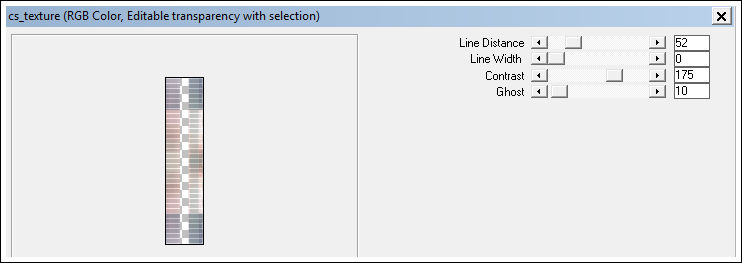
Layers / Arrange / Bring to TopEffects / Plugins / Carolaine and Sensibility / cs_texture
Selections / Select None
Layers / Duplicate
Image / Mirror / Mirror Horizontal
Layers / Merge / Merge Down
Effects / 3D Effects / Drop Shadow: 0 / 0 / 80 / 40,00 / Cor #444658
09- Ative a Layer do Fundo (Raster1)
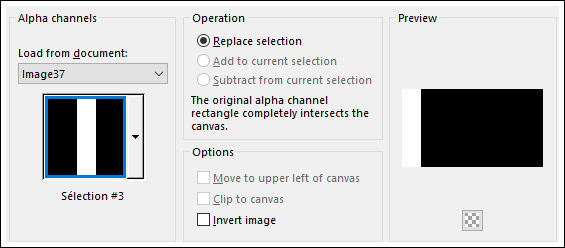
Selections / Load/Save Selectio / Load Selection From Alpha Channel: Selection#3
Selections / Promote Selection to Layer
Layers / Arrange / Bring to Top
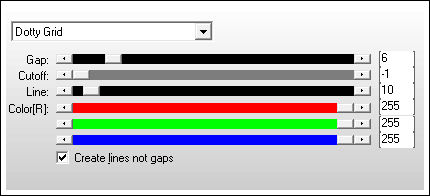
Selections / Select NoneEffects / Plugins / AP [Lines] / Lines - SilverLining
Layers / Duplicate
Image / Mirror / Mirror Horizontal
Layers / Merge / Merge Down10- Layers / Duplicate
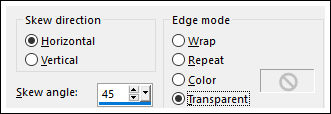
Effects / Geometric Effects / Skew
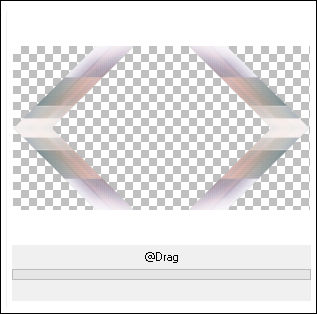
Effects / Plugins / Filters Unlmited 2 / &<Bkg Designers sf10 IV> / @Drag
Effects / 3D Effects / Drop Shadow: 0 / 0 / 40 / 80,00 / Cor#444658
11- Ative a Layer do Fundo (Raster1)
Layers / Duplicate
Layers / Arrange / Bring to Top
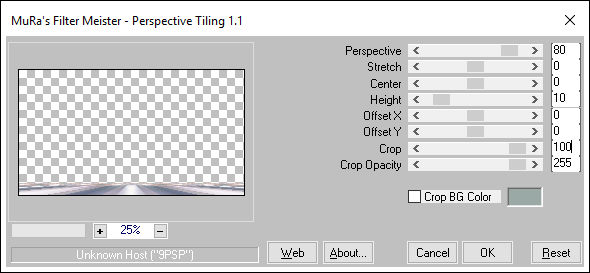
Effects / Plugins / MuRa's Meister / Perspective Tiling
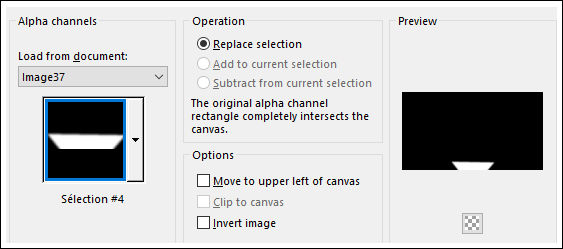
Selections / Load/Save Selections / Load Selection From Alpha Channel: Selection#4
Delete no Teclado
Selections / Select None
Layers / Arrange / Move down12- Ative a Layer do Topo
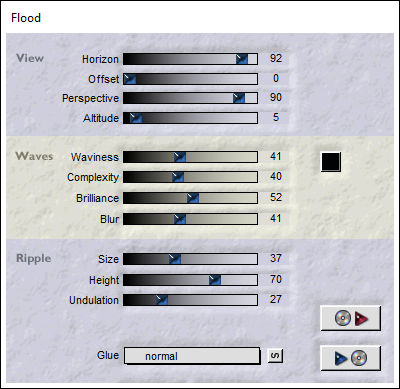
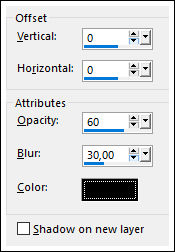
Effects / Plugins / Flaming Pear / Flood
13- Abra <<Vyp_Aglae_deco01>> Copie e Cole como nova layer
Objects / Align / Top
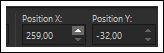
14- Ative <<Vyp_nuage>> Copie e cole como nova layerPick Tool (K) Mode: Scale / Posição de X e de Y como segue: (X= 259.00 Y= -32.00)
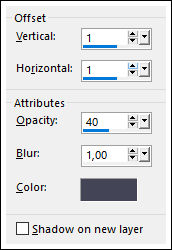
Letra "M" para anular a seleção!Effects / 3D Effects / Drop Shadow: 1/ 1 / 40 / 1,00 / Cor #444658
16- Ative <<Vyp_oiseau01>>Copie e Cole como nova layer
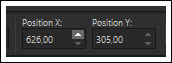
Pick Tool (K) Mode Scale / Posição de X e de Y como segue:(X=626.00 Y= 305.00)
Letra "M" para anular a seleção!
Effects / 3D Effects / Drop Shadow: 1/ 1 / 40 / 1,00 / Cor #444658
16- Abra <<Vyp_oiseau02>> Copie e Cole como nova layer
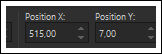
Pick Tool (K) Mode Scale / Posição de X e de Y como segue: (X=515,00/ Y= 7,00)
Letra "M" para anular a seleção!
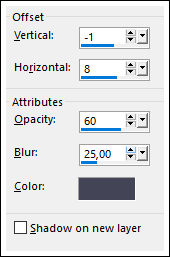
Effects / 3D Effects / Drop Shadow: -1/ 8 / 60 / 25,00 / Cor #444658
17- Ative o tube <<Vyp_oiseau03>> Copie e Cole como nova layer
Pick Tool (K) Mode Scale / Posição de X e de Y como segue: (X=38,00/ Y= 26,00)
Letra "M" para anular a seleção!
Effects / 3D Effects / Drop Shadow: -1/ 8 / 60 / 25,00 / Cor #444658
18- Ative o tube <<CyZkhjZdf59zHDK3Z2GQ0sNbjZo>> Copie e Cole como nova layerNão esqueça de remover a marca d'água!
Image / Mirror / Mirror Horizontal
Image / Resize / 70% ... Resize All Layers ...DesmarcadoImage / Resize / 80% ... Resize All Layers ...Desmarcado
Adjust / Sharpness / Sharpen
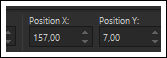
Pick Tool (K) Mode Scale / Posição de X e de Y como segue: (X=157,00/ Y= 7,00)
Letra "M" para anular a seleção!
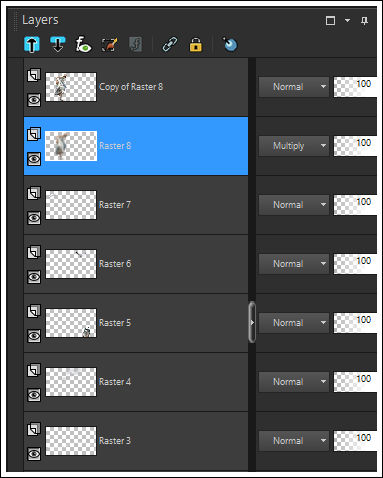
19- Layers / Duplicate
Ative a Layer <<Raster 8>>
Adjust / Blur / Gaussian Blur / Radius 10
Blend Mode / Multiply
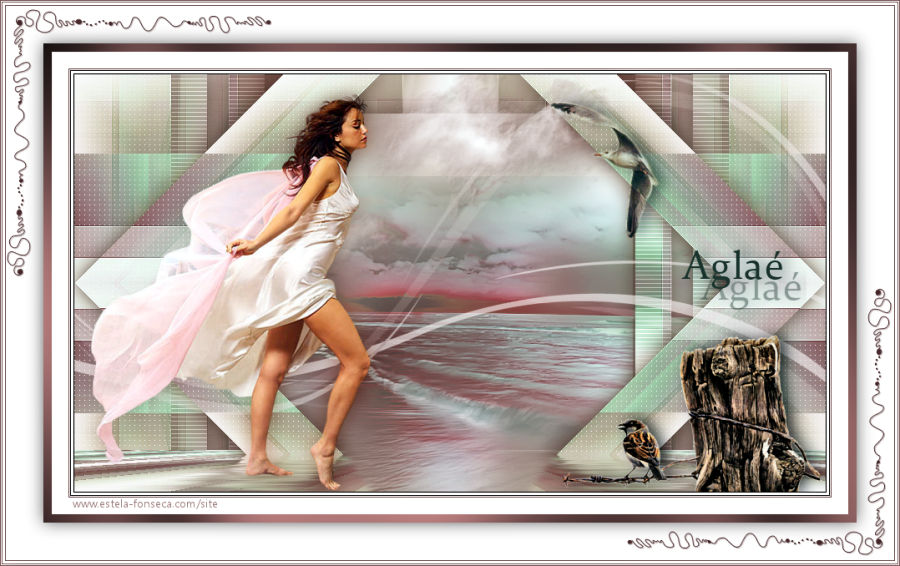
Resultado:
20- Ative o tube << Vyp_Aglae_text01>> Copie e Cole como nova layer
Mova para a Direita.
21- Image / Add Borders / Symmetric Marcado / 1 Pixel cor #444658
Image / Add Borders / Symmetric Marcado / 3 Pixels cor #ffffff
Image / Add Borders / Symmetric Marcado / 1 Pixel cor #444658Image / Add Borders / Symmetric Marcado / 3 Pixel cor #ffffff
Image / Add Borders / Symmetric Marcado / 1 Pixel cor #444658
22- Image / Add Borders / Symmetric Marcado / 20 Pixels cor #ffffff
Image / Add Borders / Symmetric Marcado / 10 Pxels Cor #444658
Ative a Varinha Mágica e selecione a borda de 10 PixelsEffects / Plugins / Graphics Plus / Cross Shadow / Default
23- Selections / Select All
Image / Add Borders / Symmetric Marcado / 45 Pixels cor #ffffffEffects / 3D Effects / Drop Shadow: 0/0 / 60 / 30,00 Cor #000000
Selections / Select None24- Image / Add Borders / Symmetric Marcado / 1 Pixel cor #444658
Image / Add Borders / Symmetric Marcado / 3 Pixels cor #ffffff
Image / Add Borders / Symmetric Marcado / 1 Pixel cor #444658Image / Add Borders / Symmetric Marcado / 3 Pixel cor #ffffff
Image / Add Borders / Symmetric Marcado / 2 Pixel cor #444658
25- Ative <<Vyp_Aglae_Deco02>> Copie e Cole como nova layer
Não Mova!
Coloque a sua assinatura
26- Layers / Merge / Merge All
Exporte como JPG Otimizado!!!
Versão com tubes de Kikirou e de Mtm:
©Tutorial traduzido por Estela Fonseca em 25/07/2019.
Não alterar nem repassar sem autorização.