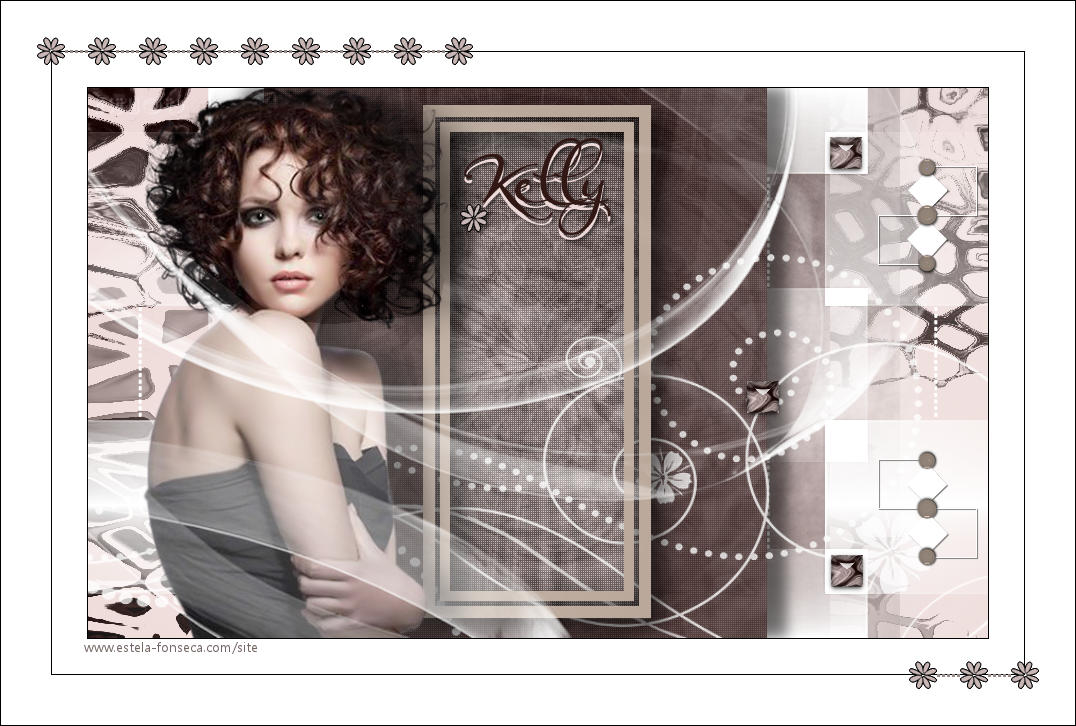
KELLY
Tutorial de Valerie , original, Aqui.
.jpg)
Tutorial traduzido no PSP X9 mas pode ser feito em versões anteriores do PSP.
Materiais Necessários:
tube de Beatriz (LB Tubes e Mist)
mask de Narah ( seu grupo aqui )
Mask de Beatrice (GraphicBeatrice)
Os elementos são de Lula.
Plugins Utilizados:
Alien Skin Eye Candy 5 / Impact
Richard Roseman / Halftone e Solid Border
Toadies / What Are You?
Déformation / Dimensia**Distortion Filters / Cracked**
** Importados para o Unlimited 2
Preparação:
Abra os tubes no PSP, duplique e feche os originais...
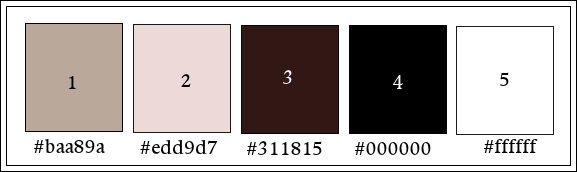
Tabela de Cores:
01- Primeiro Plano cor 2 / Segundo Plano cor 5
Abra o arquivo <<Alpha-Kelly-VSP>> Duplique e feche o original
Preencha com a cor 2
Layers / New Raster Layer
Selections / Select All
Ative o tube <<2730 - woman - LB TUBES >> Copie e Cole na seleção
Nota: Você deve usar o tube fornecido neste ponto para não alterar o resultado.
Selections / Select None
Blend Mode / Luminance (Legacy)
Layers / Merge / Merge Down
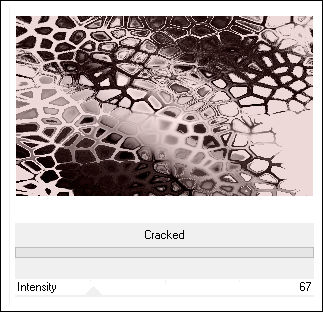
Effects / Plugins / <I.C.NET Software> / Filters Unlimited 2.0 / Distortion Filters / Cracked
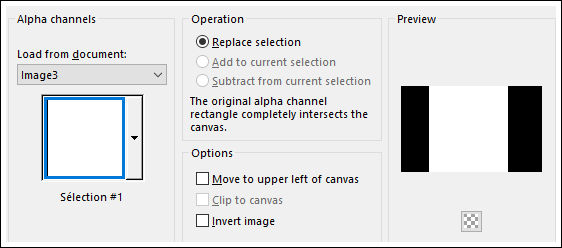
02- Selections / Load Save selection / Load selection from Alpha Channel: Sélection#1
Selections / Promote Selection to layer
Selections / Select None
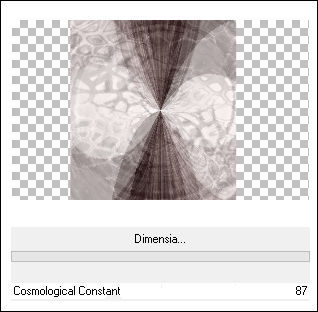
Effects / Plugins / <I.C.NET Software> / Filters Unlimited 2.0 / Déformation / Dimensia...
03- Layers / Duplicate
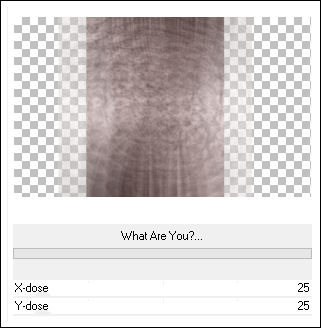
Effects / Plugins / <I.C.NET Software> / Filters Unlimited 2.0 / What Are You?
Edit / Repeat What Are You?
Objets / Aligner / Droite
Layers / Arrannge / Move down
04- Ative a Layer do topo
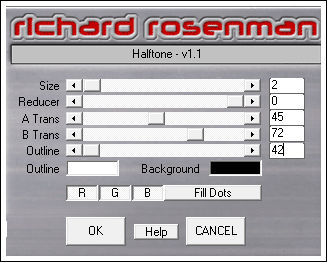
Effects / Plugins / Richard Roseman / Halftone
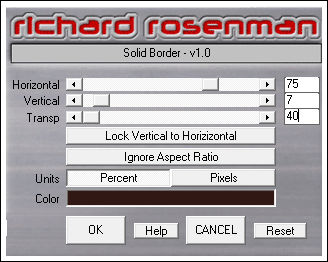
Effects / Plugins / Richard Roseman / Solid Border
(Clique em <<Lock Vertical to Horizontal>> antes de colocar os números)
Effects / 3D Effects / Drop Shadow: 0 / 20 / 50 / 20,00 / #000000
Effects / 3D Effects / Drop Shadow: -20 em horizontal
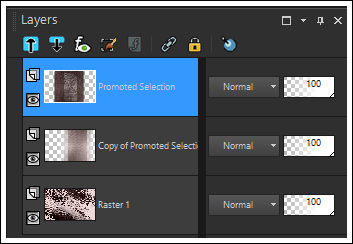
Paleta das Layers:
05- Ative a layer do meio
Layers / New Raster Layer
Preencha com a cor 5 (#ffffff)
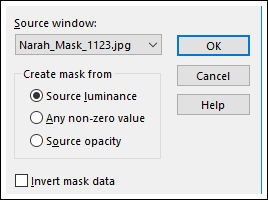
Layers / New Mask layer / From Image: Mask Narah_Mask_1123
Effects / Edge Effects / Enhance More
Layers / Merge / Merge Group
Layers / Merge / Merge Visible
06- Layers / New Raster Layer
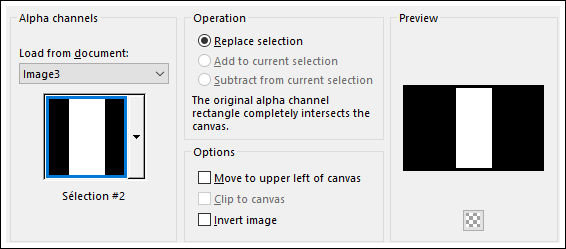
Selections / Load save selection / Load selection from Alpha Channel: Sélection#2
Preencha com a cor 1
Selections / Modify / Contract 12 pixels
Delete no teclado
Selections / Modify / Contract 5 pixels
Preencha com a cor 1 novamente
Selections / Modify / Contract 10 pixels
Delete no teclado
Selections / Select None
Effects / Plugins / Alien Skin Eye Candy 5 / Impact / Perspective Shadow / Drop Shadow, Blurry
07- Ative o tube <<2730 - woman - LB TUBES>>
Copie e Cole como nova layer
Image / Resize / 85%... Resize All Layers ... Desmarcado
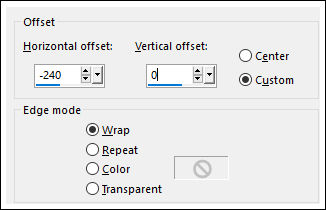
Effects / Image Effects / Offset
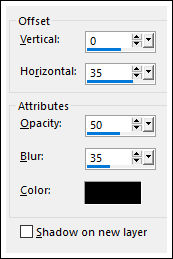
Effects / 3D Effects / Drop Shadow: Cor #000000
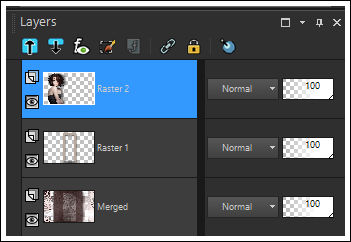
Paleta das layers , até agora:
08- Ative o tube <<Kelly-Deco1-VSP>>
Copie
Ative a Layer do Fundo <<Merged>>
Cole como nova layer
Objets / Aligner / Botttom
09- Ative o tube <<Kelly-Deco2-VSP>>
Copie e Cole como nova layer
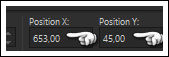
Ferramenta <<Pick Tool>> Posição de X e de Y como segue: (X=653/ Y=45)
Tecla "M" Para sair da Ferramenta
10- Ative a Layer do Topo
Layers / New Raster Layer
Preencha com a cor 5 ( #ffffff)
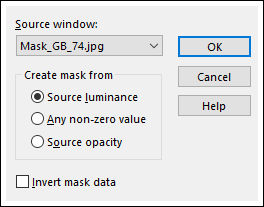
Layers / New Mask Layer / From Image: Mask_GB_74
Image / Mirror / Mirror Horizontal
Image / Mirror / Mirror Vertical
Layers / Merge / Merge Group
11- Fazer de acordo com o tube usado:
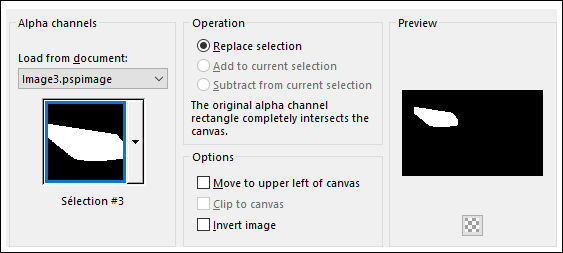
Selections / Load save selection / Load selection from alpha channel: Sélection#3
Delete no teclado
Selections / Select None
12- Ative o tube <<Kelly-Deco3-VSP>>
Copie e Cole como nova layer
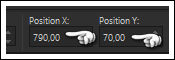
Ferramenta <<Pick Tool>> Posição de X e de Y como segue: (X=790/ Y=70)
Tecla "M" Para sair da Ferramenta
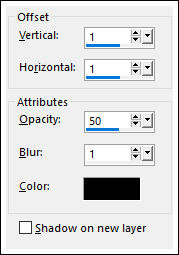
Effects / 3D Effects / Drop Shadow: Cor #000000
13- Ative o tube <<Kelly-Deco4-VSP>>
Copie e Cole como nova layer
Posicione como na imagem final.
14- Image / Add Borders / Symmetric Desmarcado / 1 pixel cor 4
Image / Add Borders / Symmetric Desmarcado / 35 pixels cor 5
Image / Add Borders / Symmetric Desmarcado / 1 pixel cor 4
Image / Add Borders / Symmetric Desmarcado / 35 pixels cor 5
Image / Add Borders / Symmetric Desmarcado / 1 pixel cor 4
15- Ative o tube <<Kelly-Deco5-VSP>> Copie e Cole como nova layer
16- Image / Resize / 900 pixels de Largura ... Resize All Layers ... Marcado
Adjust / Sharpness / Unsharp Mask: 4 / 30 / 4 / Luminance (Marcado)
17- Salve como JPG.
Versão com tube de Luz Cristina:
©Tutorial traduzido por Estela Fonseca em 14/06/2018.
Não alterar nem repassar sem autorização.