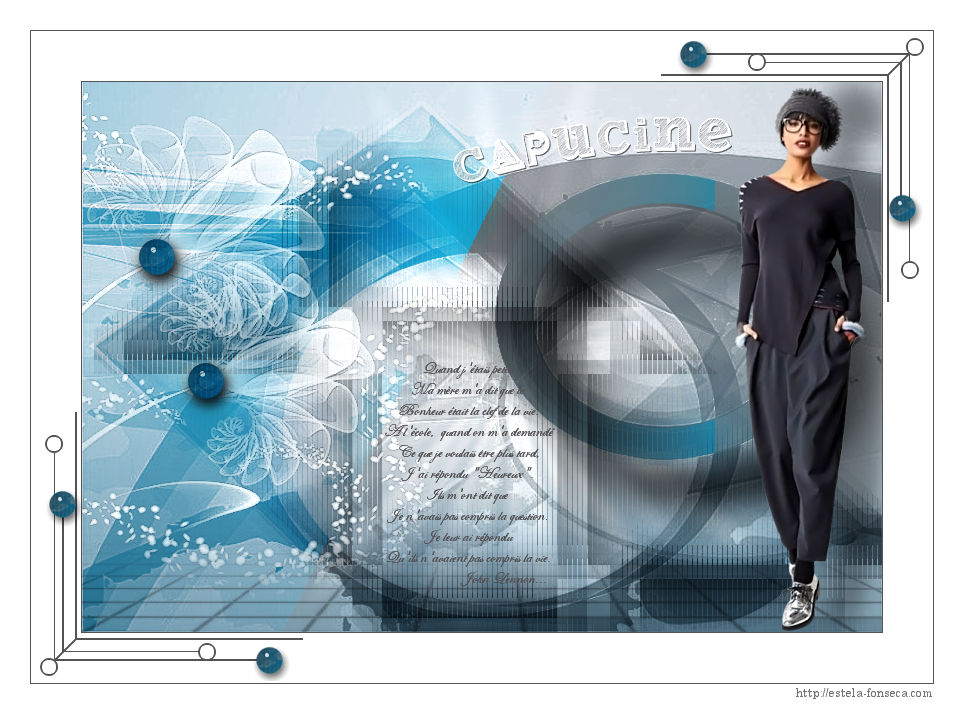
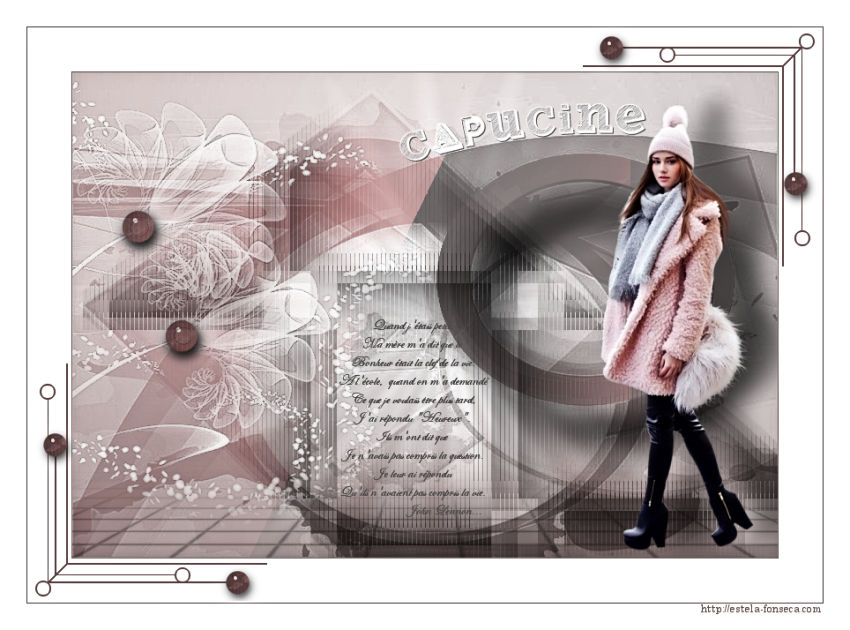
CAPUCINE
Tutorial de Valerie , original, Aqui.
.jpg)
Tutorial traduzido no PSP X9, mas pode ser feito em versões anteriores do PSP.
Materiais Necessários:
Tube de Valyscrappassion (AQUI)
Masks de Valyscrappassion (AQUI)
Mask de Narah (AQUI)
Demais materiais de VSP
É proibido modificá-los, alterar o nome e remover a marca d'água.
É proibido compartilhá-los em um grupo ou oferecê-los em seus sites, blogs etc.
Seu uso nos tutoriais está sujeito à autorização dos autores, para fazer a solicitação.
Plugins Utilizados:
Alien Skin Eye Candy 5 / ImpactAP[Distort] / Distort-ShiftMesh
Toadies
VanDerLee / UnPlugged-X
**VM Natural, Lakeside Reflection/Starmaker/Weave Distortion
* Importado para o Unlimited 2
Preparação:Abra os tubes no PSP, duplique e feche os originais. Remova a marca d'água da cópia do tube.
Dê dois cliques no preset do Alien Skim para instalá-lo.
Abra as Masks no PSP e Minimize-as.
Image /Mirror / Mirror Horizontal = Image / Mirror
Image / Mirror / Mirror Vertical = Image / Flip
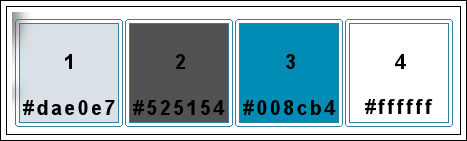
Tabela de Cores:
1- Abra a layer <<Alpha-Capucine-VSP>> Duplique e feche a original.
Preencha com a cor 1 (#dae0e7)
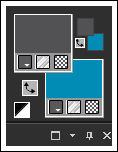
2- Primeiro Plano cor 2 (#525154) e cor 3 no Segundo Plano (#008cb4)
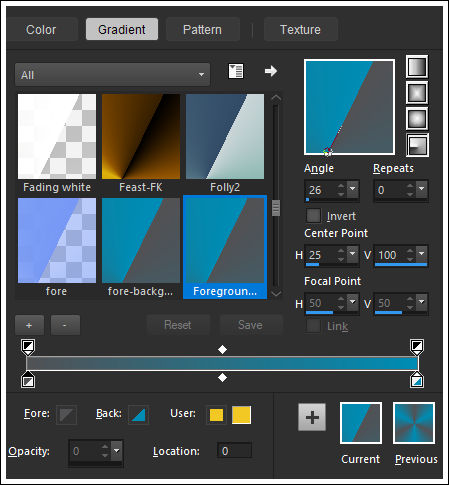
Gradiente <<Radial>> Configurado como segue:
3- Layers / New Raster LayerPreencha com o Gradiente
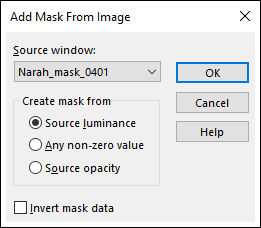
Layers / New Mask Layer / From Image: Narah_mask_0401
Layers / Merge / Merge Group
Blend Mode / Multiply
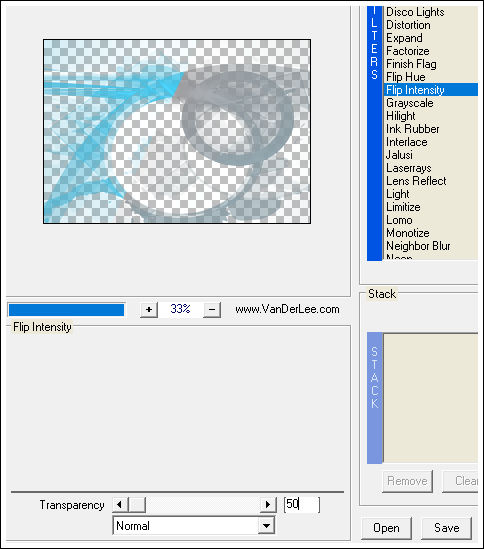
Effects / Plugins / VanDerLee / UnPlugged-X
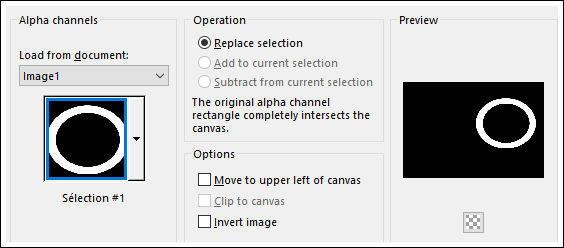
4- Selections / Load/Save selection / Load / Selection from alpha channel: Selection#1
Selection / Promote Selection to Layer
Selçections / Select None
Effects / Texture Effects / Weave: Weave Color cor 3
Effects / Plugins / Alien Skin Eye Candy 5 / Impact / Perspective Shadow, Higher
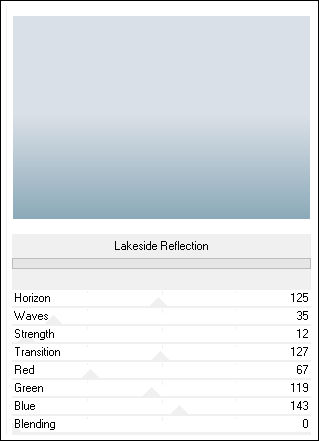
5- Ative a Layer do Fundo (Raster 1)Effects / Plugins / <I.C.NET Software> Filters Unlimited 2.0 / VM Natural / Lakeside Reflection
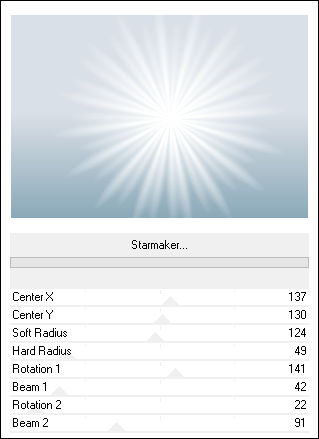
Effects / Plugins / <I.C.NET Software> Filters Unlimited 2.0 / VM Natural / Starmaker
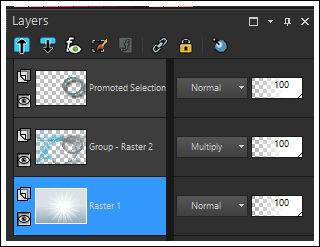
Palete das Layers:
Resultado:
6- Layers / Merge / Merge Visible
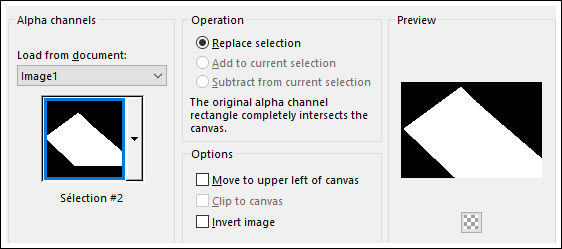
Selections / Load/Save selection / Load / Selection from alpha channel: Selection#2
Selection / Promote Selection to Layer
Selçections / Select None
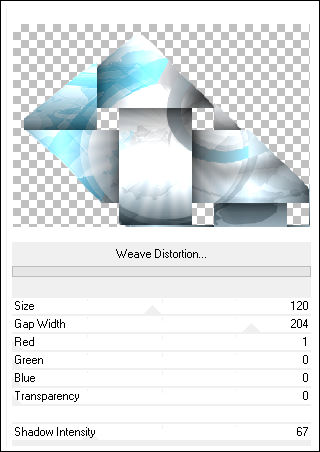
Effects / Plugins / <I.C.NET Software> Filters Unlimited 2.0 / VM Natural / Weave Distortion
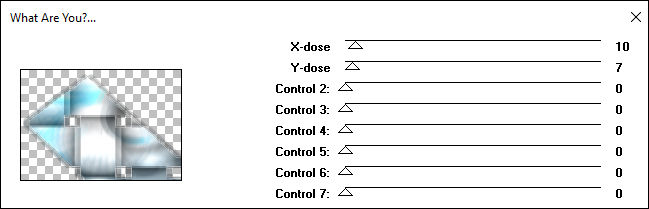
7- Segundo Plano cor 4 ( # FFFFFF)Effects / Plugins / Toadies / What Are You?
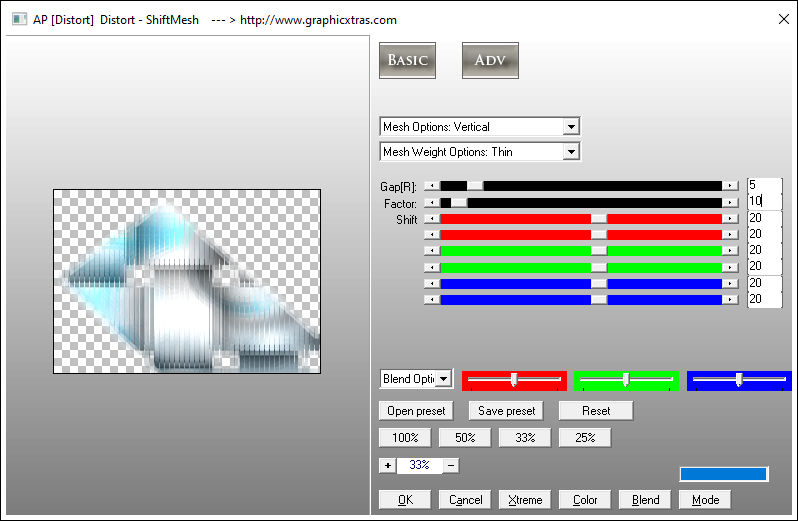
Effects / Plugins / AP[Distort] / Distort-ShiftMesh
Blend Mode / Multiply
8- Layers / New Raster Layer
Preencha com a cor do Primeiro Plano (Cor 2)
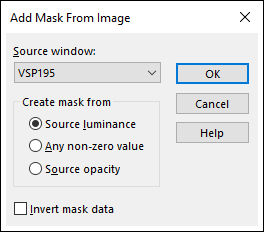
Layers / New Mask Layer / From Image: Mask <<VSP195>>
Layers / Duplicate
Layers / Merge / Merge Group
Blend Mode / Multiply
Opacidade / 46
Pick Tool (K) Configurado como segue:
Letra "M" para sair da Pick Tool9- Layers / New Raster Layer
Preencha com a cor do Segundo Plano cor 4 (#ffffff)
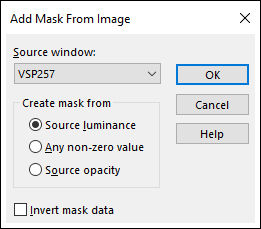
Layers / New Mask Layer / From Image: Mask <<VSP257>>
Layers / Merge / Merge Group
Effects / Edge Effects / Enhance
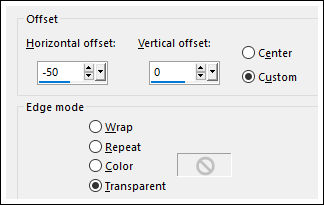
Effects / Image Effects / Offset: -50/0
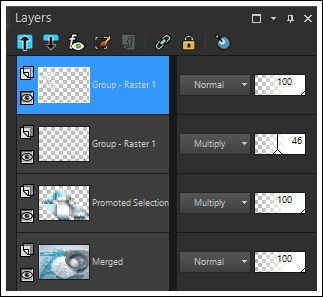
Paleta das layers:
Resultado:
10- Layers / Merge / Merge Visible
Ative o tube <<Texte-Capucine-VSP>> Copie e Cole como nova layer
Pick Tool (K) Posição Horizontal (303) Posição Vertical (280) Letra "M" para sair da Pick Tool
Layers / Duplicate
Layers / Merge / Merge Visible
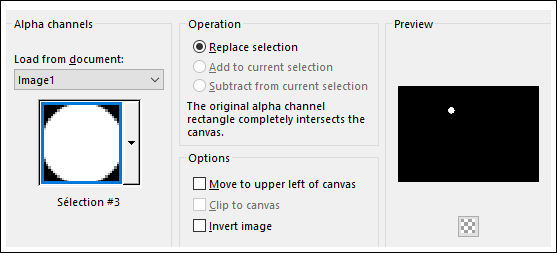
11- Selections / Load/Save selection / Load / Selection from alpha channel: Selection#3
Selections / Promote selection to Layer
Selections / Select None
Blend Mode / Multiply
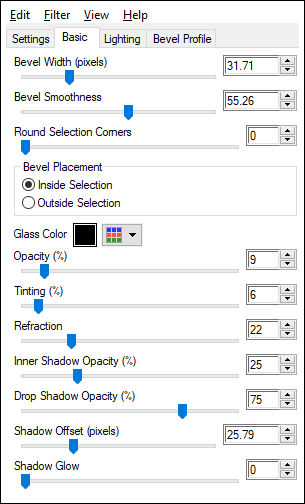
Effects / Plugins / Alien Skin Eye Candy 5 / Impact / Glass / Preset <<Glass-Capucine-VSP>>
Ou entre com estes parâmetros:
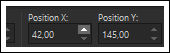
12- Pick Tool (K) Posição Horizontal (42) Posição Vertical (145) Tecla "M" para sair da Pick Tool
Layers / Duplicate
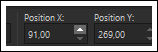
Pick Tool (K) Posição Horizontal (91) Posição Vertical (269) Tecla "M" para sair da Pick Tool
Layers / Merge / Merge Down
13- Ative o Tube <<femmeVSP193>> (Retire a assinatura)
Copie e Cole como nova layer
Image / Resize / 75%... Resize All Layers ... Desmarcado
Image / Mirror / Mirror Horizontal
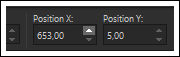
Pick Tool (K) Posição Horizontal (635) Posição Vertical (5) Tecla "M" para sair da Pick Tool
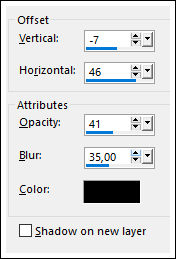
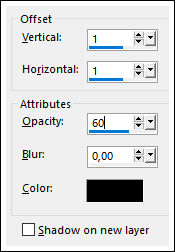
Effects / 3D Effects / Drop Shadow: Cor #000000
14- Ative o tube <<Titre-Capucine-VSP>>Copie e Cole como nova layer
Pick Tool (K) Posição Horizontal (371) Posição Vertical (35) Tecla "M" para sair da Pick Tool
Effects / 3D Effects / Drop Shadow: Cor #000000
15- Image / Add Borders / Symmetric Marcado / 1 Pixel cor 2
Image / Add Borders / Symmetric Marcado / 50 Pixels cor 4
16- Ative o tube <<Deco-Capucine-VSP>> Copie e Cole como nova layer
17- Image / Add Borders / Symmetric Marcado / 1 Pixel cor 2
Image / Add Borders / Symmetric Marcado / 30 Pixels cor 4
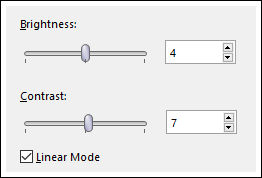
Adjust / Brightness and Contrast / Brightness/Contrast
18- Image / Resize / 800 Pixels de Largura (Resize All Layers , Marcado)Assine seu trabalho.
Layers / Merge / Merge All
Salve como JPG.
Versão 2: tubes de Valy Scrappassion:
©Tutorial traduzido por Estela Fonseca em 22/02/2020.
Não alterar nem repassar sem autorização.