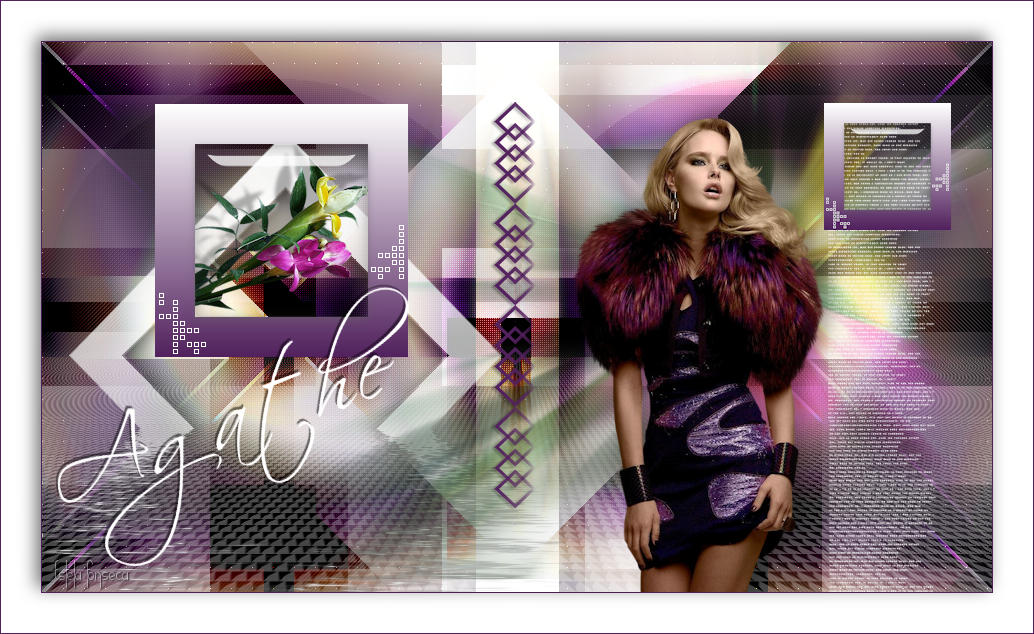
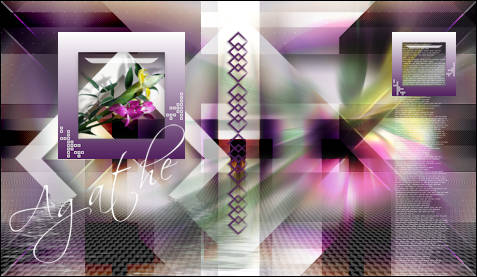
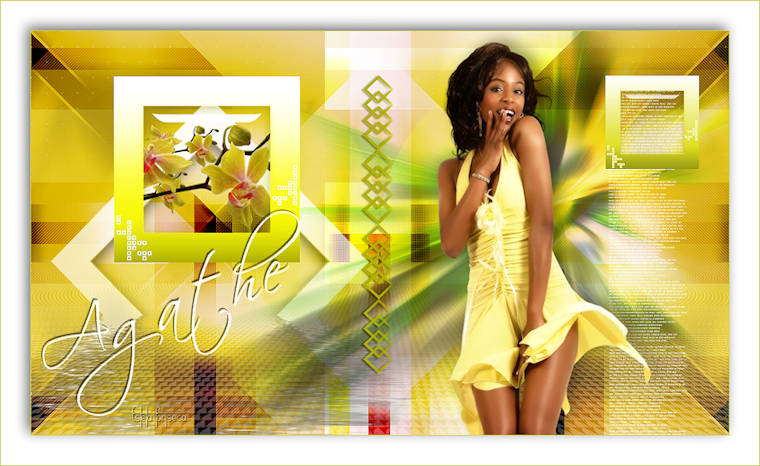
AGATHE
Tutorial de ©Noisette - Original Aqui
Traduzido no PSP 18, mas pode ser realizado nas versões anteriores!
Materiais Necessários:
Simple, 4 way Average
Flaming Pear, Flood
Ulimited 2.0 : Toadies, What Are You
Penta.com, Color dot
Medhi, Wavy lab 1.1 ( A ajouter dans votre filtre Medhi )
Medhi, Sorting Tiles
Sapphire filters 01, SapphirePlugin_0056
Graphics Plus, Border Fade
It@lian Editors Effect, Bordo Con Luci
Alien Skin Eye Candy5 : Impact, Glass
Mura's Meister, Perspective Tiling
Preparação:Abra os tubes no PSP duplique e feche os originais
Coloque as seleções na pasta de seleções do PSP
Coloque os brushes na pasta de Brushes do PSP
Duplo clique no preset do Alien Skin Eye Candy 5 , ele será automaticamente importado
Se você quiser usar suas próprias cores, por favor mudar o modo e a opacidade das layers!
1- Abra uma nova imagem transparente de 950/550 pixels
2- Effects / Plugin / Medhi / Wavy Lab 1.1
Clique nos pequenos quadrados e aplique as cores especificadas:
3- Effects / Plugin / Medhi / Sorting Tiles
4- Effects / Edge Effects / Enhance
5- Effects / Plugin /Sapphire Filters 01 /Sapphireplugins_0056
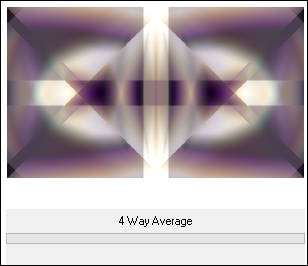
6- Effects / Plugin / Simple / 4 Way Average
7- Effects / Edge Effects / Dilate8- Nesta Layer
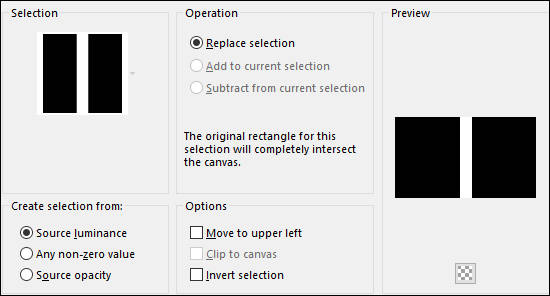
Selections / Load save selection / Load selection from disk: agathe-selnoisette01
9- Selections / Promote Selection to Layer
Selections / Select None
10- Effects / Plugin / Graphics Plus / Border Fade
11- Effects / Plugin / Penta.com / Color Dot
12- Blend Mode / Soft Light
13- Ative a Layer << Raster 1>>
Selections / Load - Save Selection / Load selection from disk: agathe-selnoisette02
14- Effects / PLugin / Penta.com / Color Dot
Selections / Select None
15- Ative a layer do topo
Layers / New Raster Layer
Selections / Load - Save Selection / Load selection from disk: agathe-selnoisette03
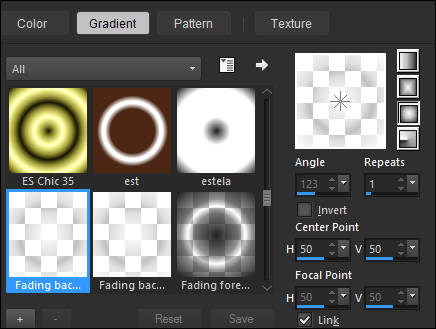
16- Forme um Gradiente estilo <<Sunburst>> no Primeiro Plano (Corel_06_025 ), Primeiro Plano cor #ffffff
17- Preencha a seleção com o Gradiente
Selections / Select None
18- Effects / Plugin / Toadies / What Are You
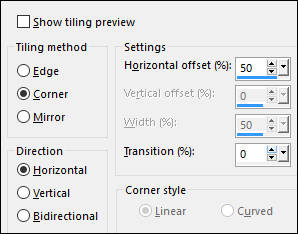
19- Effects / Image Effects / Seamless Tiling
20- Image / Mirror
Effects / Image Effects / Seamless Tiling:
21- Effects / Plugin / Italian Editors / bordo Con Luci
22- Blend Mode / Burn
23- Layers / Duplicate
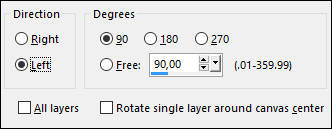
Image / Free Rotate:
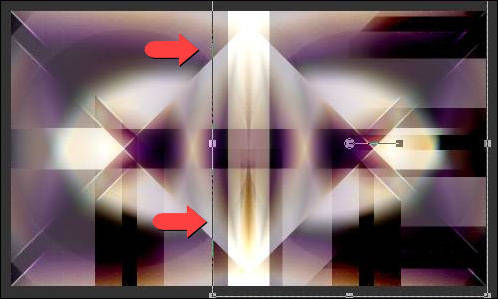
24- Arraste a seleção para à direita:
25- Effects / Plugin / Penta.com / Jeans
26- Blend Mode / Overlay
27- Layers / Duplicate
Image / Mirror
Blend Mode / Burn
Opacidade / 75 %
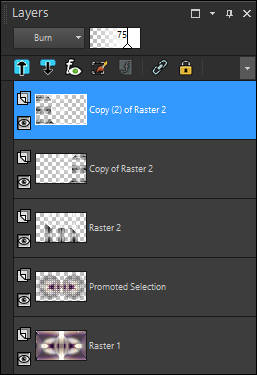
28- Sua paleta de layers :
29- Layers / New Raster Layer
Selections / Load - Save Selection / Load selection from disk: agathe-selnoisette04
30- Gradiente <<Fading Background>> Segundo Plano cor #FFFFFF
31- Preencha a seleção com o Gradiente
Selections / Modify / Contract 40 pixels
Delete no teclado
32- Mantenha a Seleção !
Effects / 3D Effects / Cutout
Selections / Select None
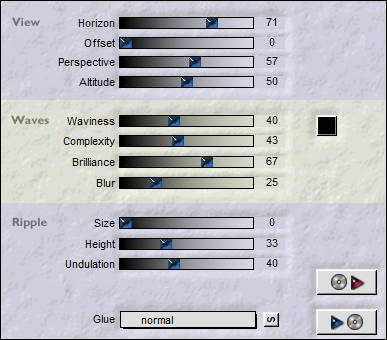
33- Effects / Plugin / Flaming Pear / Flood
34- Layers / Duplicate
Effects / Plugin / Mura's Meister / Perspective Tiling
35- Nesta Layer
Selections / Load - Save Selection / Load selection from disk: agathe-selnoisette05
36- Delete no Teclado
Selections / Select None
Opacidade / 30 %
Layers / Arrange / Move Down
37- Ative a Layer do topo
Ative o tube <<Slide34_tubed_by_thafs.pspimage>>
Copie e Cole como nova layer
38- Adjust / Blur / Radial Blur
Blend Mode / Hard Light
Opacidade / 59 %
39- Ferramenta <<Pick Tool>> Mode Scale Position X: 191,00 e Position Y: -13,00
40- Cole como nova layer ( imagem está na memória)
41- Image / Resize / 30 % ( Resize all layers desmarcado ! )
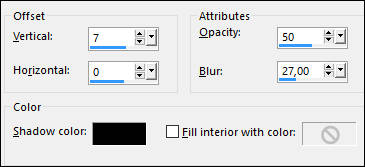
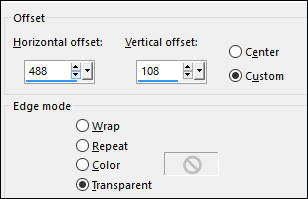
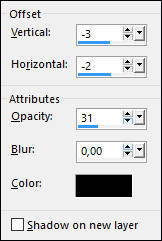
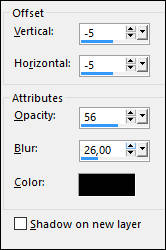
42- Effects / Image Effects / Offset
43- Effects / 3D Effects / Drop Shadow: -12/-15/31 /5,00/#000000
44- Layers / New Raster Layer
Selections / Load - Save Selection / Load selection from disk: agathe-selnoisette06
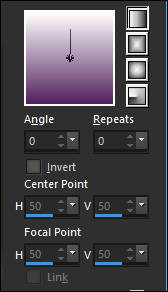
45- Prepare um Gradiente estilo <<Linear>> Primeiro Plano #53215e , Segundo Plano #ffffff
46- Preencha a layer com o Gradiente
Selections / Modify / Contract / 40 pixels
Delete no teclado!
47- Effects / Plugin / Alien Skin Eye Candy5 / Impact / Glass / Preset agathe-glass
Selections / Select None
48- Layers / New Raster Layer
Primeiro Plano cor #ffffff
Ferramenta <<Paint Brush Tool>> brush << agathe-noisette-deco01>>
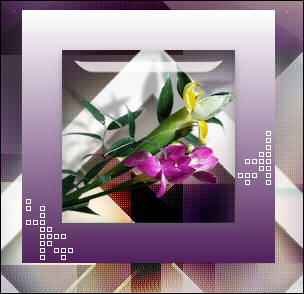
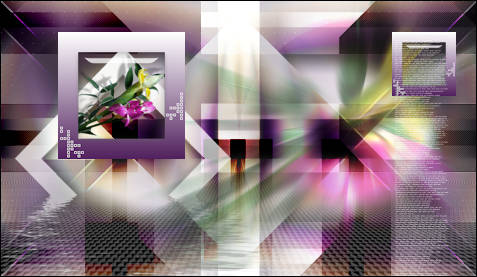
49- Carimbe como segue:
50- Layers / Merge / Merge Down
51- Layers / Duplicate
Image / Resize / 50% (Resize all layers desmarcado)
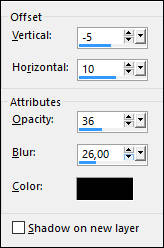
52- Effects / Image Effects / Offset:
53- Layers / New Raster Layer
Primeiro Plano cor #ffffff
Ferramenta <<Paint Brush Tool>> Brush <<4_Tiny_Text_Brushes_Larges_By_Strarlight1986_50>>
Aplique como segue:
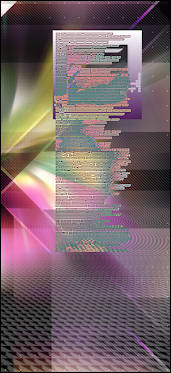
Aplique uma segunda vez como na imagem abaixo:
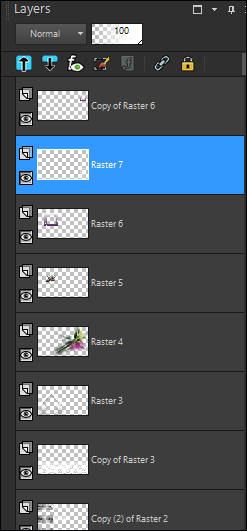
54- Layers / Arange / Move DownSua paleta de Layers:
55- Ative a Layer do topo
Layers / New Raster Layer
Primeiro Plano cor #53215e
Ferramenta <<Paint Brush Tool>> Brush <<agathe-noisette-deco02>>
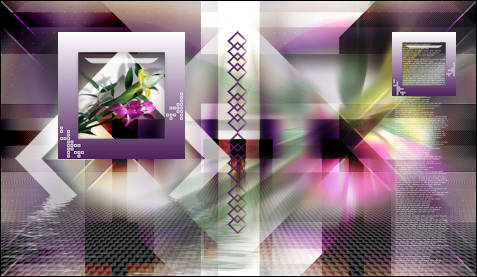
Carimbe como segue:
56- Effects / 3D Effects / Drop Shadow: Cor #000000
57- Layers / New Raster LayerPrimeiro Plano cor #ffffff
Ferramenta <<Paint Brush Tool>> brush <<agathe-noisette-deco03>>
Carimbe como segue:
58- Effects / 3D Effects / Drop Shadow: Cor #000000
Blend Mode / Hard Light59- Ative o tube << Kitys-autumn Fasion.pspimage>>
Copie e Cole como nova layer
60- Image / Resize / 60 % ( Resize all layers desmarcado ! )
61- Posicione como segue:
61- Effects / 3D Effects / Drop Shadow: Cor #000000
62- Image / Add Borders / Symmetric Marcado / 1 pixel cor #53215e63- Image / Add Borders / Symmetric Marcado / 40 pixels cor #fffffff
64- Ative a Varinha Mágica e selecione a borda brancaSelections / Invert
65- Effects / 3D Effects / Drop Shadow: Cor #000000
66- Selections / Select NoneImage / Add Borders / Symmetric Marcado / 1 pixel cor #53215e67- Signez votre travail
67- Assine seu trabalho
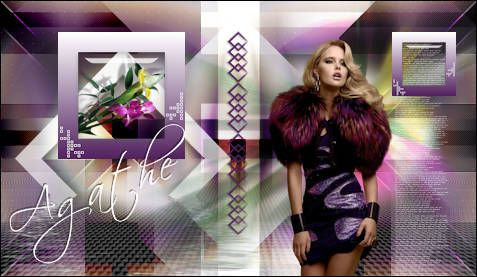
68- Salve como jpg.Versão com tube de Jet:
VOLTAR
©Tutorial Traduzido por Estela Fonseca 25/10/2016.
Obrigada Noisette por me permitir traduzir seu trabalho.
