Este tutorial foi feito com o PSPX2 mas você pode fazer com as outras versões.
Materiais Necessários:
O tube utilizado é de Kitty
e o tube do sapato é de Friemelen
Plugins Utilizados:
Xero / FritillaryAlien Skin Eye Candy 5: Impact / Perspective Shadow
Toadies importado para o Unlimited 2.0
VM Natural: Splash!
Filter Factory Gallery V Importado para o Unlimited 2.0
Preparação:
Coloque a seleção na pasta de seleções do PSP
Abra as Mask no Psp e Minimize
Abra o tube , Duplique e feche o original
1 - Foreground cor # fe7232, Background cor # ffffff2 - Abra uma nova imagem transparente de 800 /600 pixels
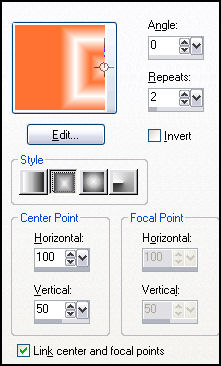
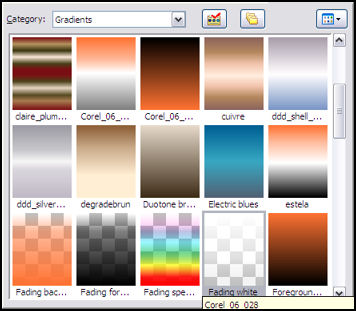
3 - Preencha com o gradiente
4 - Effects / Image Effects / Seamless Tiling / Default5 - Layers / New Raster Layer
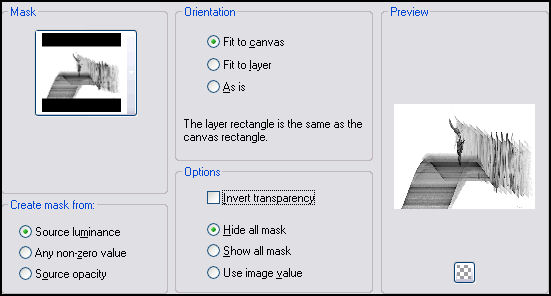
6 - Preencha com a cor # fcd35c7 - Layers / Load save mask / load mask from disk: masknoisette2
Layers / Delete
Layers / Merge / Merge Group
8 - Blend Mode / OverlayLayers / Merge / Merge All
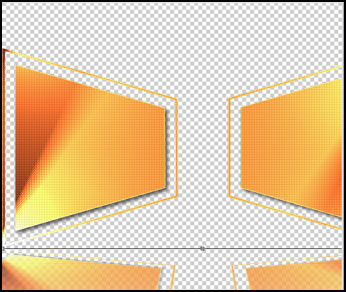
9 - Layers/ New Raster Layer10 - Selections / Load save selection / Load selections from disk: selectnoisette16
Preencha com a cor # fe7232
11 - Selections / Modify / Contract / 5 pixelsDelete no teclado
Mantenha a seleção!!!!
12 - Selections / Modify / Contract / 20 pixels
Preencha com a cor # fe7232
13 - Effects / 3D Effects / Drop shadow: 5/5/62/10,00/#000000Selections / Select None
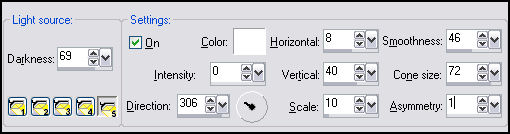
14 - Effects / Ilumination Effects / Lights:
15 - Effects / Plugin / Xero, Fritillary : 5/30/10/0
16 Effects / Edge Effects / Enhance
17 - Abra o tube do sapato copie e cole como nova layer
18 - Image / Resize / 50% (Resize all layers desmarcado!)
Coloque o sapato na frame da direita
19 - Ferramenta Freehand configurada:
Selecione a parte do sapato que ultrapassa o retângulo
20 - Delete no tecladoSelections / Select none
21 - Effects / 3D Effects / Drop shadow: 2/2/70/30 /#000000
22 - Layers / Duplicate
Image / Mirror
23 - Layers / Merge / Merge DownOpacidade / 40%
24 - Ative a layer do meio (raster 1)
25 - Primeira Vez: Effects / Plugin /Alien Skin Eye Candy 5: Impact /Perspective ShadowSettings: Reflect in front-Sharp
Na Tela do Plugin
Puxe o ponto central até o topo da tela
26 - Segunda vez: Effects / Alien Skin Eye Candy 5 / Impact /Perspective Shadow
Clique em OK
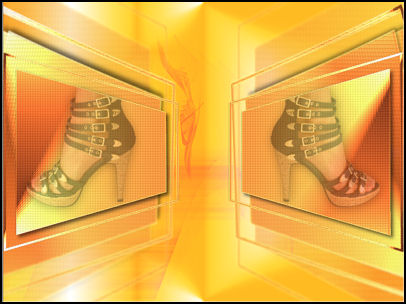
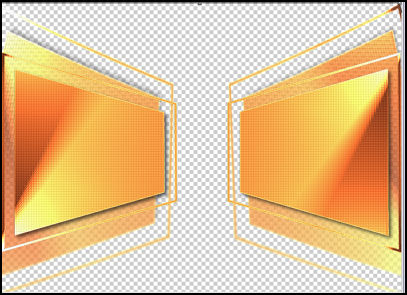
sua tag deverá estar assim:
27 - Ative a layer superior
Layers / New raster layer
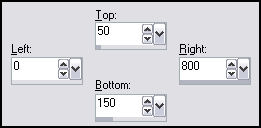
28 - Ferramentas Selection Tool (S) , clique em Custom selection:
configure:
Preencha com a cor # 000000Selections / Select None
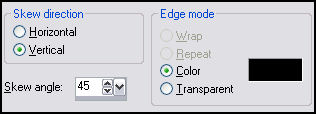
29 - Effects / Geometric Effects / Skew: vertical, 45, cor preta
Opacidade 53%
30 - Effects / 3D Effects / Drop shadow: 10/12/73/10 /#00000031 - Layers / Duplicate
Image / Mirror
Blend Mode / Soft Light
32 - Effects / Plugin / Toadies / What Are You? 20/20
33 - Ative a layer Raster 3 (logo abaixo)Effects / Plugin /Filter Factory Gallery V / Ommadawn 17/16/234/17
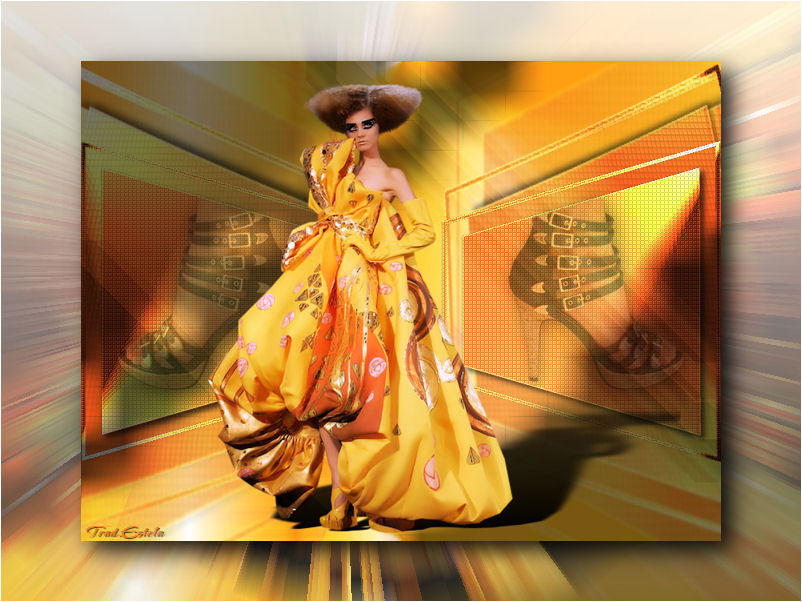
34 - Abra o tube da KittyCopie / Cole como nova layer
35 - Image / Resize /80% (Resize all layers desmarcado!)
36 - Effects / Plugin / Alien Skin Eye Candy 5: Impact / Perspective ShadowSettings: Short Perspective shadow, in Back
Coloque um pouco à esquerda da tag
37 - Layers / Merge All
38 - Layers / Duplicate
39 - Image / Resize / 80% (Resize all layers desmarcado!)
40 - Effects/ Plugin / Alien Skin Eye Candy 5: Impact / Perspective ShadowSettings: Drop Shadow, Blurry
41 - Ative a layer inferior
42 - Effects / Plugin / VM Natural: Splash! 121/123/19/17/2243 - Layers / New Raster Layer (entre as duas layer)
44 - Foreground com o gradiente Fadding branco (original do PSP X2)
Configurado: Estilo Linear, Angle 0 e Repeats 0
Preencha a layer com o gradiente
Opacidade 80%
45 - Layers, Merge All
46-Assine seu trabalho
47 - Salve em JPEG©Tutorial Traduzido por Estela Fonseca em 27/08/ 2010.
Não alterar nem repassar sem autorização.