HAPPY EASTER 2018
Tutorial de ©Narah - Original Aqui
Tutorial realizado na versão PSP X9.
Materiais Necessários:
Tube Mina@bimbo.pulcino.04.15.pspimage"httpss://laminagraficatubes.blogspot.it/
Tube "Karine_Dreams_Misted_Easter_2923_Avril_2014.pspimage"https://groups.google.fr/group/exclusifs-tubes-karine-dreams?hl=fr
Tube "calguiseaster7310.pspimage"https://tubeguismolapassiondecreer.blogspot.fr/
Word Art: "WA_HappyEaster_Narah.pspimage"Fonte: EasterSurprise.ttf
Marca d'água "Narah's Tutorials.pspimage"
Plugins Utilizados:Toadies / Darwin e 3D Supercheckers
AAA Frames / Transparent Frame
Preparação:
Abra os tubes no PSP, duplique e feche os originais. Remova a Marca d'água apenas da cópia.
Nota: Se usam outras imagens e outras cores, podem mudar os modos de misturas(blende Mode) e/ou as opacidades à gosto.
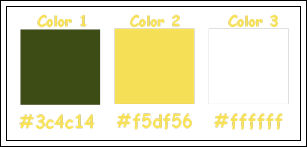
Tabela de Cores:
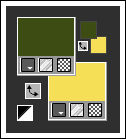
1. Primeiro Plano cor #3c4c14 / Segundo Plano cor #f5df56
Abra uma Nova imagem transparente de 900/600 pixelsPreencha com a cor do Primeiro Plano (#3c4c14).
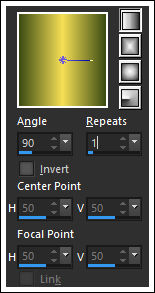
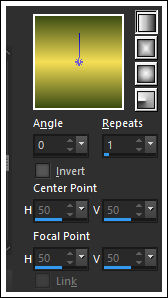
2. Crie um Gradiente estilo <<Linear>> Angle 90 / Repeats 1:
Layers /New Raster LayerPreencha com o Gradiente
Selections / Select All
Selections / Modify / Contract 45 pixels
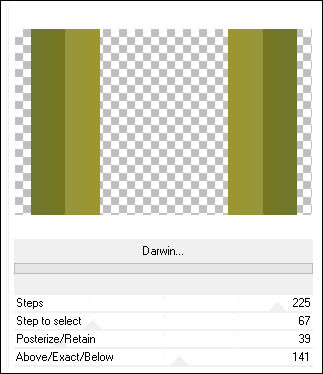
3. Effects / Plugins / <I.C.NET Software> Filters Unlimited 2 / Toadies / Darwin: 225 / 67 / 39 / 141
Delete no teclado
Mantenha a seleção!
4. Ative a Layer do Fundo <<Raster 1>>
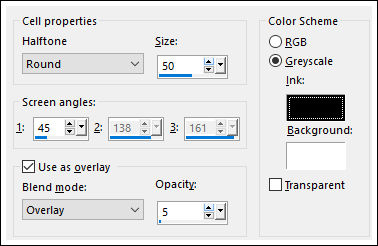
Effects / Artistic Effects / Halftone
Round / 50 / Screen angles: 45 / Use as overlay / Blend Mode Overlay / Opacity 5 / Greyscale Marcado / cores
#000000 e #ffffff
5. Ative a Layer << Raster 2>>
Selections / Invert
Layers / Duplicate
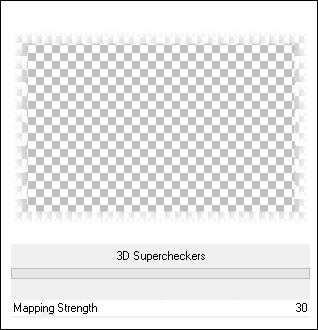
Effects / Plugins / <I.C.NET Software> Filters Unlimited 2 / Toadies / 3D Supercheckers / 30
Blend Mode / Overlay.Mantenha a Seleção!
6. Ative a Layer do Meio <<Raster 2>>
Effects / Texture Effects / Weave: 2 / 5 / 10 / Weave color: #000000 / Gap color / #ffffff / Fill gaps Marcado
Blend Mode / Hard Light
7. Ative a Layer do Fundo <<Raster 1 >>Selections / Invert
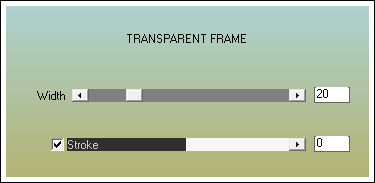
Filtro AAA Frames / Transparent Frame / 20 / 0
Selections / Select None.
8. Ative a <<Varinha Mágica>> e Selecione a Borda negraDelete no teclado
Mantenha a seleção
Mude a Configuração do Gradiente , Estilo <<Linear>> Angle e Repeats 1
Preencha a Seleção com o Gradiente
Effects / Texture Effects / Weave: 1 / 5 / 10
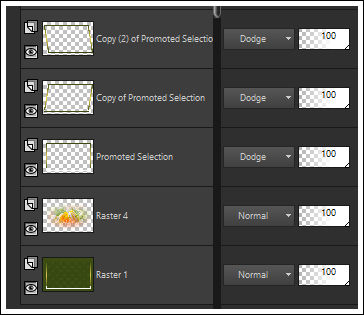
Selections / Promote Selection to Layer
Blend Mode / Dodge.
9. Layers /New Raster Layer
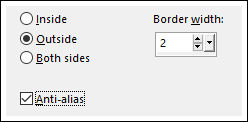
Selections / Modify / Select Selection Borders
Preencha a seleção com a cor #ffffff ( cor 3)
Selections / Select None
Layers / Arrange / Move Up
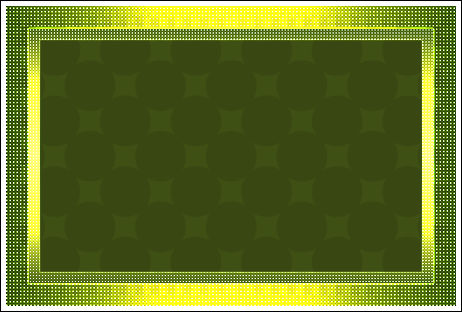
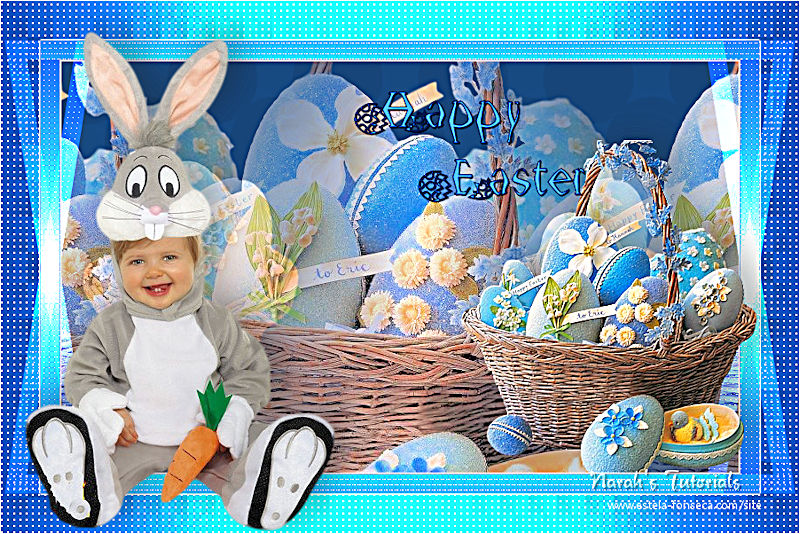
Resultado:
10. Ative a Layer <<Promoted Selection>>
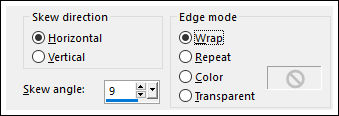
Layers / DuplicateEffects / Geometric Effects / Skew: Horizontal / Skew angle: 9 / Edge mode: Wrap
Blend Mode: Dodge
Layers / DuplicateImage / Mirror / Mirror Horizontal (Image / Mirror em versões anteriores)
11. Ative a layer do Fundo <<Raster 1>>Ative o tube <<Karine_Dreams_Misted_Easter_2923_Avril_2014.pspimage>>
Copie e Cole como nova layer
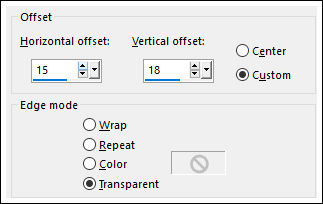
Effects / Image Effects / Offset:
12. Ative a Layer <<Raster 3>>Layers / Arrange / Bring to top
Ative o tube <<Mina@bimbo.pulcino.04.15.pspimage>>Copie e Cole como nova layer
Image / Resize / 70%... Resize all layers ... Desmarcado
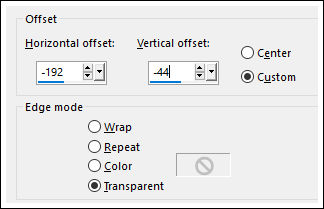
Effects / Image Effects / Offset: -192 / -44 / Custom e Transparent Marcados
Adjust / Sharpness / Sharpen
13. Effects / 3D Effects / Drop Shadow: -10 / 15 / 35 / 50.00 / #000000
14. Ative o tube <<calguiseaster7310.pspimage>> Copie e Cole como nova layerImage / Resize / 70%... Resize all layers ... Desmarcado
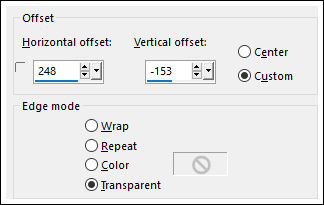
Effects / Image Effects / Offset: 248 / -153 / Custom e Transparent Marcados
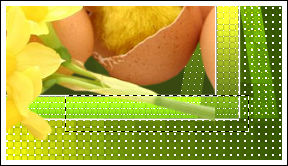
Ferramenta Selection Tool / Rectangle / Faça uma seleção em volta do talo da flor como segue:
Delete no tecladoSelections / Select None
15. Effects / 3D Effects / Drop Shadow: -10 / 15 / 35 / 50.00 / #00000016. Abra o tube <<WA_HappyEaster_Narah>> Copie e Cole como nova layer".
Effects / Image Effects / Offset: 209 / 146 / Custom e Transparent Marcados
Adjust / One Step Photo Fix
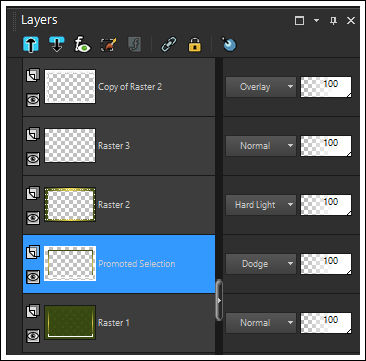
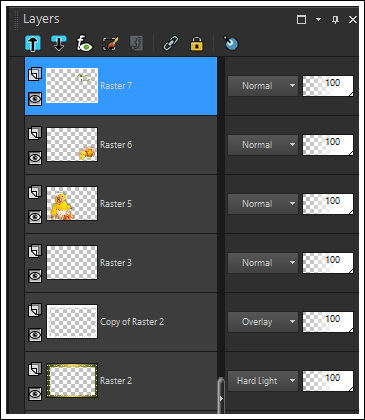
Paleta das Layers:
17. Ative a Marca d'água de<<Narah's Tutorials>> Copie e Cole como nova layer
Assine seu trabalho
18. Image / Add Borders / Symmetric Marcado / 1 pixel cor #ffffff
Exporte como jpg.
Versão com tubes de Frannie Margot:
© 2018 Tutorial criado por Narah e Traduzido por Estela Fonseca.
Não alterar nem repassar sem autorização.


