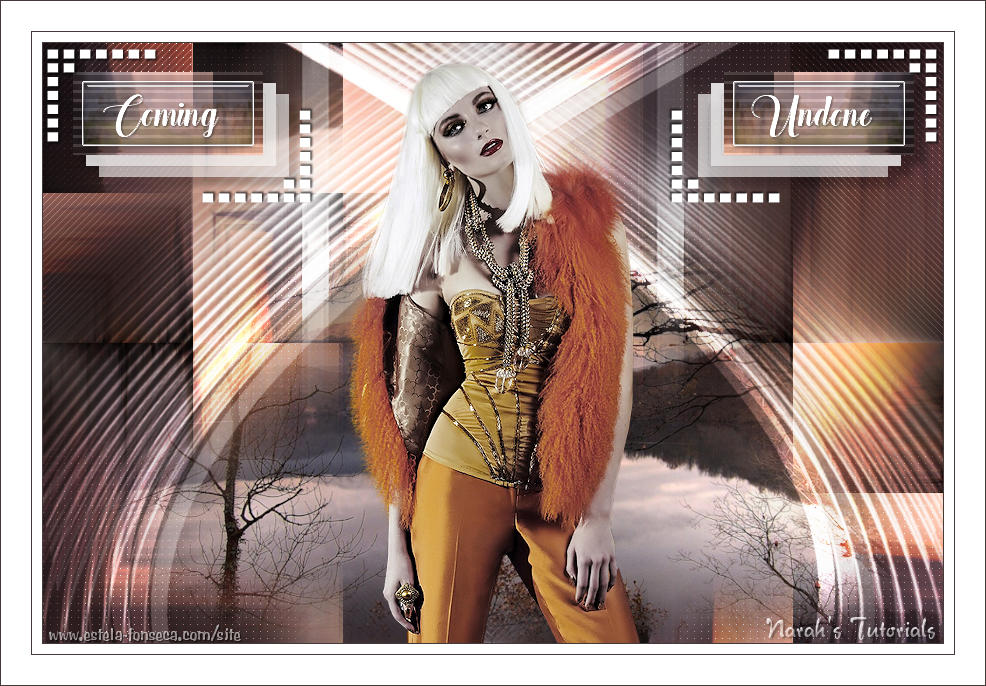
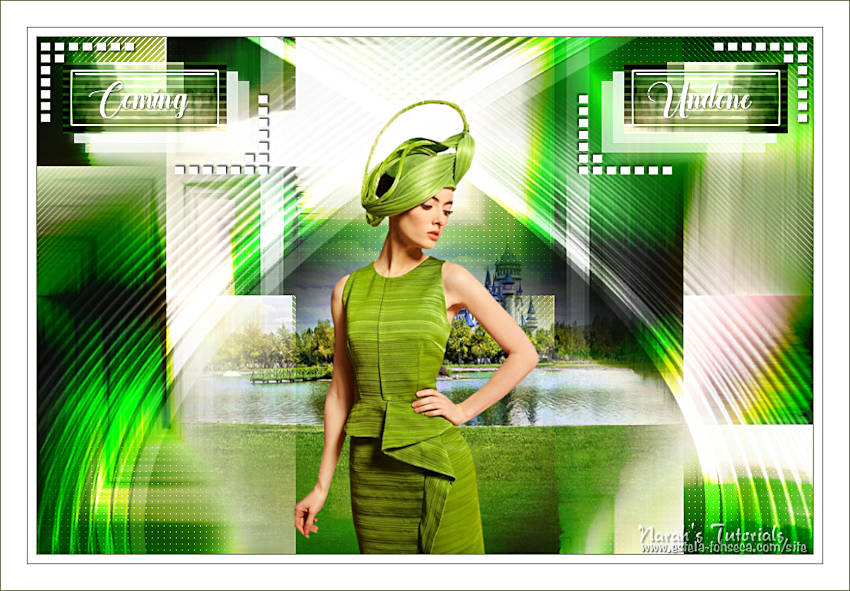
COMING UNDONE
Tutorial de ©Narah - Original Aqui
Tutorial realizado na versão PSP X8.
Materiais Necessários:
Tube calguisElegance_20102015.pspimageTube Narah_0718Scenery_May2017.pspimage
Mask: Narah_Mask_1141.jpg
AlphaChannel_ComingUndone_Narah.pspimage
Narah_Deco1_May2017.pspimage
Narah_Deco2_May2017.pspimagePaleta de Cores_ComingUndone.png
Marca d'água: NarahsTutorials.pspimage
Plugins Utilizados:Medhi / Sorting Tiles
AP 01 [Innovations] Lines - SilverLining
Penta.com / VTR2
Eye Candy 5: Impact / Glass
Preparação:Abra os tubes no PSP, duplique e feche os originais.
Nota: Se usas cores e imagens diferentes destas deste tutorial pode ser necessário mudar os "blend modes"
e as opacidades das layers.
Minhas Cores:
1. Abra a layer transparente <<AlphaChannel_ComingUndone_Narah.pspimage>>
Window / Duplicate
Feche a Original. Trabalhe na Cópia.2. Primeiro Plano cor (1) #443a39 e Segundo Plano cor (2) #8d828a
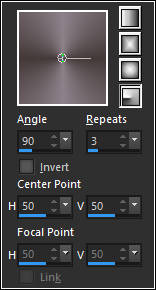
Gradiente estilo - Radial (Angle 90 / Repeats 3 )
Preencha a layer com o gradiente
3. Layers / New Raster Layer
Selections / Select AllAbra o tube << Narah_0718Scenery_May2017.pspimage>>
Copie e Cole na seleção
Selections / Select None.
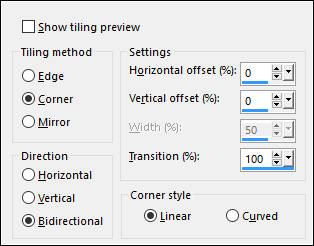
4. Effects / Image Effects / Seamless Tiling
5. Effects / Plugin / Medhi / Sorting Tiles:
Blend Mode / High Light
Layers / Merge / Merge Down
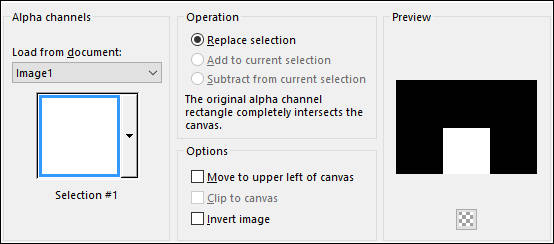
6. Selections / Load/Save Selection / Load Selection from Alpha Channel / Selection #1
Selections / Promote Selection to LayerMantenha a Seleção!
Adjust / Blur / Gaussian Blur / Radius: 20
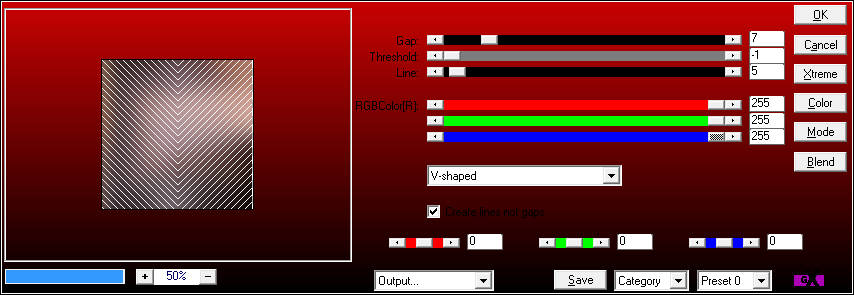
7. Effects / Plugin / AP 01 [Innovations] / Lines - SilverLining
Selections / Select None
Effects / Image Effects / Seamless Tiling
8. Ferramenta Pick Tool (Tecla K), Ajuste a imagem na borda superior:
Blend Mode / Multiply
Opacidade / 80%
9. Layers / New Raster Layer
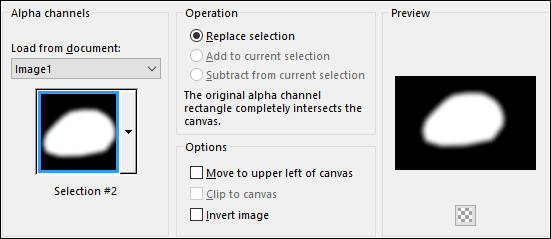
Selections / Load/Save Selection / Load Selection from Alpha Channel / Selection #2.
Preencha com o mesmo gradiente do passo 2.Selections / Select None
Adjust / Blur / Gaussian Blur / Radius 20.00
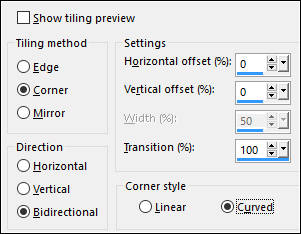
Effects / Image Effects / Seamless Tiling:
10. Effects / Plugin / AP 01 [Innovations] / Lines - SilverLining / Dotty Grid
Blend Mode / Overlay
11. Abra o tube <<Narah_Deco1.pspimage>>
Copie e Cole Como Nova Layer
Ferramenta Pick Tool (Tecla K) Posicione como segue:
Layers / Duplicate
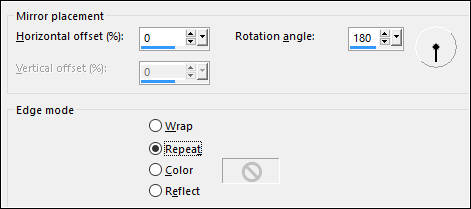
Image / Mirror / Mirror Horizontal (Image / Mirror em versões anteriores do PSP)Layers / Merge / Merge Down
Image / Mirror / Mirror Vertical ( Image / Flip em versões anteriores do PSP)
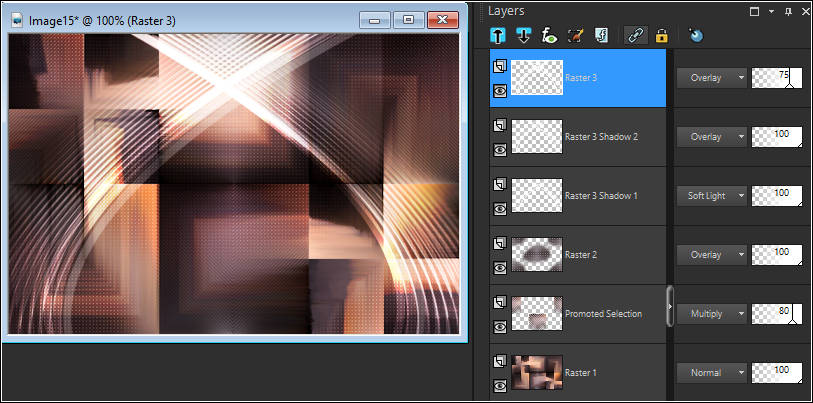
Blend Mode / Overlay
Opacidade / 75%
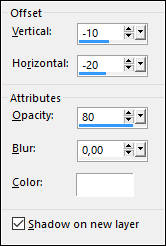
Effects / 3D Effects / Drop Shadow:
12. Ative a Layer do topo (Raster 3)
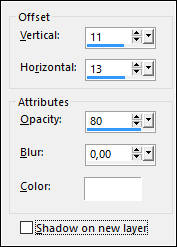
Effects / 3D Effects / Drop Shadow:
Ative a Layer <<Raster 3 Shadow 1>>
Blend Mode / Soft Light
Ative a Layer <<Raster 3 Shadow 2>>
Blend Mode / Overlay
Resultado:
13. Ative a Layer <<Raster 2>>
Layers / New Raster Layer
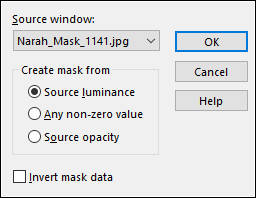
Preencha com a cor (3) #ffffffAbra a Mask <<Narah_Mask_1141>> Minimize
Layers / New Mask layer / From Image:
Layers / Duplicate
Layers / Merge / Merge GroupLayers / Duplicate
Image / Mirror / Mirror Horizontal (Image/Mirror em versões anteriores do PSP)Opacidade / 50%
Layers / Merge / Merge Down
15. Ainda sobre essa layer <<Group Raster 4>>
Abra o tube <<Narah_0718Scenery_May2017.pspimage>>
Copie e Cole como Nova Layer
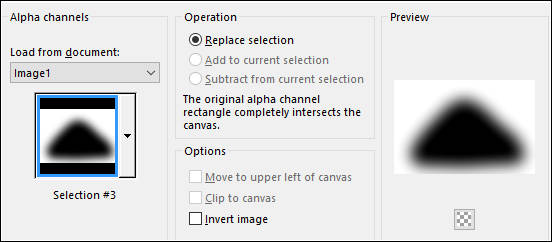
Selections / Load/Save Selection / Load Selection from Alpha Channel /Selection #3.
Delete no Teclado ( tecle 2 vezes)
Selections /Select None
Ferramenta Pick Tool (Tecla K) / Posicione
Nota: Os valores podem variar dependendo da imagem que você utilizar.
16. Ative a Layer do Fundo <<Raster 1>>
Selections / Load/Save Selection / Load Selection from Alpha Channel / Selection #4
Selections / Promote Selection to Layer
Layers / Arrange / Bring to Top
17. Aplicar el filtro Penta.com / VTR2 con estos valores:
Selections / Modify / Contract 10
Effects / Plugin / Alien Skin Eye Candy 5 / Impact / Glass / Preset Clear with Reflection
Selections / Modify / Select Selection Borders :
Preencha com a cor (3) #ffffff
Selections / Select None
18. Effects / 3D Effects / Drop Shadow (2 vezes):
Effects / Reflections Effects / Rotating Mirror
Effects / 3D Effects / Drop Shadow
19. Layers / New Raster Layer
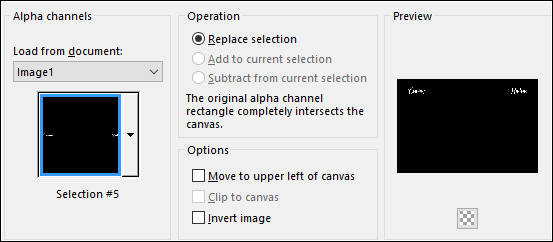
Selections / Load/Save Selection / Load Selection from Alpha Channel / Selection #5
Preencha com a cor (3) #ffffff
Selections / Select None
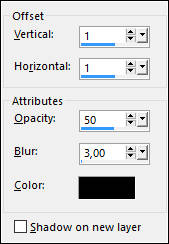
Effects / 3D Effects / Drop Shadow:
20. Ative a Layer do topo
Abra o tube <<calguisElegance_20102015.pspimage>>
Copie e Cole como Nova Layer
Image / Resize / 78% (Resize all layers desmarcado.)
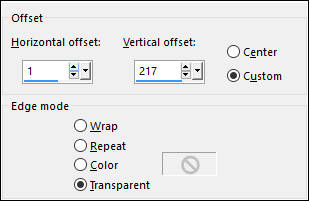
Effects / Image Effects / Offset
21. Abra o tube <<Narah_Deco2_May2017.pspimage>>
Copie e Cole como nova layer
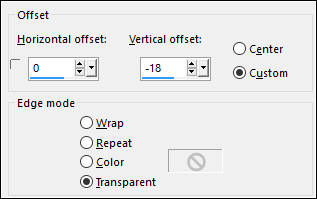
Effects / Image Effects / Offset:
22. Image / Add Borders / Symmetric Marcado / 1 pixel cor (1) #443a39.
Image / Add Borders / Symmetric Marcado / 10 pixels cor (3) #ffffff
Image / Add Borders / Symmetric Marcado / 1 pixel cor (1) #443a39.
Image / Add Borders / Symmetric Marcado / 30 pixels cor (3) #ffffff
22. Adicione a marca d'água "Narahs_Designs"
Adicione a sua assinatura
Layers / Merge / Merge All (Flatten)
Exportar como jpg optimizado
Versão com tube de Cibi Bijoux e de Lina:
© 2017 Tutorial criado por Narah e Traduzido por Estela Fonseca.
Não alterar nem repassar sem autorização.
