MAJO
Tutorial de Luz Cristina - Original Aqui .
Obrigada Luz Cristina, por sua autorização.
Materiais Necessários:

Tubes de Luz Cristina
Plugins Utilizados:
<I.C.NET Software> Filters Unlimited 2 / VM Extravaganza
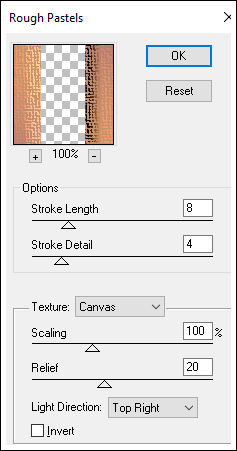
Artistic / Rough pastels
Flaming Pear / Flexify2 & Flood
<I.C.NET Software> Filters Unlimited 2 / Render
Alien Skin Eye Candy 5 / Impact
FM Tile Tools / Saturation Emboss
01- Abra uma nova imagem transparente de 1000/600 Pixels
02- Primeiro Plano cor #d69d6b / Segundo Plano cor #432585
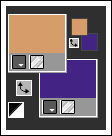
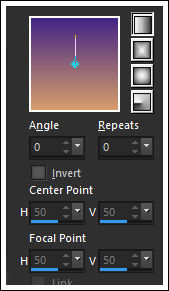
Forme um Gradiente no Primeiro Plano estilo <<Linear>> Configurado como segue:
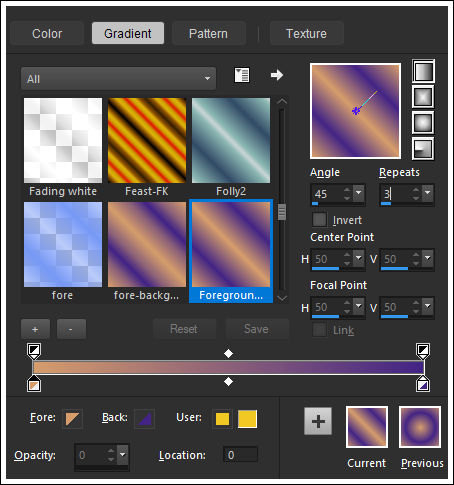
Preencha a imagem transparente com o gradiente
03- Adjust / Blur / Gaussian Blur / Radius 35
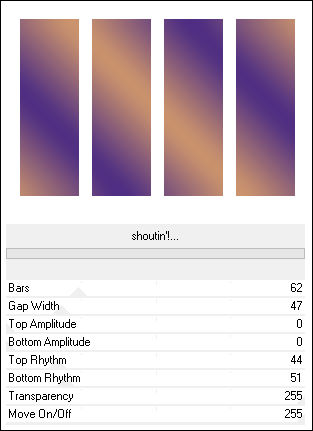
04- Effects / Plugins / <I.C.NET Software> Filters Unlimited 2 / VM Extravaganza / Shoutin'
05- Ative a Varinha Mágica (Feather e Tolerance 0) e selecione as partes brancas
Delete no Teclado
06- Selections / Invert
07- Effects / Plugins / Artistic / Rough pastels
08- Ative e Copie o tube <<misted>> e Cole na seleção.
Selections / Select None
09- Effects / 3D Effects / Chisel ( cor do segundo Plano)
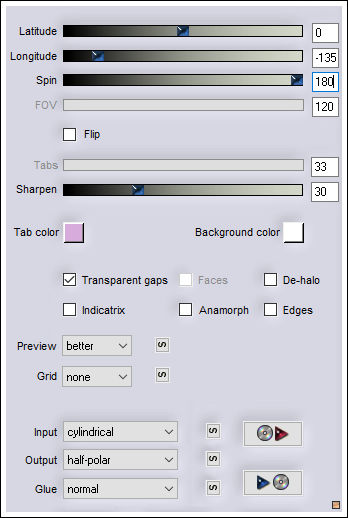
10- Effects / Plugins / Flaming Pear / Flexify 2
11 - Image / Mirror / Mirror Vertical
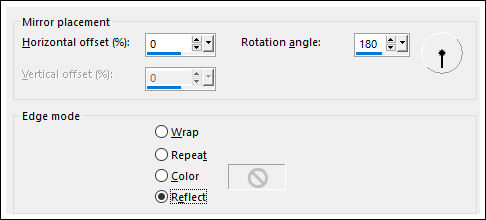
12- Effects / Reflection Effects / Rotating Mirror / 0 / 180 / Reflect
13- Layers / New Raster Layer
Layers / Arrange / Send to Bottom
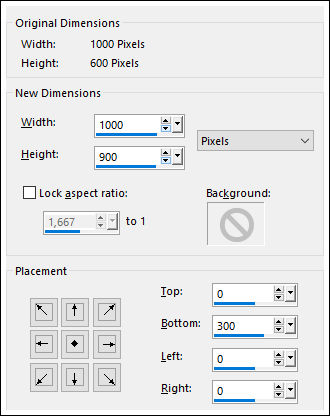
14- Image / Canvas Size: ( 1000 X 900px. 0 300 0 0)
15- Preencha a layer co o Gradiente <<Linear>> configurado como segue:
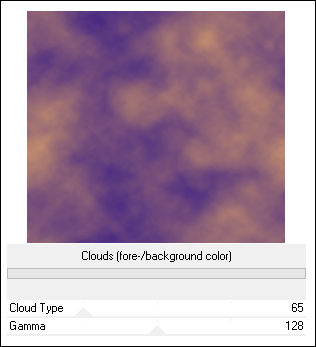
16- Effects / Plugins / <I.C.NET Software> Filters Unlimited 2 / Render / Clouds ( fore /background color)
/ Default
17- Ative a Layer <<Raster 1 >>
Effects / Plugins / Alien Skin Eye Candy 5 / Impact /
Extrude

18- Ative e Copie o tube << 5285-luzcristina>> Cole como nova layer
Posicione no canto superior à esquerda
19- Effects / Reflection Effects / Rotating Mirror
20- Layers / Arrange / Move Down
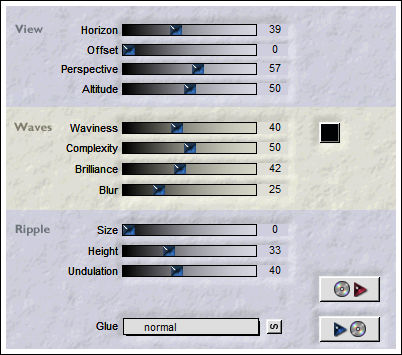
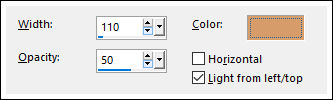
21- Effects / Plugins / Flood ( a juste o horizont ao seu tube)
22- Effects / Geometric Effects / Spherize ( 3 Vezes)
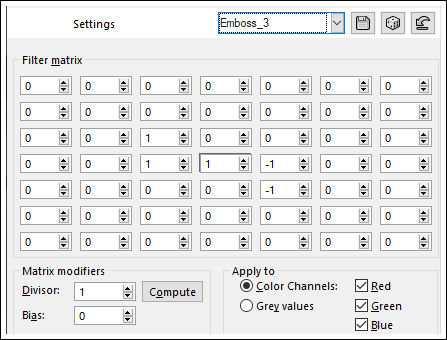
23- Effects / User Defined Filter / Emboos 3
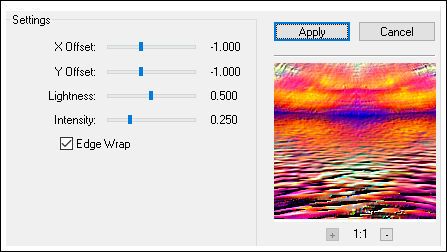
24- Effects / Plugins / FM Tile Tools / Saturation Emboss
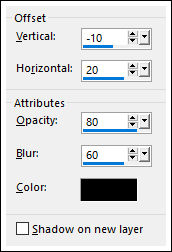
25- Effects / 3D Effects / Drop Shadow: -10 20 80 60
26- Ative a layer <<Raster 1>>
Effects / 3D Effects / Drop Shadow: -10 20 80 60
27- Layers / Duplicate
28- Image / Mirror / Mirror Vertical
29- Effects / Image Effects / Seamless Tiling / DEfault
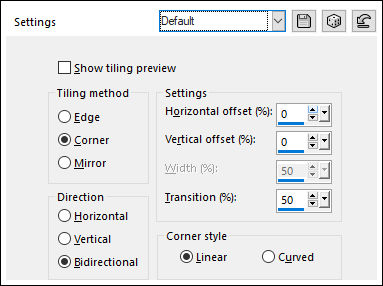
30- Image / Mirror / Mirror Vertical
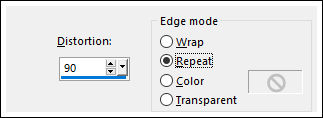
31- Effects / Geometric Effects / Perspective Vertical / 90 / Repeats
32- Image / Mirror / Mirror Vertical
33- Effects / Distortion Effects / Pinch / 100
34- Effects / 3D Effects / Drop Shadow: -10 20 80 60
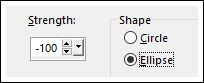
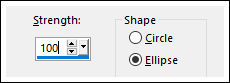
35- Effects / Geometric Effects / Spherize / 100 / Elipse
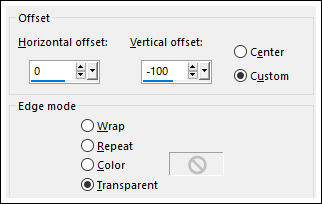
36- Ative a Layer <<Raster 1>>
Effects / Image Effects / Offset:
37- Ative e Copie o tube <<5285-luzcristina >> Cole como nova layer
38- Effects / Distortion Effects / Polar Coordinates /
Rectangular to Polar / Repeats
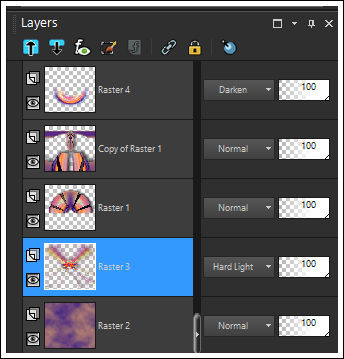
Blend Mode / Darken
39- Effects / Plugins / Artistic / Rough pastels
(igual ao passo 7)
40- Ative a Layer <<Raster 3>>
Blend Mode / Hard Light
41- Image / Add Borders / Symmetric Marcado / 5 Pixels cor do Primeiro Plano
42- Image / Add Borders / Symmetric Marcado / 5 Pixels
cor do segundo Plano
43- Image / Add Borders / Symmetric Marcado / 35 Pixels cor do
Primeiro Plano
44- Ative a Varinha Mágica e selecione esta borda
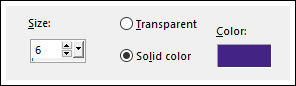
45- Effects / Texture Effects / Blinds (Cor do Primeiro Plano)
46- Effects / 3D Effects / Inner Bevel
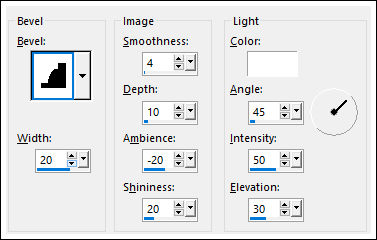
Selections /
Select None
47- Ative e copie o tube da personagem. Cole como nova layer
Posicione
Aplique uma sombra de seu gosto
48- Redimensione se desejar
Assine seu trabalho e salve como JPG
© Tutorial traduzido por Estela Fonseca
em 20/03/2020.
Não alterar nem repassar sem autorização da autora.