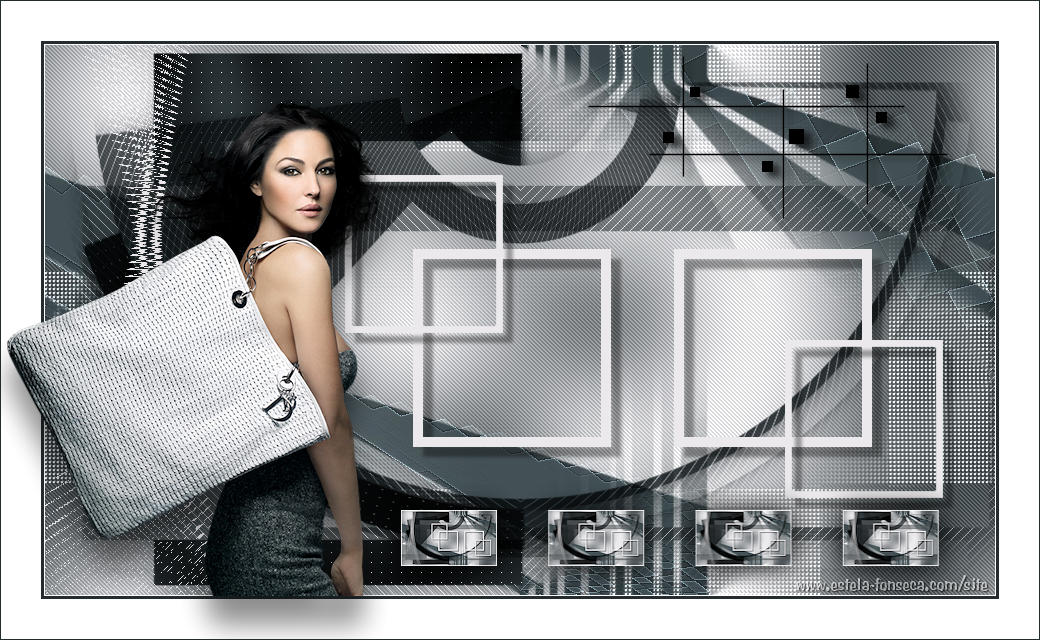
SYMÉTRIES
Tutorial de ©Creative Graphic Original Aqui
Traduzido no PSP X8
Materiais Necessários:
Tube de @nn
Mask de Edith e de Adita
Plugins Utilizados:Medhy /Wavy lab1.1
Unlimited /Penta com /Jeans
Unlimited /[AFS IMPORT] /Sqborder 2
Frishhluft /mosaic Planet v1.1
Ap 01 Innovation / Lines Silverlining
Flaming Paer /Flexify 2
Mura Meister /Copies
Graphic Plus /Cross Shadow
Preparação:Sinta-se livre para mudar suas cores e o modo de mistura das layers (blend Mode)
Dependendo das cores que você irá usar.
Abra as Masks no PSP e Minimize
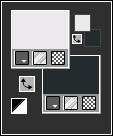
Primeiro Plano cor #ebe9ec
Segundo Plano cor #242c2f
01- Abra a Layer << alpha-symetries>>
Window / Duplicate / Feche a original
Effects /Plugin /Medhi /Wavy lab1.1
Adjust / Blur / Gaussian Blur / Radius 45
Effects / Plugin / Penta com /Jeans
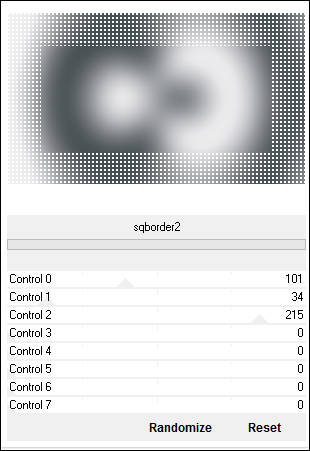
Effects / Plugin / I.C.NET Software / Filters Unlimited / [AFS IMPORT] /Sqborder 2
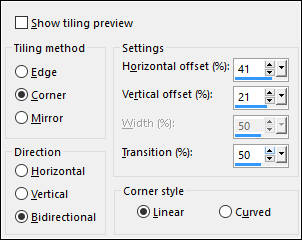
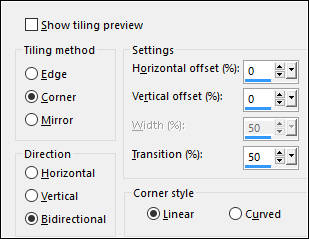
Effects / Image Effects / Seamless Tiling
02- Layers / New Raster Layer
Preencha com a cor do Segundo Plano
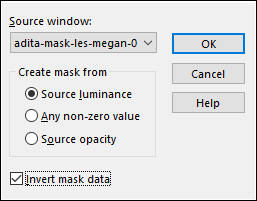
Layers / New Mask Layers / From Image:
Layers / Merge / Merge GroupEffects / Image Effects / Seamless Tiling / Default
Layers / DuplicateEffects / Plugin / Frishhluft / Mosaic Planet v1.1
Blend Mode / Screen
Effects / Edge Effects / Enhance More03- Layers / New Raster Layer
Preencha com a cor do Segundo Plano
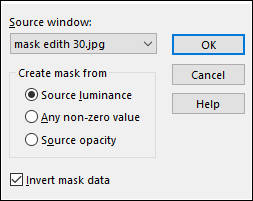
Layers / New Mask Layer / From Image:
Layers / Merge / Merge Group
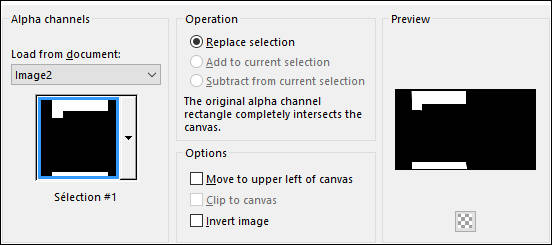
04- Selections / Load save Selection / Load selection from alpha channel: Seleção #1
Effects / Plugin / Graphic Plus /Cross Shadow (Default)
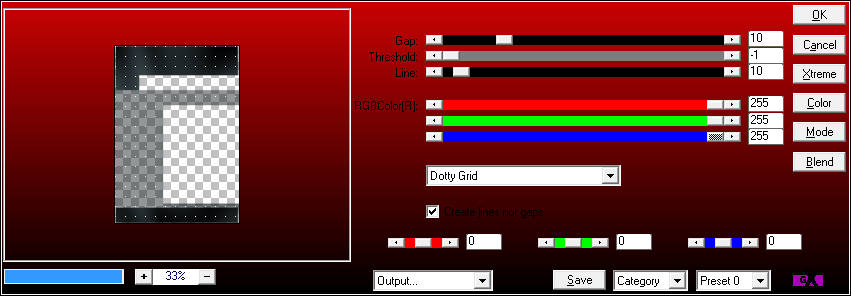
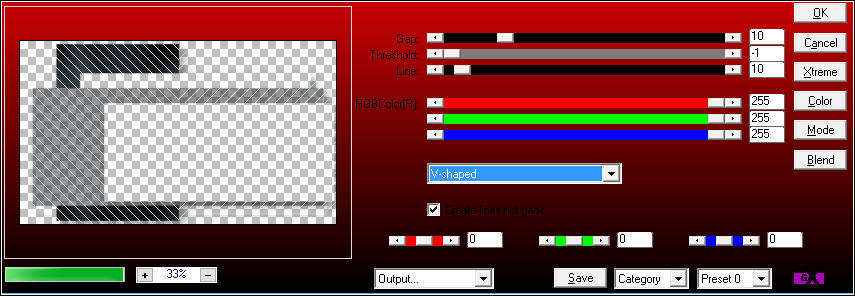
Effects / Plugin /Ap 01 Innovation / Lines Silverlining
Selections / InvertEffects / Plugin /Ap 01 Innovation / Lines Silverlining
Selections / Select NoneLayers / Duplicate
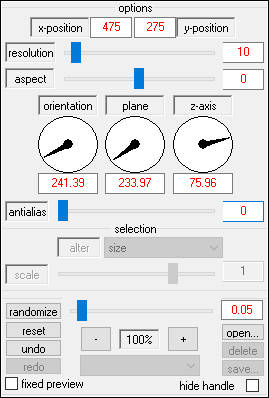
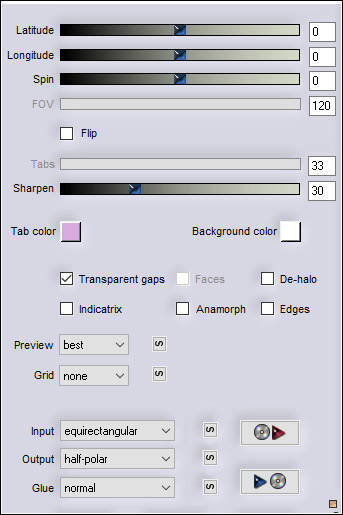
Effects / Plugin / Flaming Pear / Flexify 2
Blend Mode / Multiply (ou outra)05- Layers / New Raster Layer
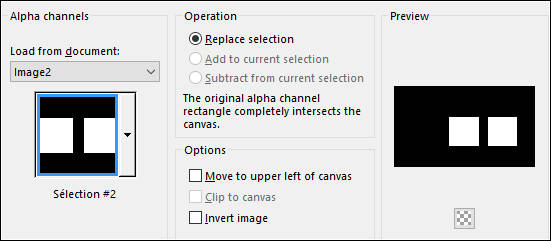
Selections / Load save Selection / Load selection from alpha channel: Seleção #2
Preencha a seleção com a cor do Primeiro Plano
Selections / Modify / Contract / 10 pixelsEdit / Cut (ou Delete no teclado)
Selections / Select None
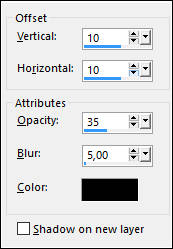
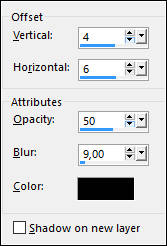
Effects / 3D Effects / Drop Shadow: Cor #000000
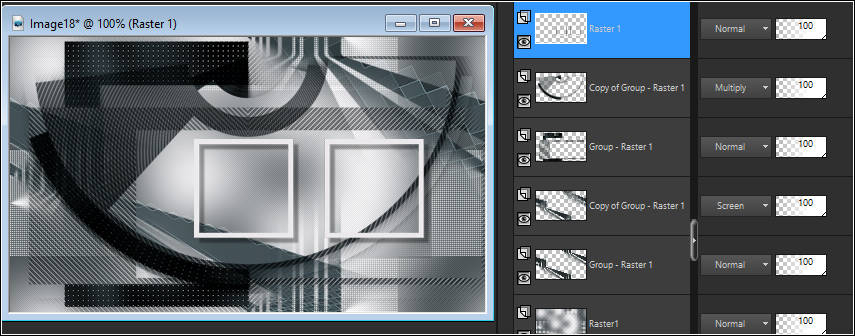
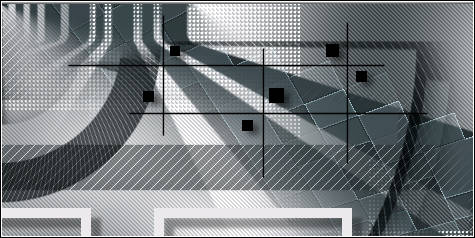
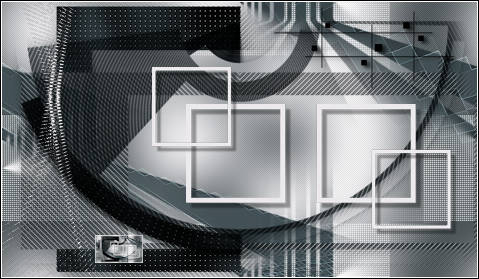
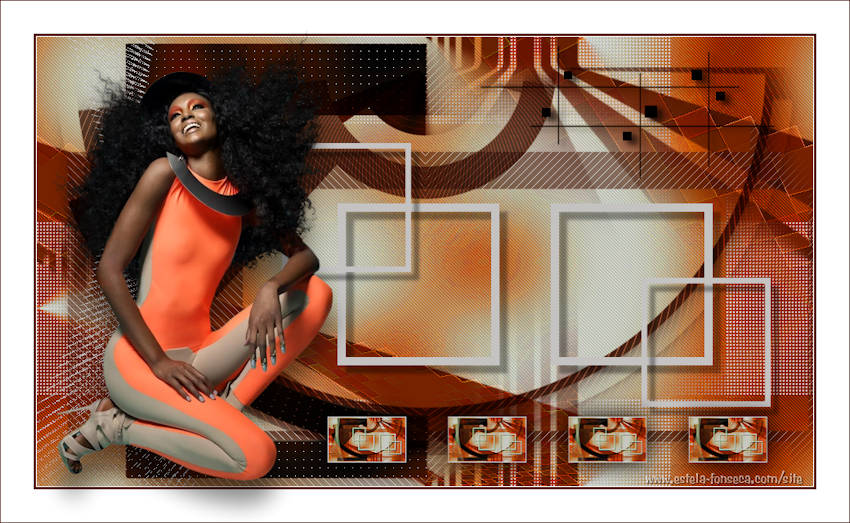
06- Resultado:
07- Layers / New Raster Layer
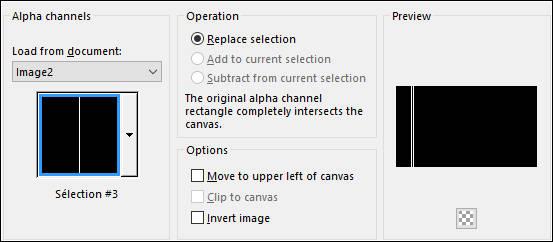
Selections / Load save Selection / Load selection from alpha channel: Seleção #3
Preencha a seleção com a cor do Primeiro PlanoSelections / Select None
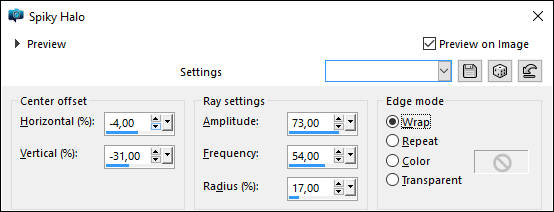
Effects / Distortion Effects / Spicy Halo
08- Layers / New Raster Layer
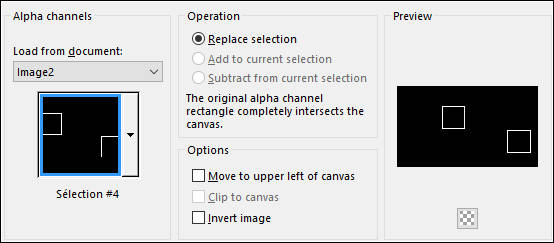
Selections / Load save Selection / Load selection from alpha channel: Seleção #4
Preencha a seleção com a cor do Primeiro PlanoEffect /3D Effects / Drop Shadow: #000000
Selections / Select None
09- Ative o tube <<deco01-symétries-linette>>
Copie e Cole como nova layerPosicione no canto superior direito, como segue:
Effect /3D Effects / Drop Shadow: #000000
10- Edit / Copy Special / Copy Merged
Cole como nova imagem
Image / Add Borders / Symmetric marcado / 4 pixels cor #ffffff
Image / Resize / 10% (Resize all layers marcado)
Adjust / Sharpness / Sharpen
Copie
Retorne ao seu trabalho
Cole como nova layer
Posicione como segue:
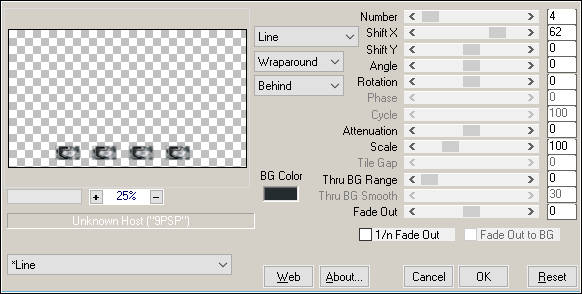
Effects / Plugin / Mur'as Meister / Copies
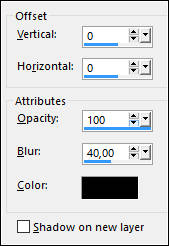
Effects /3D Effects / Drop Shadow: #000000
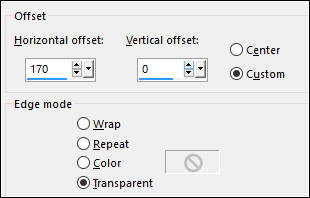
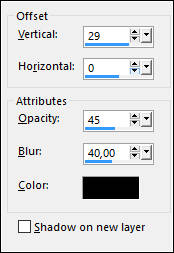
Effects / Image Effects / Offset:
Layers / Merge / Merge VisibleImage / Add Borders / Symmetric Marcado / 1 pixel cor branca (#ffffff)
Image / Add Borders / Symmetric Marcado / 3 pixels cor do Segundo Plano
Image / Add Borders / Symmetric Marcado / 40 pixels cor branca (#ffffff)
Ative o tube <@nn110209>>
Copie e Cole como nova layer
Effects /3D Effects / Drop Shadow: #000000
Image / Resize / 80% (Resize all layers desmarcado)Posicione à esquerda como no modelo.
Adjust / Sharpness / Sharpen
Image / Add Borders / Symmetric Marcado / 1 pixel cor do Segundo Plano
Coloque a sua assinatura
Layers / Merge / Merge All.
Salve como JPG
Outra versão com tube de Betsie:
VOLTAR
©Tutorial Traduzido por Estela Fonseca 06/03/2017.
Obrigada Linnette por me permitir traduzir seu trabalho.
