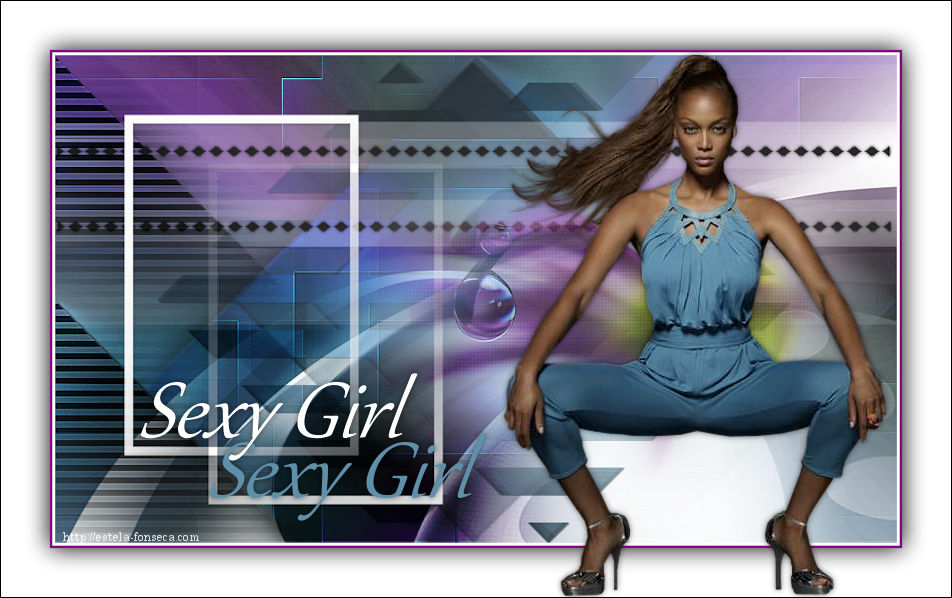
SEXY GIRL
Tutorial de ©Creative Graphic Original Aqui
Traduzido no PSP X9
Materiais Necessários:
Tubes de Animabelle e de Annelies.
Mask de Narah, demais materiais de Linette.
Plugins Utilizados:
Toadies / Weaver
Simple / Blintz
L en K - landksiteofwonders / L en K's - Zitah
&<Bkg Designer sf10 II>/ FFU Edge Average **
DSB Flux / Linear Transmission
It@lian Editors Effect / Effetto Fantasma **
VanDerLee / Unplugged X / Vertical Tile
Alien Skin Eye Candy 5 / Impact / Perspective Shadow
VM Extravaganza - Transmission **
Mehdi / Wavy Lab 1.1
** Estes plugins foram importados para o Unlimited 2
Preparação:
Abra os tubes no PSP, duplique e feche os originais.Antes de utilizar as cópias remova a marca d'água ou a assinatura da autora.
Abra a Mask no PSP e minimize.
Cores:
Nota: Ao trabalhar com suas próprias cores, ajuste o Blend Mode / Opacity a seu critério!!!!!!
Se você estiver usando cores diferentes, poderá ser necessário colorir alguns dos elementos originais.
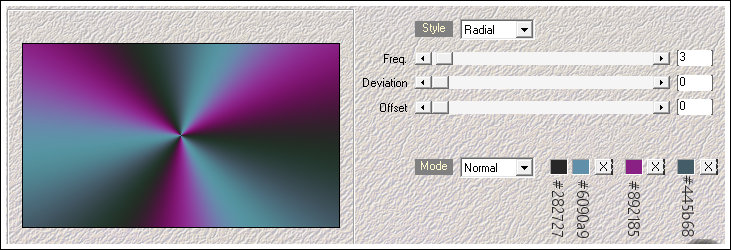
Primeiro Plano cor #6090a9 / Segundo Plano cor #282727
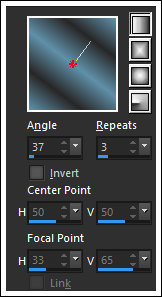
Forme no Primeiro Plano um Gradiente (Corel_06_029) <<LINEAR>> Configurado como segue:
01- Abra a Layer <<Alpha_sexygirl1>> Duplique e feche a original. Nós vamos trabalhar na cópia.
Preencha a layer com o Gradiente.
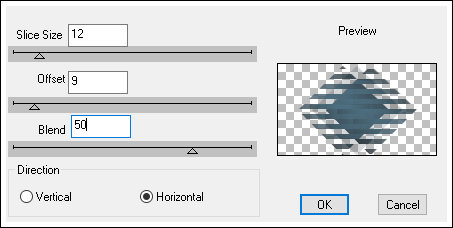
Effects / Plugins / Toadies / Weaver
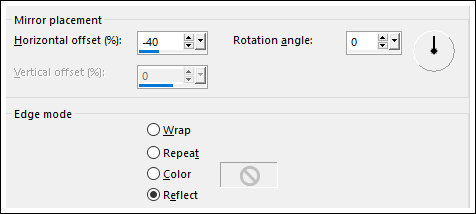
Effects / Reflection Effects / Rotating Mirror
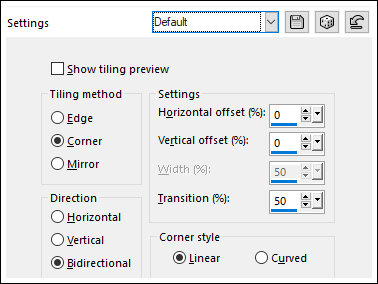
Effects / Image Effects / Seamless Tiling / Preset / Stutter Diagonal
Effects / Edge Effects / Enhance More02- Layers / Duplicate
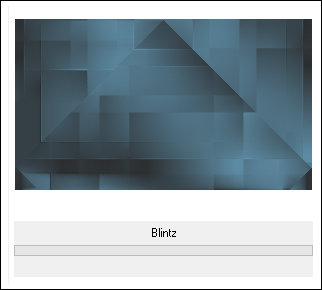
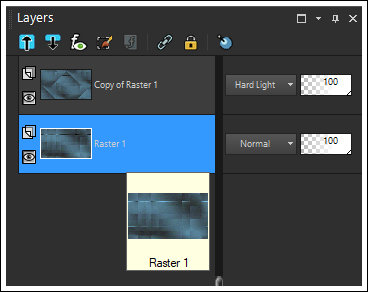
Effects / Plugins / <I.C.NET Software> Filters Unlimited 2.0 / Simple / Blintz (2 vezes)
Blend Mode / Hard LightEffects / Image Effects / Seamless Tiling / Default
Ative a Layer do Fundo (Raster 1)
Adjust / Blur / Gaussian Blur / Radius: 50
03- Selections / Load/Save Selection / Load Selection From Alpha Channel : <<Selection#1>>
Selections / Invert
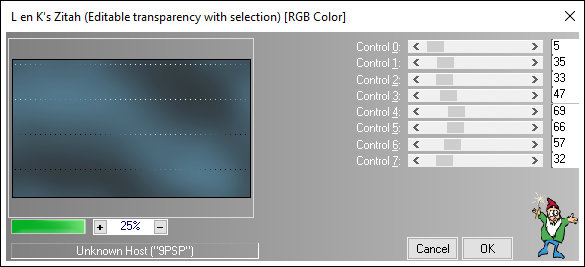
Effects / Plugins / Len K - landksiteofwonders / L en K's / Zitah
Selections / InvertAtive a Layer do Topo
Selections / Promote Selection to Layer
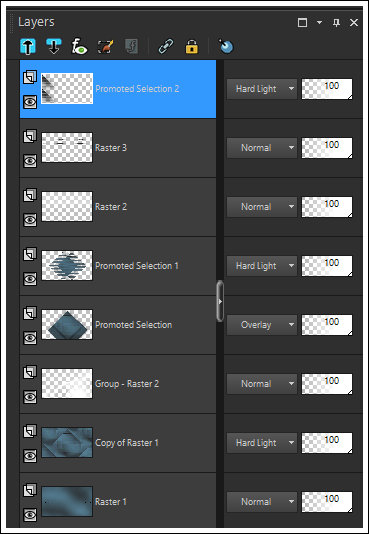
Blend Mode / Overlay
Selections / Select None
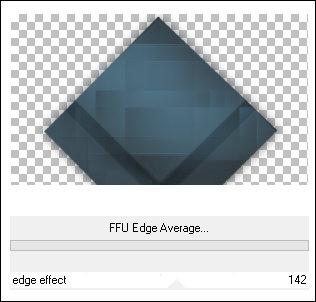
Effects / 3D Effects / Drop Shadow: 0/0/60/60 / Cor: #000000Effects / Plugins / <I.C.NET Software> Filters Unlimited 2.0 / &<Bkg Designer sf10 II> / FFU Edge Average
04- Selections / Load/Save Selection / Load Selection From Alpha Channel: <<Selection#2>>
Selections / Promote selection to Layer
Selections / Select None
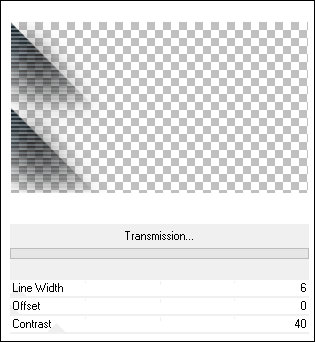
Blend Mode / Hard LightEffects / Plugins / DSB Flux / Linear Transmission
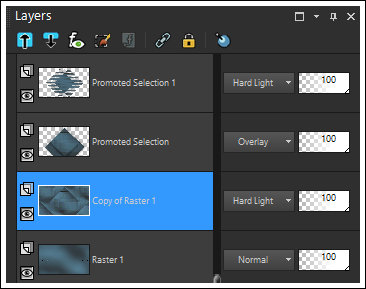
Effects / 3D Effects / Drop Shadow: 1/1/30/0 / Cor #00000005- Ative Layer <<Copy of Raster 1>> a segunda Layer à partir da Layer do Fundo
Layers / New Raster Layer
Mude a cor do Segundo Plano para a cor #ffffff
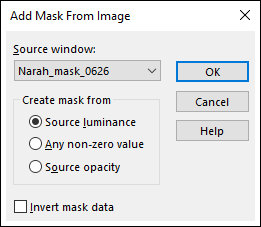
Preencha a layer com a cor do Segundo PlanoLayers / New Mask Layer / From Image: <<Narah_mask_0626>>
Layers / Merge / Merge Group
Layers / Duplicate
Layers / Merge / Merge Down06- Ative a Layer do Topo <<Promoted Selection 1>>
Layers / New Raster Layer
Flood Fill Tool / Opacidade 50
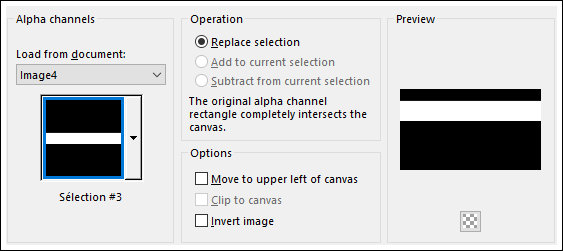
Selections / Load/Save Selection / Load Selection From Alpha Channel: <<Selection#3>>
Preencha a seleção com a cor do Segundo PlanoVolte a Opacidade do Baldinho de pintura para 100%
Selections / Select None
Effects / Plugins / <I.C.NET Software> Filters Unlimited 2.0 / It@lian Editors Effect / Effetto Fantasma (2 Vezes)
07- Primeiro Plano cor #282727
Layers / New Raster Layer
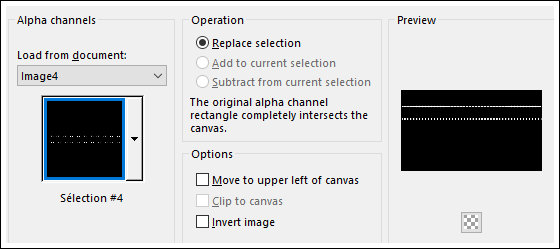
Selections / Load/Save Selection / Load Selection From Alpha Channel : <<Selection#4>>
Preencha a seleção com a cor do Primeiro Plano #282727
Selections / Select None
Effects / 3D Effects / Drop Shadow: 0/0/70/5 / Cor #00000008- Ative a Layer <<Copy of Raster 1>> a segunda layer à partir da layer do fundo.
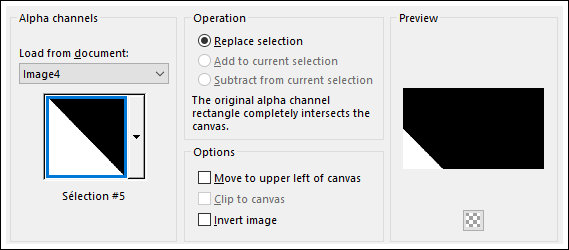
Selections / Load/Save Selection / Load Selection From Alpha Channel: <<Selection#5>>
Selections / Promote Selection to Layer
Selections / Select None
Blend Mode / Hard Light
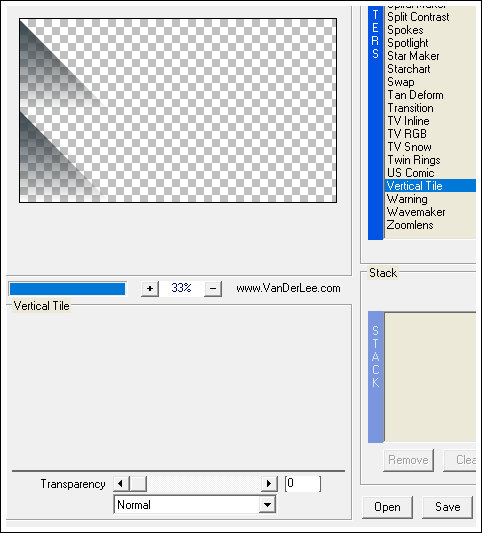
Layers / Arrange / Bring to TopEffects / Plugins / VanDerLee Unplugged X / Vertical Tile
Effects / Plugins / Alien Skin Eye Candy 5 / Impact / Perspective Shadow / Preset <<Drop Shadow, Blurry>>
Effects / Plugins / <I.C.NET Software> Filters Unlimited 2.0 / VM Extravaganza / Transmission
Adjust / Sharpness / Sharpen More
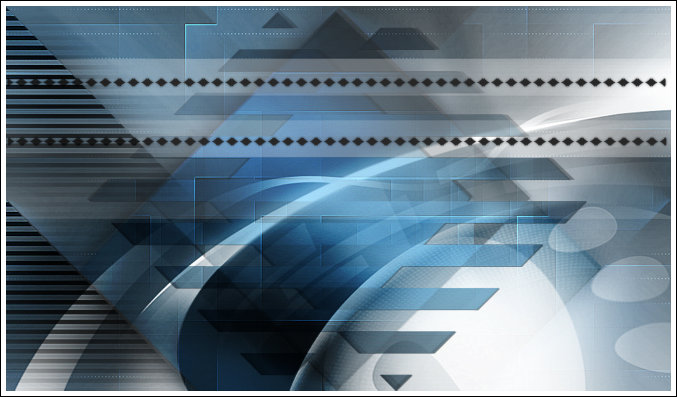
09- Resultado até agora:
10- Segundo Plano cor branca (#ffffff)
Layers / New Raster Layer
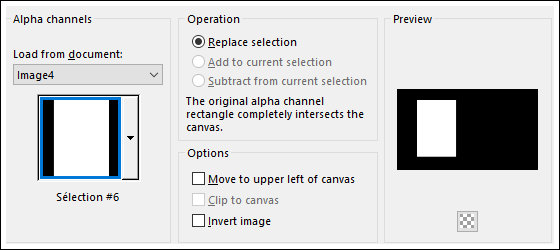
Selections / Load/Save Selection / Load Selection From Alpha Channel: <<Selection#6>>
Preencha a seleção com a cor branca (#ffffff )
Selections / Modify / Contract / 10 PixelsDelete no Teclado
Selections / Select None
Effects / Image Effects / Seamless Tiling / Preset <<Stutter Diagonal>>
Effects / 3D Effects / Drop Shadow: 1/1/20/5 Cor: #000000
Pick Tool (K) / Posição de X (75,00) Posição de Y (64,00) Pressione a Letra "M" do Teclado para sair da Pick Tool
Adjust / Sharpness / Sharpen
11- Ative a Layer do Fundo <<Raster 1>>
Effects / Plugins / Mehdi / Wavy Lab 1.1
12- Ative a Layer do Topo
Abra o tube <<26_goutte_d_eau_Animabelle>>
Copie e Cole como nova layer
Image / Resize / 60% ... Resize All Layers ... Desmarcado
Pick Tool (K) / Posição de X (273,00) Posição de Y (83,00) Pressione a Letra "M" do Teclado para sair da Pick Tool
Adjust / Sharpness / Sharpen
Opacidade / 61%Layers / Duplicate
Effects / Distortion Effects / Wind
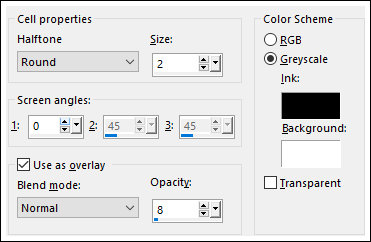
Effects / Artistic Effects / Halftone
Effects / Edge Effects / Enhance
Layers / Arrange / Move Down13- Image / Add Borders / Symmetric Marcado / 3 Pixels cor #ffffff
Image / Add Borders / Symmetric Marcado / 3 Pixels cor #892185
Selections / Select All
Image / Add Borders / Symmetric Marcado / 55 Pixels cor #ffffff
Effects / 3D Effects / Drop Shadow: 0/0/100/40 /Cor #000000
Selections / Select None14- Image / Resize / 950 Pixels de Largura ... Resize All Layers ... Marcado
Abra o tube <<Alies 63-vrouwen-25052009>>
Copie e Cole como nova layer
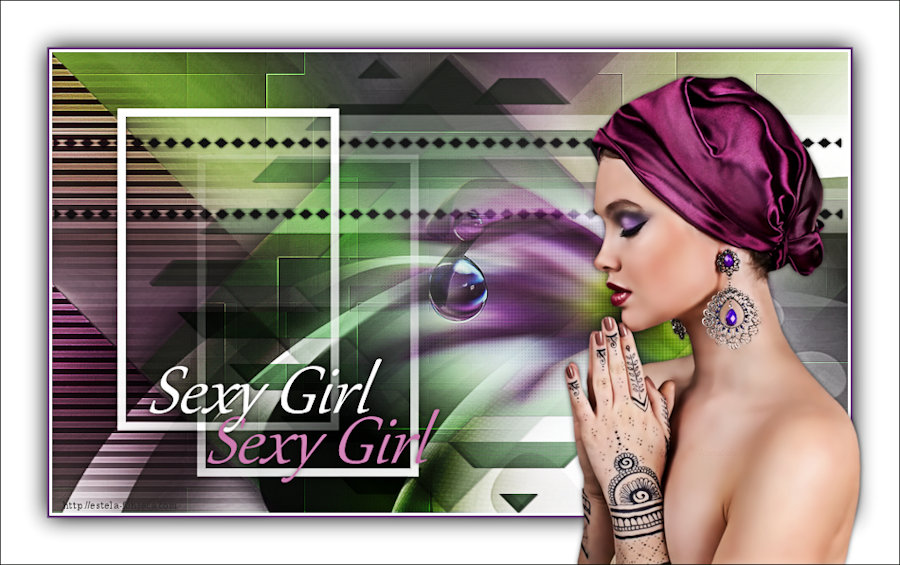
Mova para a direita , como no modelo
Effects / 3D Effects / Drop Shadow: 0/0/54/9 Cor: #000000
15- Abra <<textesexygirl_linette>>
Copie e Cole como nova layer
Mova para o canto inferior esquerdo
Effects / 3D Effects / Drop Shadow: 0/0/54/9 Cor: #000000 (ou outra sombra que prefira)
Image / Add Borders / Symmetric Marcado / 1 Pixel cor #000000Adicione a sua marca d'água ou assinatura.
Salve como JPG.
Versão 2 com tubes de Animabelle:
VOLTAR
©Tutorial Traduzido por Estela Fonseca 27/05/2020.
Obrigada Linette por me permitir traduzir seu trabalho.
