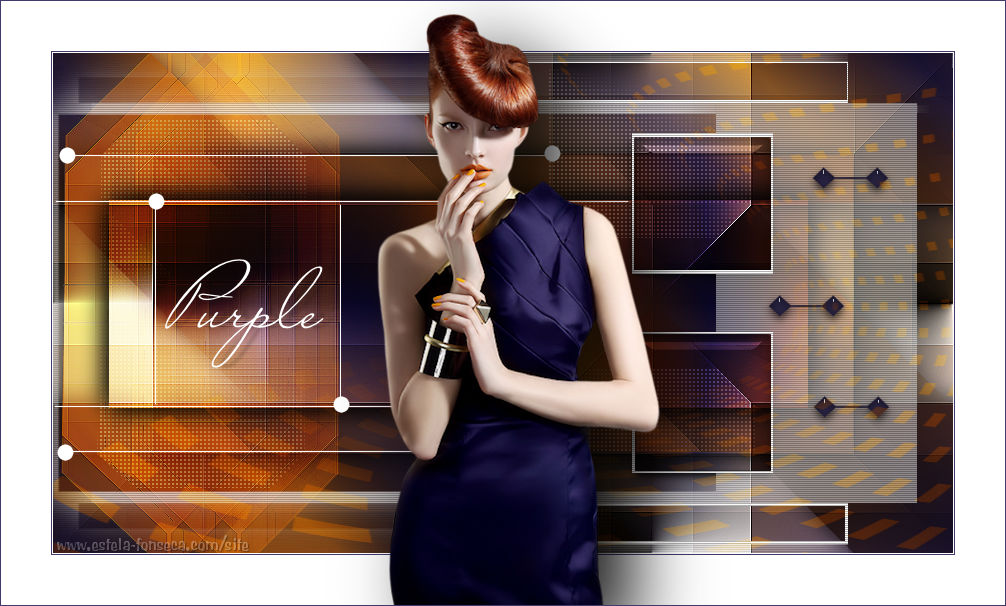
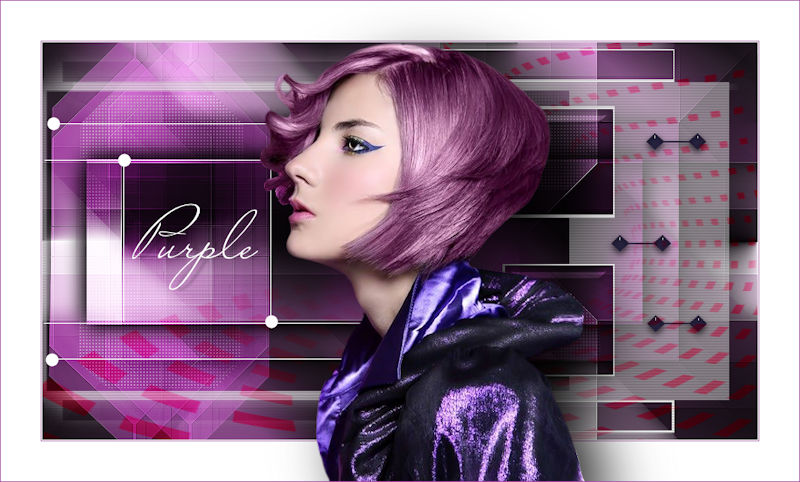
PURPLE
Tutorial de ©Creative Graphic Original Aqui
Traduzido no PSP X9
Materiais Necessários:
Tube de Karine Dreams
Mask de Ildiko e valy
Calque selection Alpha (fundo)
Tube Texte
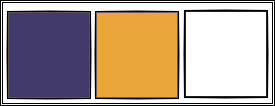
Tabela de cores
Plugins Utilizados:
Unlimited /Factory Gallery G /bevel 2
Unlimited /Factory A –Zoom Out
Unlimite/Simple/Half Wrap
Taodies /Wat Are You ?
Alien skin Eyes impact 5/Glass et perspective Shadow
{AFS Import } –sqborder2
Preparação:
Abra os tubes no PSP duplique e feche os originais.
Abra as Masks no PSP e minimize
Dê dois cliques no preset do Alien Skin Eye Candy 5 Impact (ele será automaticamente transferido para a
pasta do plugin)
Nota: Se trabalha com cores diferentes não exite em mudar os modos de misturas e as opacidades das layers.
Tabela de Cores:
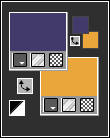
Primeiro Plano Cor #433a6c
Segundo Plano Cor #eaa63a
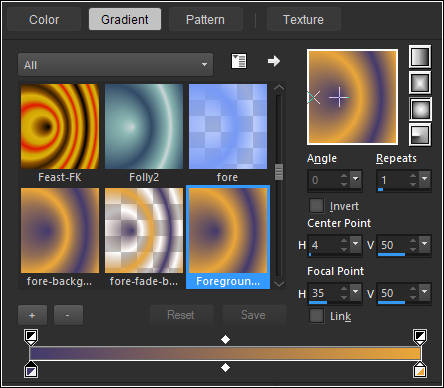
Gradiente estilo <<Sunburst>> Repeats 1
01- Abra a Layer transparente <<Alpha-Purple>>Window / Duplicate
Nota: Esta layer contém seleções em canal alfa
Preencha com o Gradiente
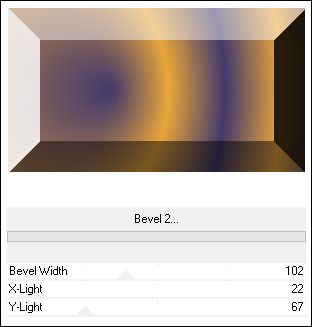
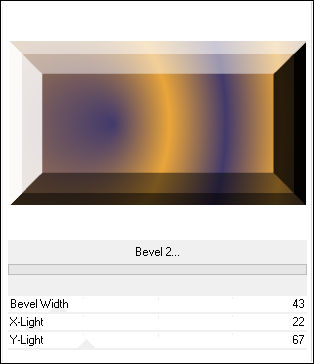
Effects / Plugin / <I.C.NET Software> Filters Unlimited 2/ Factory Gallery G /Bevel 2
Effects / Plugin / <I.C.NET Software> Filters Unlimited 2/ Factory Gallery G /Bevel 2
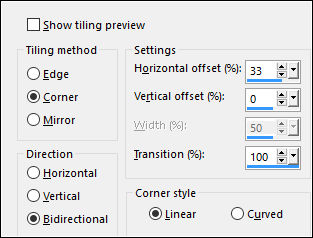
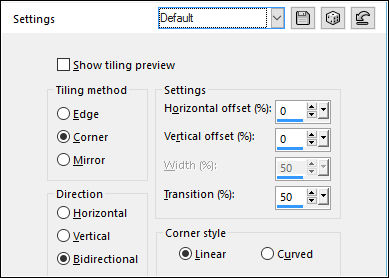
Effects / Image Effects / Seamless Tiling
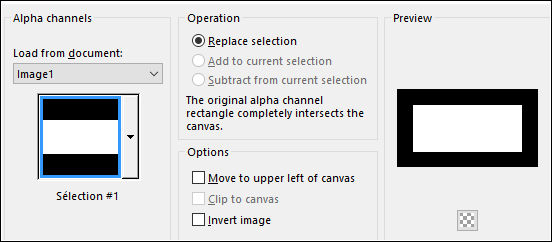
Effects / Edge Effects / Enhance02- Selections / Load / Save Selection / Load Selection from Alpha Channel: Selection#1
Selections / Promote Selection to layerSelections / Select None
Blend Mode / Multiply
Effects / Image Effects / Seamless Tiling
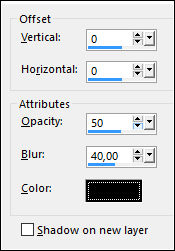
Effects / 3D Effects / Drop Shadow: 0/0/50/40,00 / #000000
Effects / Geometric Effects / Skew
Oculte esta layer03- Ative a Layer do Fundo (Raster 1)
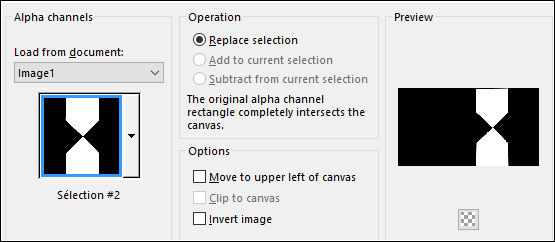
Selections / Load save selection / Load Selection From Alpha Channel : Selection #2
Selections / Promote Selection to layer
Selections / Select None
layers / Arrange / Bring to top
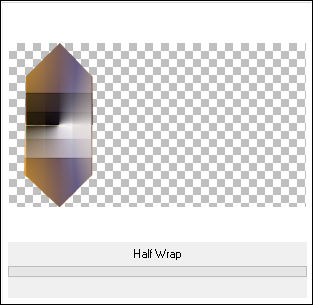
Effects / Plugin / <I.C.NET Software> Filters Unlimited 2/ Simple / Half Wrap
Effects / Plugin / Toadies /Wat Are You ( Default )
Adjust / Sharpness / SharpenBlend Mode / Hard Light ( ou outro)
Volte a Visibilidade da Layer (promoted Selection)
04- Ative a layer do topo
Layers / New Raster Layer
Segundo Plano cor #ffffff
Preencha a Layer com a cor do Segundo Plano
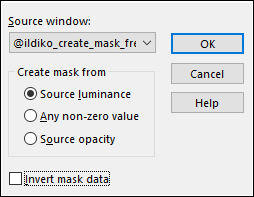
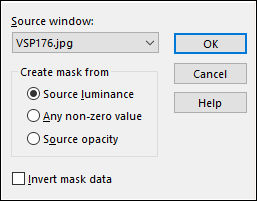
Layers / New Mask Layer / From Image:
Layers / Merge / Merge groupImage / Mirror / Mirror Horizontal
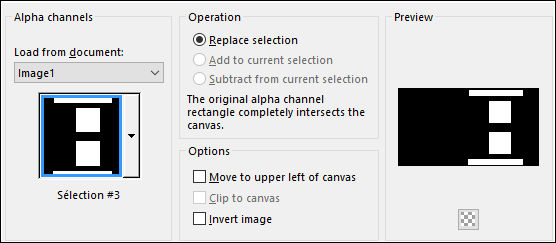
Selections / Load Save Selection / Load Selection From Alpha Channel: Selection #3
Selections / Modify / Contract 3 pixelsEdit / Cut ( Ou Delete no teclado)
Selections / Select None
Effects / Texture Effects / Blinds
05- Ative a Layer do Fundo (raster 1)
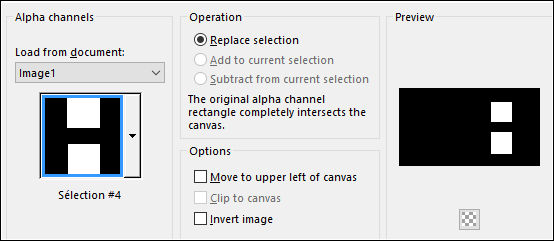
Selections / Load Save Selection / Load Selection from alpha channel: Selection #4
Selections / Promote Selection to LayerSelections / Select None
Layers / Arrange / Bring to top
Blend Mode / Overlay ( ou outro, dependendo de suas cores)
Effects / Plugin / Alien skin Eyes impact 5/Glass / Clear
Layers / Arrange / Move Down
06- Ative a Segunda Layer à Partir da Layer do Fundo (Promoted Selection)
Selections / Load Save Selection / Load Selection from alpha channel: Selection #2
Selections / Promote Selection to Layer
Blend Mode / Hard Light
Selections / Select None
Effects / Plugin / {AFS Import } / sqborder2
Opacidade / 42
Effects / Image Effects / Seamless Tiling:
07- Ative a Layer do Fundo (Raster 1)
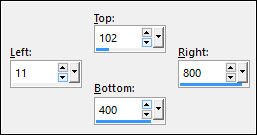
Selection Tool (S) / Custom Selection
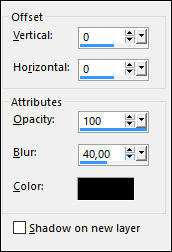
Effects / 3D Effects / Drop Shadow: 0/0/100/40,00 / #000000
Selections / Modify / Contract 45 pixelsSelections / Promote Selection to Layer
Selections / Select None
Layers / Arrange / Move Up ( 3 vezes)
Effects / 3D Effects / Drop Shadow: 0/0/100/40,00 / #000000
Blend Mode / Hard Light
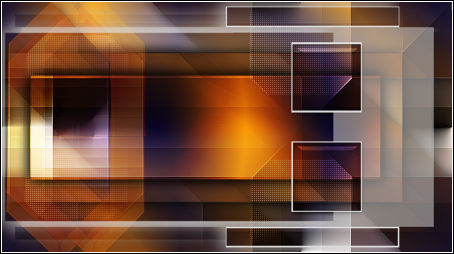
08- Resultado
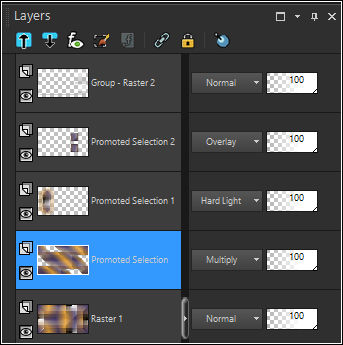
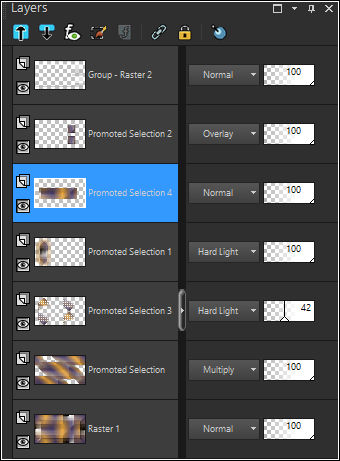
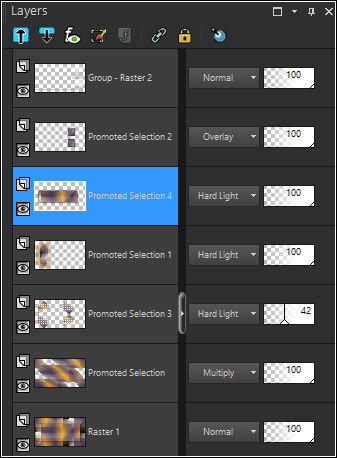
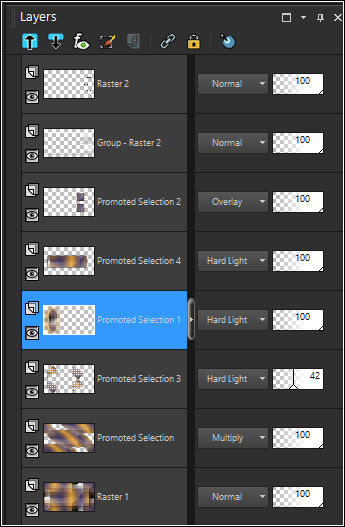
Paleta de Layers:
09- Ative a Layer do topo
Layers / New Raster layer
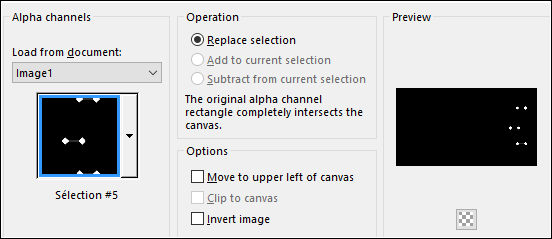
Selections / Load Save Selection / Load Selection from alpha channel: Selection #5
Preencha com a cor do Primeiro Plano #433a6c
Effects / Plugin / Alien skin Eyes Candy 5 / Impact / Glass / preset Purple-glass-linette
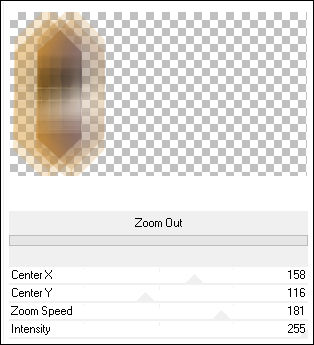
Selections / Select None10- Ative a layer <<Promoted Selection 1>>
Effects /Plugin / <I.C.NET Software> Filters Unlimited 2 / Filters Factory Gallery A / Zoom Out
Adjust / Sharpness / sharpen11- Ative a Layer do topo
Layers / New Raster layer
Segundo Plano cor #eaa63a
Preencha a Layer com a cor do Segundo Plano
Layers / New Raster Layer / From Image: VSP176
Layers / DuplicateLayers / Merge / Merge group
Blend Mode / Soft Light
12- Layers / New Raster Layer
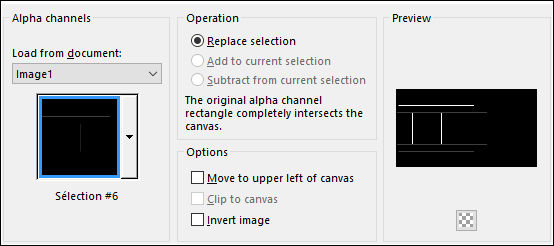
Selections / Load save selection / Load Selection from disk: Selection #6
Segundo Plano cor #ffffffPreencha a Layer com a cor do Segundo Plano
Selections / Select None
Layers / New Raster Layer
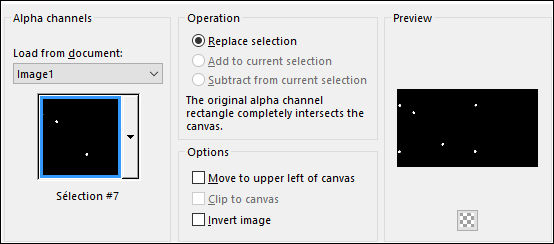
Selections / Load Save Selection / Load Selection From Alpha Channel: Selection #7
Preencha a Seleção com a cor #ffffff
Selections / Select None
13- Image / Add Borders / Symmetric Marcado / 1 pixel cor #ffffff
Image / Add Borders / Symmetric Marcado / 1 pixel cor #433a6c
Image / Add Borders / Symmetric Marcado / 50 pixels Cor #ffffff
14- Ative o tube << Karine Dreams>>Copie e Cole Como Nova Layer
Image /Resize / 80%... Resize All Layers ... Desmarcado
Adjust / Sharpness / Sharpen
Posicione como no Modelo
Effects / Plugin / Alien Skin Eyes Candy 5 / Impact /Perspective Shadow / Drop Shadow ,Blurry
15- Ative o tube <<texte Purple>>
Copie e Cole Como Nova LayerPosicione como no modelo
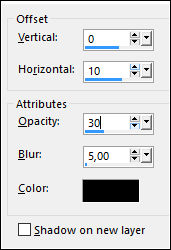
Effects / 3D Effects / Drop Shadow: 0/10/30/5,00 / #000000
Layers / New Raster LayerAssine seu trabalho
Image / Add Borders / Symmetric Marcado / 1 pixel cor do Primeiro Plano
Outra versão com tube de Ysa:
VOLTAR
©Tutorial Traduzido por Estela Fonseca 30/06/2017.
Obrigada Linnette por me permitir traduzir seu trabalho.
