KARINE
Tutorial de ©Creative Graphic Original Aqui
Traduzido no PSP X8
Materiais Necessários:
Tube de Karine Dreams, seu Blog, AQUI
Mask de Linda, seu site, AQUI
Demais Materiais de Linette
Plugins Utilizados:
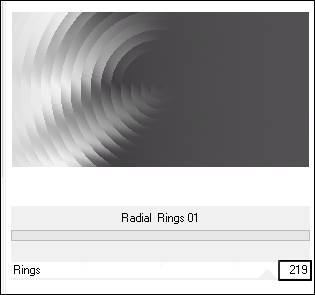
Unlimited/&<Bkg Designer sf10 III>/Radial Rings 01
Simple/Diamonds
Unlimited/Factory Gallery A, J,M
Preparação:Abra os tubes no PSP, duplique, minimize e feche os originais.
Abra a Mask no PSP e Minimize
Nota: Se trabalhar com cores diferentes não exite em jogar com os modos de misturas e opacidades das Layers.
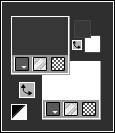
Primeiro Plano cor #393739
Segundo Plano cor #ffffff
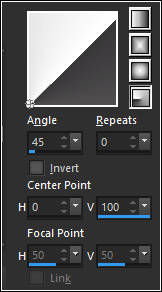
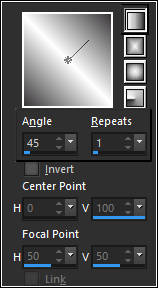
Gradiente Estilo Radial:
01- Abra a layer <<Alpha-Karine>>Window / Duplicate, Feche a original
Preencha a Layer transparente com o Gradiente
Adjust / Blur / Gaussian Blur / Radius 30
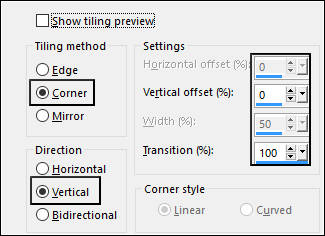
Effects / Image Effects / Seamless Tiling:
Effects / Plugins / <I.C.NET Software> Filters Unlimited 2 / &<Bkg Designer sf10 III> / Radial Rings 01
Adjust / Sharpness / Sharpen More02- Layers / Duplicate
Image / Mirror
Opacidade / 50%
Layers / Merge / Merge Down
Effects / Plugins / <I.C.NET Software> Filters Unlimited 2 / Simple / Diamonds
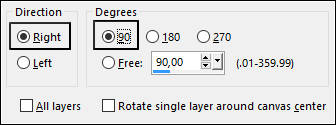
Layers / DuplicateImage / Free Rotate
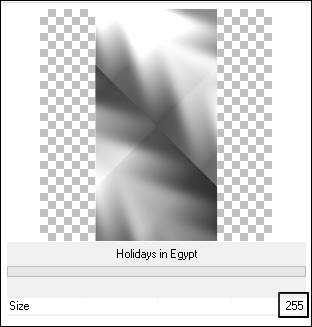
Effects / Plugins / <I.C.NET Software> Filters Unlimited 2 /Factory Gallery A /Holidays in Egypt
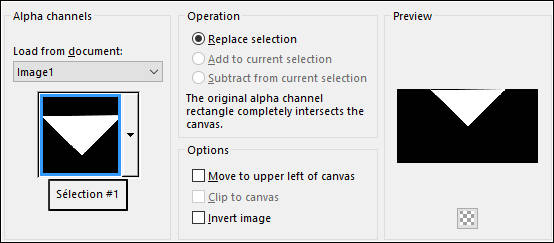
Selections / Load Save Selection / Load Selection From Alpha Channel: Selection #1
Selections / Promote Selection to LayerSelections / Select None
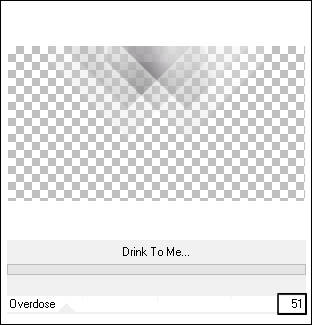
Effects / Plugins / <I.C.NET Software> Filters Unlimited 2 /Factory Gallery J/Drink to Me
Layers / DuplicateImage/Mirror / Mirror Vertical
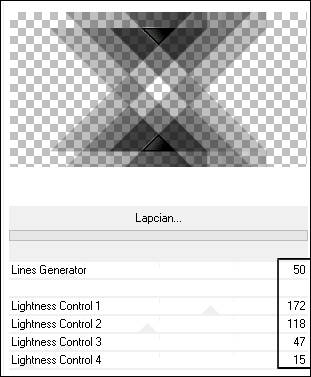
Layers / Merge / Merge DownEffects / Plugins / <I.C.NET Software> Filters Unlimited 2 /Factory Gallery J/Lapcian
Blend Mode / Luminance (Legacy)Effects / 3D Effects / Drop Shadow: 0/0/50/20,00 / #000000
03- Ative a Layer do Topo
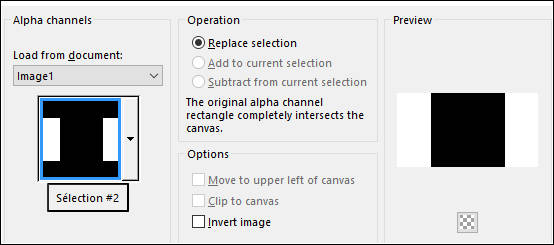
Selections / Load Save Selection / Load Selection From Alpha Channel: Selection #2
Delete no TecladoMantenha a Seleção
Ative a Layer do Fundo (Raster 1)
Selections / Promote Selection to Layer
Selections / Select None
Effects / Distortion Effects / Wave
Blend Mode / Overlay
Opacidade / 70%
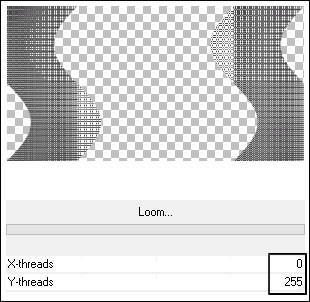
Effects / Plugins / <I.C.NET Software> Filters Unlimited 2 /Factory Gallery M
04- Ative a Layer do Topo
Layers / New Raster Layer
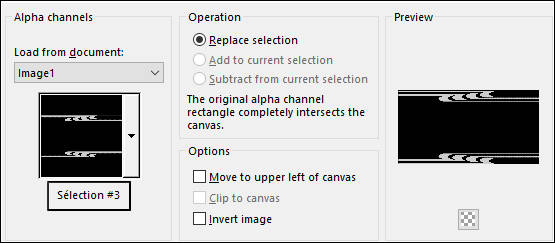
Selections / Load Save Selection / Load Selection From Alpha Channel: Selection #3
Preencha com a cor branca (#ffffff)Selections / Select None
Effects / 3d Effects / Drop Shadow: 1/2/50/5,00 / #000000
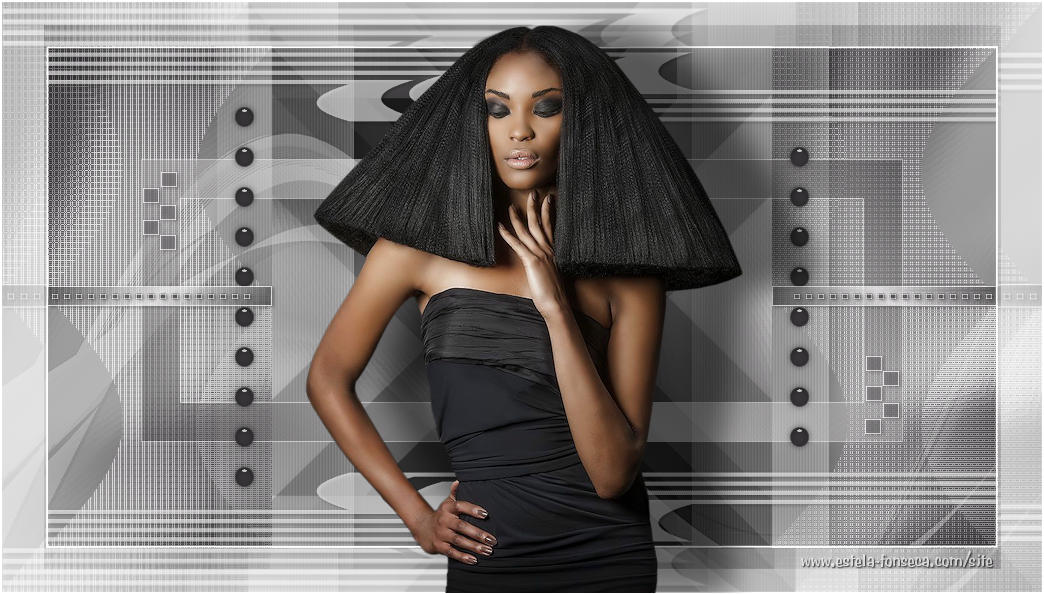
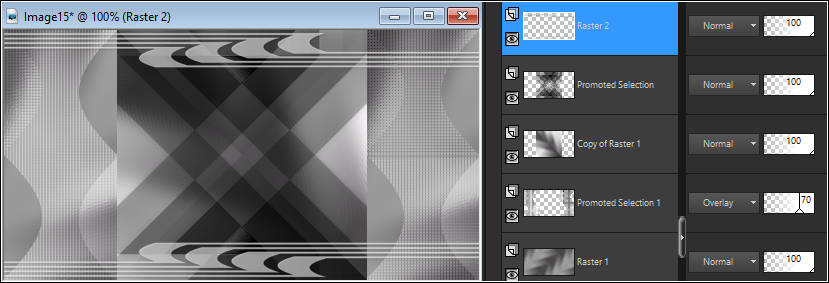
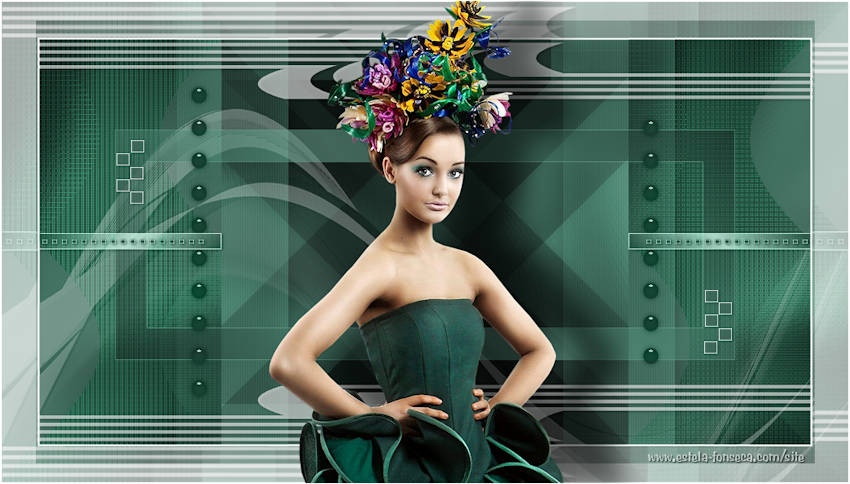
05- Resultado de seu trabalho e sua paleta de layers
06- Layers / New Raster Layer
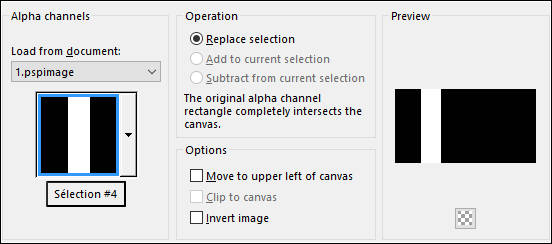
Selections / Load Save Selection / Load Selection From Alpha Channel: Selection #4
Preencha com a cor branca (#ffffff)
Selections / Select None
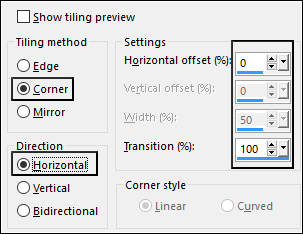
Effects / Image Effects / Seamless Tiling
Layers / Arrange /Move DownEffects / Texture Effects / Blinds
Effects / 3D Effects / Drop Shadow: 0/0/100/40,00 / #000000
Opacidade / 60%
07- Ative a Layer do Topo
Maximize o tube <<déco_1_Karine_linette>>
Copie e Cole como Nova Layer
Não Mova!
Colorize se necessário ou mude o blend mode para Luminance (legacy)
08- Layers / New Raster Layer
Primeiro Plano cor #393739
Segundo Plano cor #ffffff
Gradiente Estilo Linear:
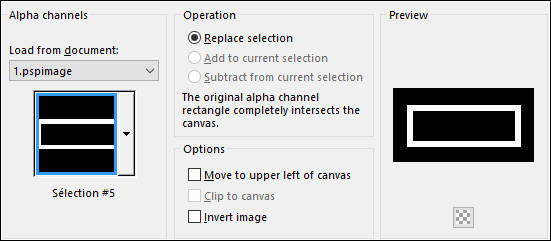
Selections / Load Save Selection / Load Selection From Alpha Channel: Selection #5
Baldinho de Pintura com Opacidade 50%
Preencha a seleção com o GradienteSelections / Select None
Layers / Arrange Move / Down
Effects / 3D Effects / Drop Shadow: 0/0/40 /20,00 / #000000
Effects / Edge Effects / Enhance More
09- Layers / New Raster Layer
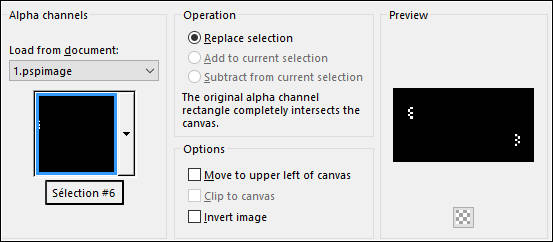
Selections / Load Save Selection / Load Selection From Alpha Channel: Selection #6
Preencha com a cor do Primeiro Plano
Opacidade do Baldinho de Pintura ainda 50%
Selections / Select None
Effects / Edge Effects / Enhance More
Effects / 3D Effects / Drop Shadow: 1/2/50/5 ,00/ #000000
Layers / Duplicate
Blend Mode / Screen
Maximize o tube <<déco_2_karine_linette>>
Copiee Cole como Nova Layer
Não Mova!
Blend Mode / Luminance (Legacy)
10- Ative a Layer <<Raster 3>>
Layers / New Raster Layer
Preencha com a cor do Primeiro Plano (#ffffff)
Opacidade do Baldinho de Pintura 100%
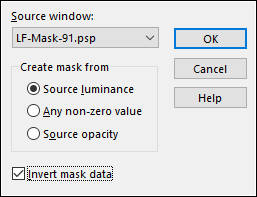
Layers / New Mask Layer / From Image:
Layers / Merge / Merge GroupEffects / Distortion Effects / Wave
Opacidade / 30%
Adjust / Sharpness / Sharpen11- Image / Add Borders / Symmetric Marcado / 1 pixel cor #ffffff
Copie
Image / Add Borders / Symmetric Marcado / 45 Pixel cor do Primeiro Plano
Selecione essa borda com a varinha mágica
Cole na seleção!
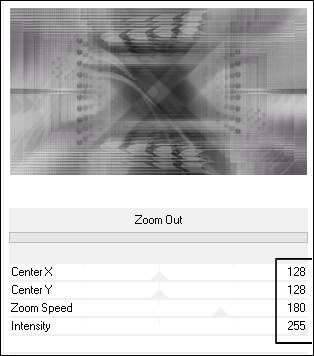
Effects / Plugin / <I.C.NET Software> Filters Unlimited 2/Factory Gallery A /Zoom Out
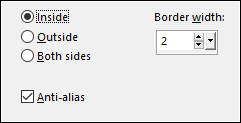
Selections / InvertSelections / Modify / Select Selection Borders
Preencha com a cor do Segundo PlanoSelections / Select None
12- Maximize o tube da Personagem
Copie e Cole como Nova Layer
Image / Resize / 65% ... Resize all layers desmarcado
Adjust / Sharpness / Sharpen
Posicione
Effects / 3D Effects / drop Shadow: 1/76/50/40,00 / #000000
Image / Add Borders / Symmetric Marcado / 1 pixel cor do primeiro plano #ffffff
13 - Layers / New Raster layer
Coloque a sua assinatura
Layers / Merge / Merge All (Flatten)Redimensione se desejar
Salve como JPG.
Outra versão com tube de Karine:
VOLTAR
©Tutorial Traduzido por Estela Fonseca 25/05/2017.
Obrigada Linnette por me permitir traduzir seu trabalho.
