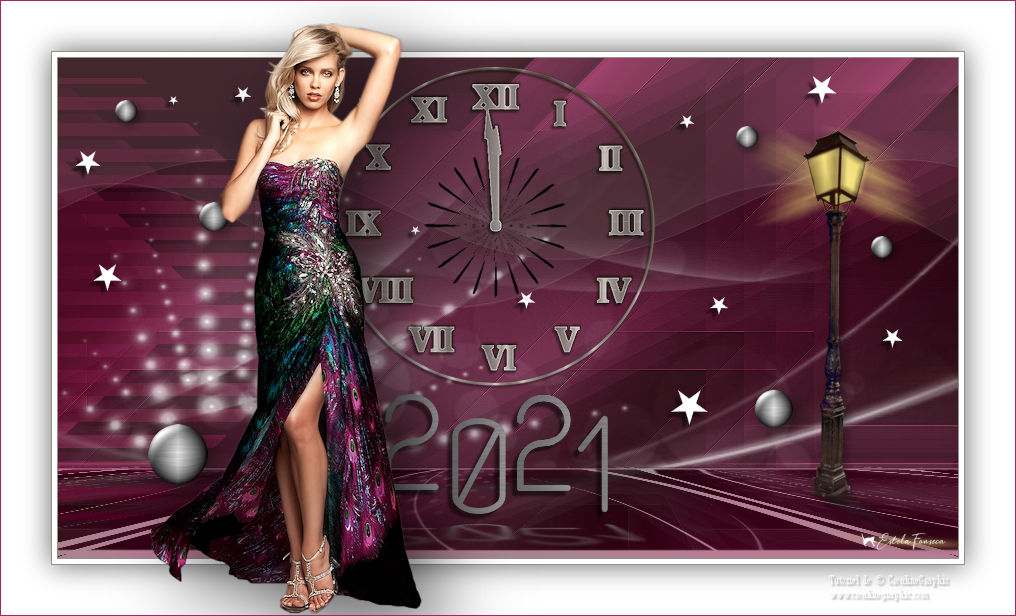
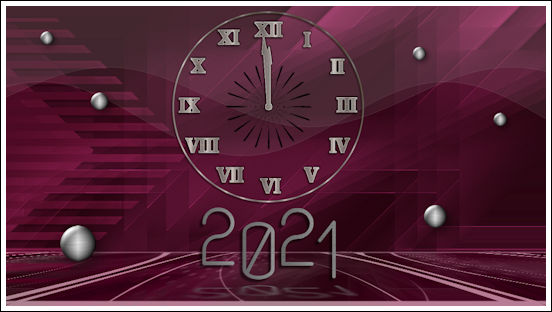
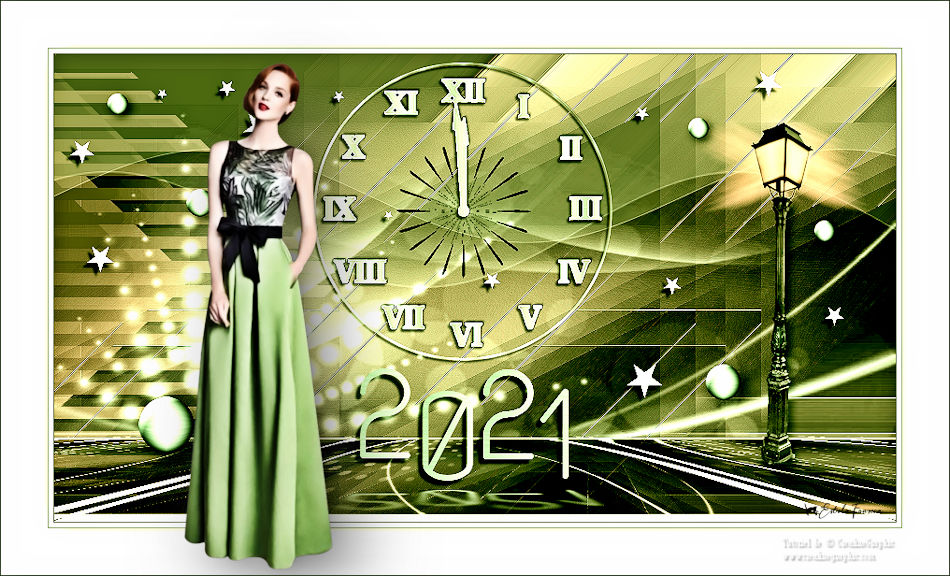
happy new year 2021
Tutorial de ©Crealine Graphic. Original AQUI.
Traduzido no PSP X9
Materiais Utilizados:
Masks de Narah, seu grupo, AQUI.
Demais materiais de Crealine Graphic, AQUI.
Plugins Necessários:
Mehdi / Weaver
Toadies / What Are You?
VM Instant Art / Tripolis **
Dsb flux / Linear Transmission
MuRa's Meister / Perspective Tiling
Alien Skin Eye Candy 5 / Impact / Perspective Shadow
<I.C.NET Software> / Filters Unlimited 2.0
** Importados para o Unlimited 2.0
Preparação:
Abra o tube no PSP, duplique e feche o original.
Dê dois cliques no preset do << Alien Skin>> ele será instalado na pasta do plugin imediatamente.Abra a Mask no PSP e Minimeze-a.
Cores:
Ao trabalhar com suas próprias cores, ajuste o modo de mesclagem e opacidade a seu critério!!!!
Se você estiver usando cores diferentes, pode ser necessário colorir alguns dos elementos originais,
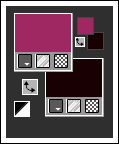
Primeiro Plano cor 1 #a02962
Segundo Plano cor 2 #1a0006
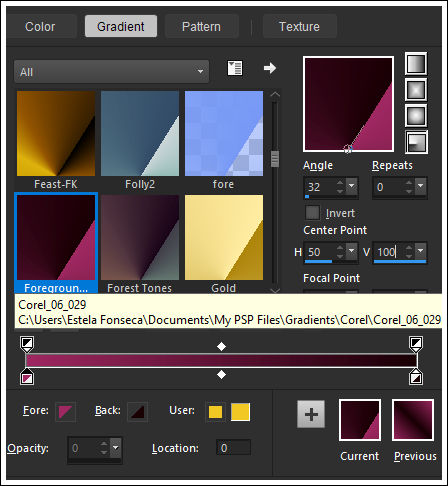
Forme um Gradiente <<Foreground/Background Gradient (Corel_06_029) >> Estilo: Radial, como segue:
01- Abra a layer <<Alpha_NewYear_2021>> Window / Duplicate (Shift+D)
02- Feche a original, trabalharemos na cópia!03- Preencha com o Gradiente
04- Effects / Plugins / Mehdi / Weaver
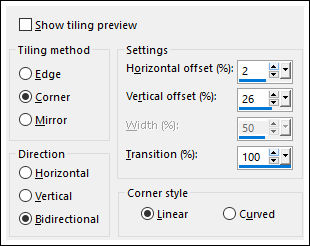
05- Effects / Image Effects / Seamless Tiling
07- Effects / Edge Effects / Enhance More
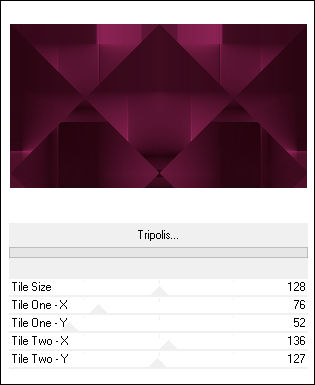
08- Effects / Plugins / <I.C.NET Software> Filters Unlimited 2.0 / VM Instant Art / Tripolis
09- Effects / Plugins / Toadies / What Are You? / Default
10- Mude a cor do Primeiro Plano para a cor 3 #39308a
11- Reduza a Opacidade do <<Flood Fill Tool>> para : 20 %
12- Layers / New Raster Layer
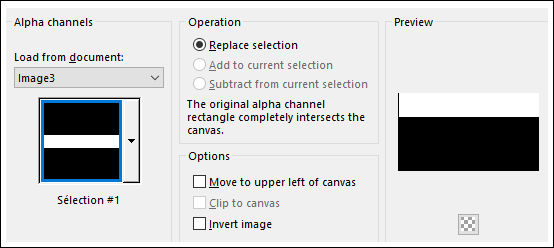
13- Selections / Load/Save Selection / Load Selection From Alpha Channel: <<Selection#1>>
14- Preencha com a cor do Primeiro Plano #39308a
15- Selections / Select None16- Retorne a opacidade do Flood Fill para 100%
17- Effects / Edge Effects / Enhance More18- Effects / Distortion Effects / Wave
19- Layers / Duplicate
20- Ative a Régua <<View - Rulers>>
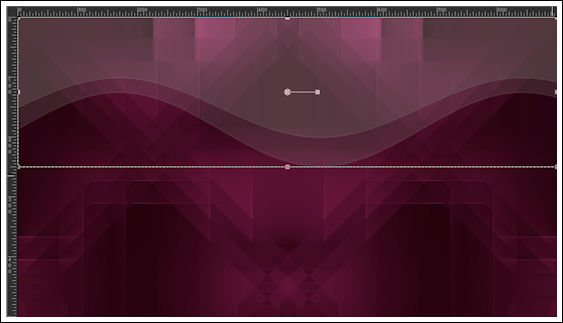
21- Pick Tool (K) Arraste até 250 Pixels, como segue:
22- Pressione <<Move Tool>> para desativar a <<Pick Tool>>
23- Image / Mirror / Mirror Horizontal
24- Layers / Merge / Merge Down
25- Opacidade / 65%26- Ative a Layer <<Raster 1>>
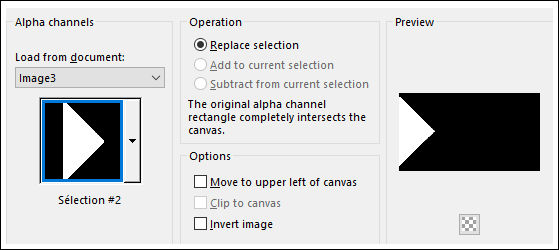
27- Selections / Load/Save Selection / Load Selection From Alpha Channel: <<Selection#2>>
28- Selections / Promote Selection to Layer
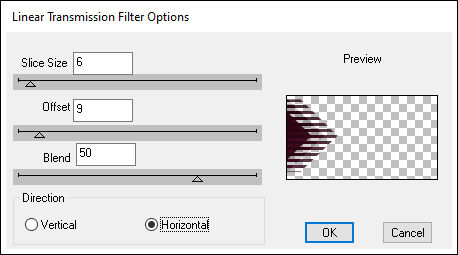
29- Selections / Select None30- Effects / Plugins / dsb flux / Linear Transmission
31- Blend Mode / Screen
32- Effects / 3D Effects / Drop Shadow: 4/-4/100/0 Cor: #000000
33- Ative a Layer <<raster 1>>
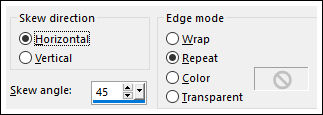
34- Effects / Geometric Effects / Skew
35- Adjust / Sharpness / Sharpen
36- Mantenha-se nesta layer
37- Layers / New Raster Layer
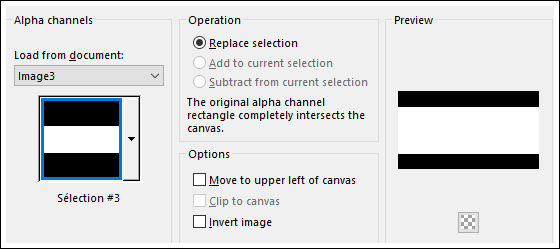
38- Selections / Load/Save Selection / Load Selection From Alpha Channel: <<Selection#3>>
39- Preencha a seleção com a cor do Primeiro Plano #39308a
40- Mantenha a Seleção!41- Layers / New Raster Layer
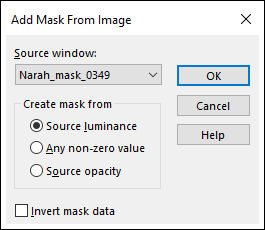
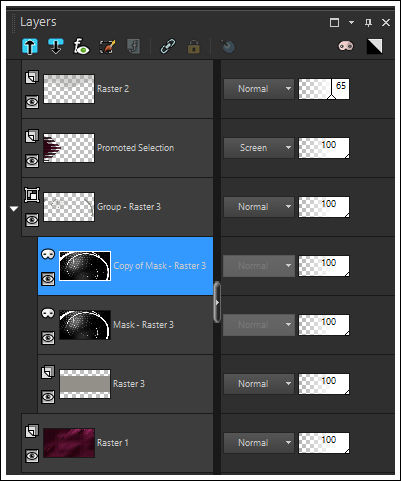
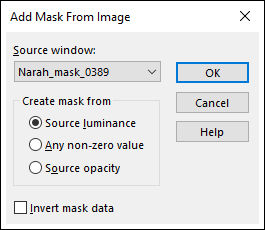
42- Layers / New Mask Layer / From Image: <<Narah_mask_0349>>
43- Layers / Duplicate
44- Layers / Merge / Merge Group
45- Mantenha a seleção!!!!46- Ative a Layer <<Raster 1>>
47- Selections / Promote Selection to Layer
48- Ative a Layer <<Group-Raster 3>>
49- Layers / Merge / Merge Down
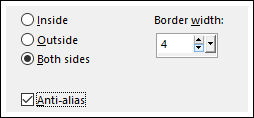
50- Selections / Modify / Select Selection Borders
51- Preencha a seleção com a cor do Primeiro Plano #39308a
52- Selections / Select None
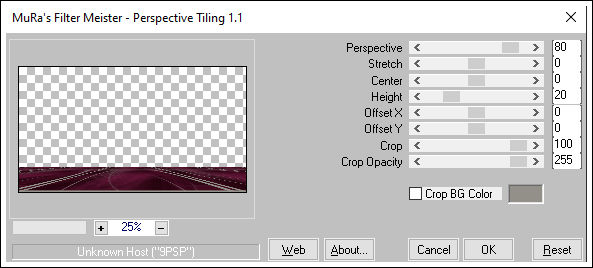
53- Blend Mode/ Luminance(Legacy)54- Effects / Plugins / MuRa's Meister / Perspective Tiling
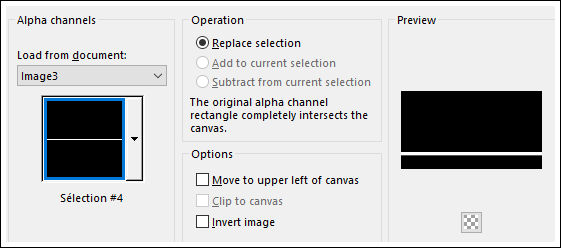
55- Selections / Load/Save Selection / Load Selection From Alpha Channel: <<Selection#4>>
56- Delete no Teclado
57- Selections / Select None
58- Layers / Arrange / Bring to Top59- Abra <<Horloge_By crealine_2colorer>> Copie e Cole como nova layer
60- Pick Tool (K) / Posição X ( 273,00) Posição Y (8,00) Tecla "M" para desativar a Pick
61- Abra <<NY2021 deco1>> Copie e Cole como nova layer
62- Não Mova!
63- Abra <<NY2021-Texte>> Copie e Cole como nova layer
64- Mova para baixo até a borda como segue:
65- Abra <<NY2021 deco2>> Copie e Cole como nova layer
66- Pick Tool (K) / Posição X ( 690,00) Posição Y (64,00) Tecla "M" para desativar a Pick
67- Segundo Plano cor branca #ffffff
68- Ative a Layer <<Raster 1>>69- Layers / New Raster Layer
70- Preencha com a cor do Segundo Plano71- Layers / New Mask Layer / From Image: <<Narah_mask_0389>>
72- Layers / Merge / Merge Group73- Ative a Layer do topo
74- Layers / New Raster Layer
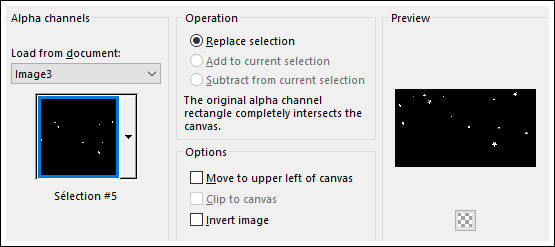
75- Selections / Load/Save Selection / Load Selection From Alpha Channel: <<Selection#5>>
75- Preencha com a cor do Segundo Plano76- Selections / Select None
77- Effects / 3D Effects / Drop Shadow: 5/-5/51/3 Cor: #000000
78- Layers /Merge / Merge Visible79- Image / Add Borders / Symmetric Marcado / 1 Pixel cor 3 #93908a
80- Image / Add Borders / Symmetric Marcado / 5 Pixels cor 4 #ffffff
81- Image/ Add Borders / Symmetric Marcado / 1 Pixel cor 3 #93908a
82- Selections / Select All
83- Image / Add Borders / Symmetric Marcado / 50 Pixels cor 4 #ffffff
84- Effects / 3D Effects / Drop Shadow: 0/0/60/40 Cor: #00000085- Abra <<Woman_715_exclusif>> Copie e Cole como nova layer
86- Image / Resize / 70% ... Resize All Layers ... Desmarcado
87- Posicione como no modelo
88- Effects / Plugins / Alien Skin Eye Candy 5 / Impact / Perspective Shadow:
Preset <<PerspectiveshadowNY-2021-Crealine>>
89- Image / Add Borders / Symmetric Marcado / 1 Pixel cor #a02962
90- Coloque a marca d'água de Linette
91- Assine seu trabalho
92- Salve como JPG
FIM
Versão com tube de Valy (VSP) :
VOLTAR
©Tutorial Traduzido por Estela Fonseca 05/01/2021.
Obrigada Linnette por me permitir traduzir seu trabalho.
