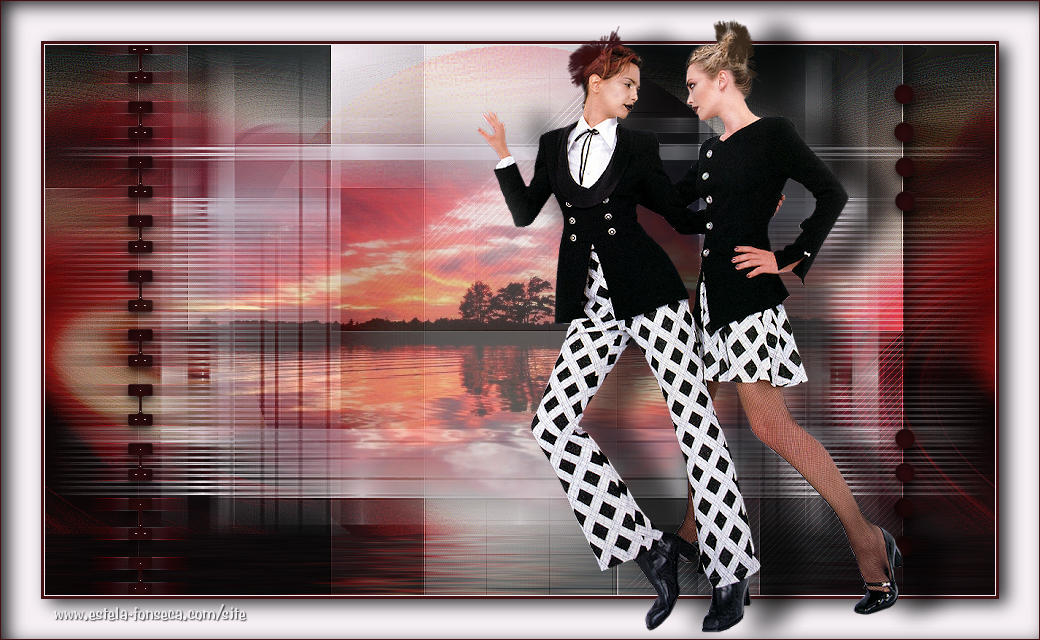
FRIENDS
Tutorial de ©crealinegraphic. Original Aqui
Traduzido no PSP X8
Materiais Necessários:
Tubes de LB Tubes
Plugins Utilizados:
<I.C.NET Software> - Filters Unlimited 2.0Mehdi - Sorting Tiles
AP [Lines] - Lines - Silverlining
&<blackground Designers IV> - sf10 Diamond Flip **
VanDerLee - Unplugged X - Zoomlens
Toadies - Ommadawn
Alien Skin Eye Candy 5 Impact - Glass
Flaming Pear - Flood
** Importado para o Unlimuted 2
Preparação:
Abra os tubes e a Mask no PSP, duplique, minimize e feche os originais.Copie o preset do Flood para seu Disco Rígido
Nota: Se você trabalhar com cores diferentes, pode ser necessário você mudar os blends e/ou as opacidadesdas layers.
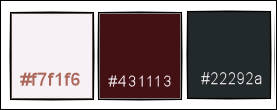
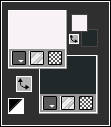
Primeiro Plano cor #f7f1f6
Segundo Plano cor #22292a
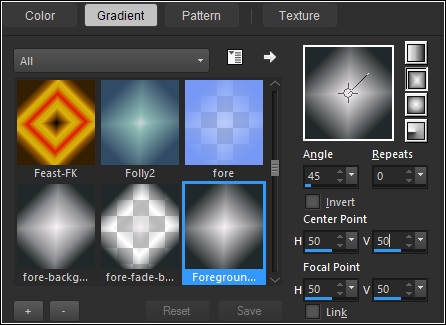
Forme um Gradiente Primeiro/Segundo Plano (Corel_06_029) - Estilo <<Rectangular>>
01- Abra a Layer <<Alpha-Friends>>
Window / Duplicate (or shift+D) - Feche a Layer original
Preencha com o Gradiente
Effects / Plugins / Mehdi / Sorting Tiles
Effects / Edge Effects / Enhance
02- Desfaça o Gradiente
Layers / New Raster Layer
Preencha com a cor do Segundo Plano
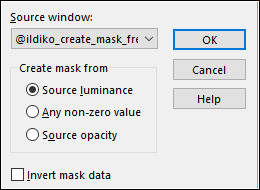
Layers / New Mask Layer / From Image : << @ildiko_create_mask_free_107>>
Effects / Edge Effects / Enhance
Layers / Merge / Merge Group
Layers / Duplicate
Image / Mirror / Mirror Horizontal
Layers / Merge / Merge Down03- Ative a Layer do Fundo
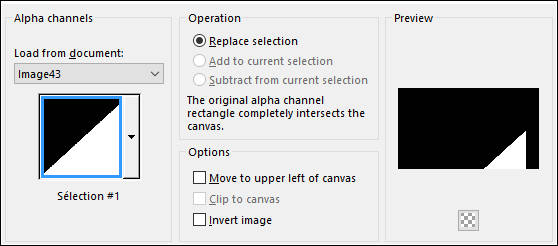
Selections / Load/Save Selection / Load Selection From Alpha Channel: Selection #1
Selections / Promote Selection to Layer
Selections / Select None
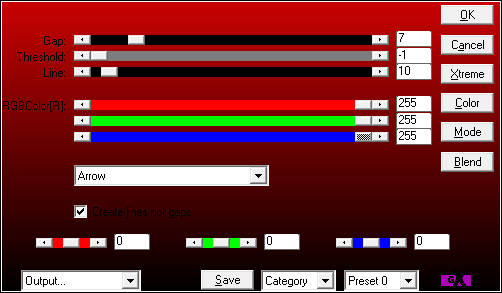
Effects / Plugins / AP01 [Innovation] / Lines - Silverlining
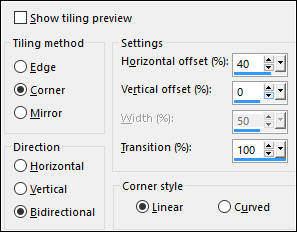
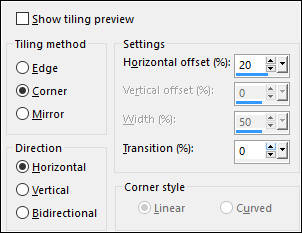
Effects / Image Effects / Seamless Tiling
Blend Mode / Overlay
04- Ative a Layer do Fundo
Layers / Duplicate
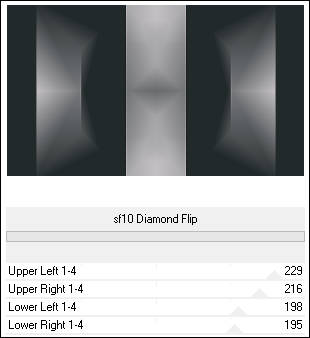
Effects / Plugins / <I.C.NET Software> /- Filters Unlimited 2.0 / &<blackground Designers IV> / sf10 Diamond Flip
Effects / Edge Effects / Enhance
Blend Mode / OverlayOpacidade / 75%
05- Layers / New Raster Layer
Selections / Select All
Maximize o Tube <<2326 - red lips - LB TUBES>>Nota: Se usar outro tube nesta etapa, o resultado ficará diferente.
Copie / Cole na seleção
Selections / Select None
Adjust / Blur / Radial Blur
Effects / Distortion Effects / Twirl
Effects/ Edge Effects / Enhance More
Effects / Image Effects / Seamless Tiling
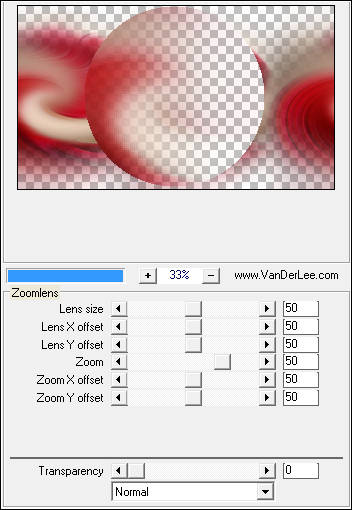
Effects / Plugins / VanDerLee / Unplugged X / Zoomlens / Default
Blend Mode / Hard Light
Opacidade / 75%
06- Ative a Layer <<Copy of Raster 1>>
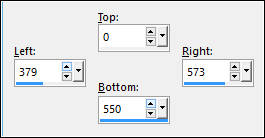
Selection Tool / Rectangle / Custom Selection:
Selections / Promote Selection to Layer
Layers / Arrange / Bring to Top
Blend Mode / ScreenOpacidade / 40%
Mantenha a Seleção
07- Layers / New Raster Layer
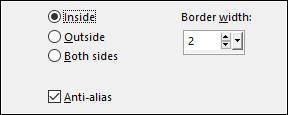
Selections / Modify / Select Selection Borders
Preencha com a cor do Primeiro Plano
Selections / Select None
Layers / Merge / Merge Down
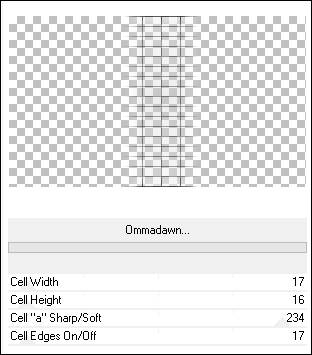
Effects / Plugins / Toadies / Ommadawn
Effects / Edge Effects / Enhance
Opacidade / 40%
08- Segundo Plano Cor#431113
Layers / New Raster Layer
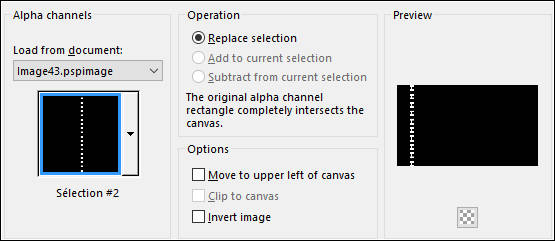
Selections / Load/Save Selection / Load Selection From Alpha Channel : Selection #2
Preencha com a cor do Segundo Plano
Selections / Select None
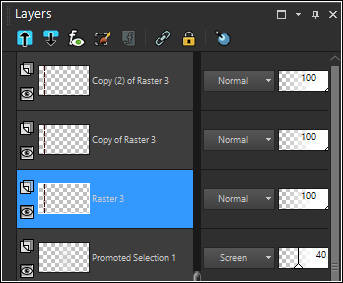
09- Layers / Duplicate
Edit / Repeat Duplicate Layer
Ative a Terceira Layer a partir da Layer do topo (Raster 3)
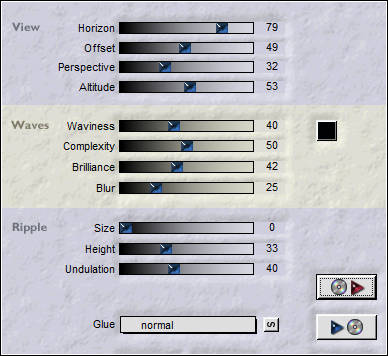
Effects / Distortion Effects / Wind :
Effects / Edge Effects / Enhance MoreAtive a Segunda Layer a partir da Layer do topo (Copy of Raster 3)
Effects / Distortion Effects / Wind :
Effects/ Edge Effects / Enhance More10- Ative a Layer do topo
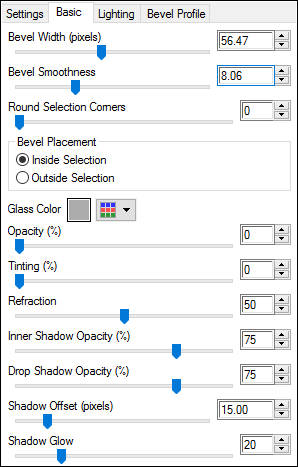
Effects / Plugins / Alien Skin Eye Candy 5 Impact / Glass / Clear
Guia Basic :
Layers / Merge / Merge Down
Edit / Repeat Layer Merge Down11- Layers / New Raster Layer
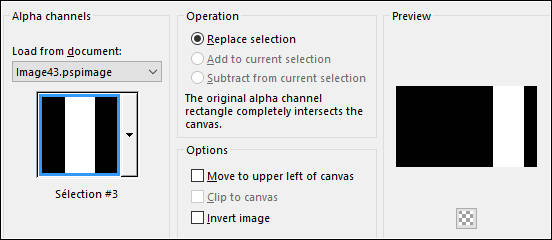
Selections / Load/Save Selection / Load Selection From Alpha Channel : Selection #3
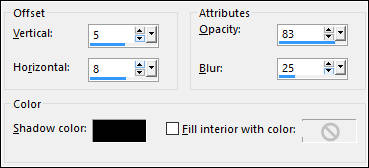
Effects / 3D Effects / Drop Shadow : 0 / 0 / 100 / 40,00 / Cor #000000
Selections / Select None12- Ative a Layer <<Raster 2>>
Effects / Plugins / Flaming Pear / Flood : Preset Friends-linette1q8r
13- Ative a Layer do topo
Maximize o tube <<ketlandscape2015005>>
Copie e Cole como Nova Layer
Opacidade / 60%
14- Layers / New Raster Layer
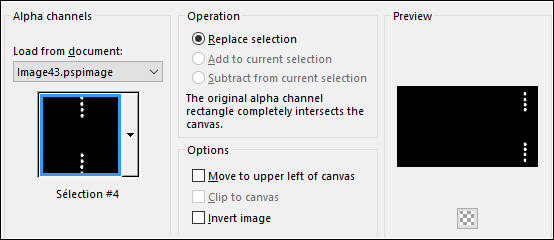
Selections / Load/Save Selection / Load Selection From Alpha Channel: Selection #4
Preencha com a cor do Segundo PlanoEffects / Plugins / Alien Skin Eye Candy 5 Impact / Glass /Configurações de antes
Selections / Select None
15- Layers / Duplicate
Effects / Distortion Effects / Wind:
Effects / Edge Effects / Enhance
Layers / Arrange / Move Down16- Image / Add Borders / Symmetric Marcado / 1 pixel cor do Primeiro Plano
Image / Add Borders / Symmetric Marcado / 3 pixels cor do Segundo Plano
Image / Add Borders / Symmetric Marcado / 40 pixels cor do Primeiro Plano
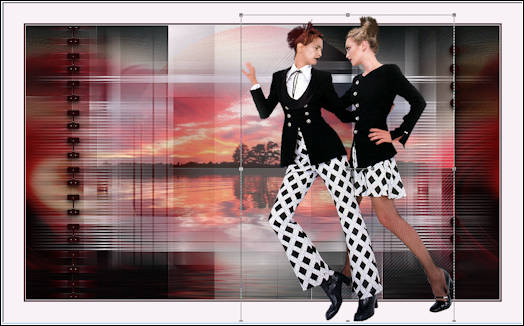
17- Maximize o tube <<733 - models - LB TUBES>>
Copie e Cole como nova Layer
Image / Resize / 90%... Resize all layers desmarcado
Adjust / Sharpness / Sharpen
Image / Mirror / Mirror HorizontalPosicione como segue:
Effects / 3D Effects / Drop Shadow : 0 / 47 / 58 / 30,00 / Cor #000000
18- Ative a Layer do FundoAtive a Varinha Mágica
Selecione a Borda de 40 pixels
Effects / 3D Effects / Cutout
Selections / Select None
19- Image / Add Borders / Symmetric Marcado / 1 pixel cor #431113
Image / Resize / 900 Pixels de Largura... Resize all Layers MarcadoAdicione a sua marca d'água ou sua assinatura
Layers / Merge / Merge All (Flatten)
Salve como JPG
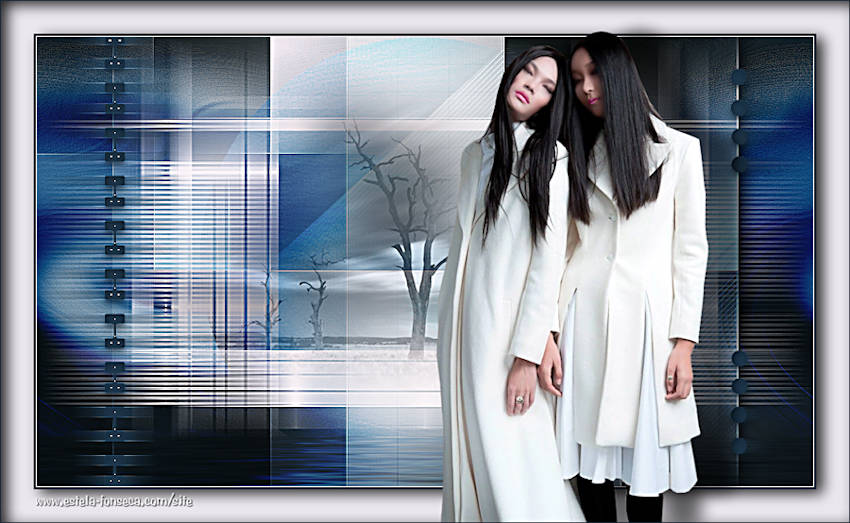
Outra versão com tube de Min@ (Personagem) e de Nicole (Paisagem):
VOLTAR
©Tutorial Traduzido por Estela Fonseca 21/05/2017.
Obrigada Linnette por me permitir traduzir seu trabalho.
