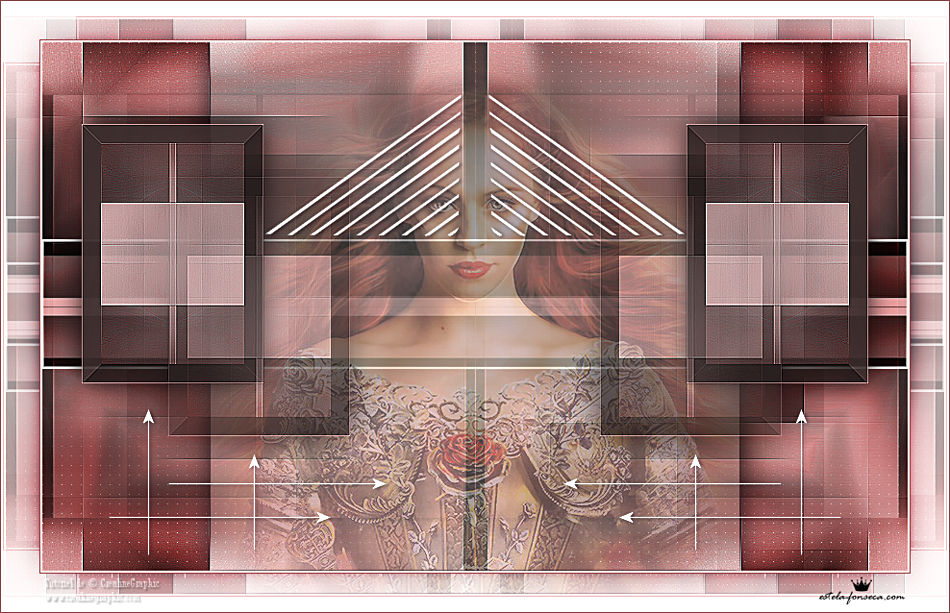
ASHLEY
Tutorial de ©Crealine Graphic. Original AQUI.
Traduzido no PSP X9
Materiais Utilizados:
Tube de chaosgaby .
Plugins Necessários:
&<Bkg Kaleidoscope> / 4QFlip UpperL **
Mock / Windo **
Toadies / What Are You?
Mehdi / Sorting Tiles
Graphics Plus / Cross Shadow
AP 01 [Innovations] / Lines - SilverLining / Dotty Grid
<I.C.NET Software> Filters Unlimited 2.0
** Importados para o Filters Unlimited 2.0
Preparação:
Abra o tube no PSP , duplique e feche o original.
Cores:
Não hesite em mudar o blend mode das layers ou as opacidades se necessário.
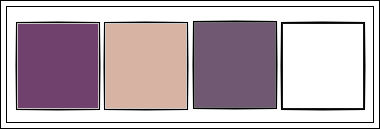
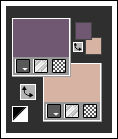
Primeiro Plano cor (3) #71416d
Segundo Plano cor (2) #d6b3a2
Observação: ao trabalhar com suas próprias cores, ajuste o modo de mesclagem / opacidade a seu critério.
Se você estiver usando cores diferentes, pode ser necessário colorir alguns dos elementos originais.
01- Abra a layers transparente <<alpha-selection.pspimage>>
Window / Duplicate
Feche a OriginalContinue seu trabalho na cópia!
Atenção!!! Esta layer contém seleções em canal alfa.
Selections / Select All
Atenção!!! Tenha o cuidado de respeitar as medidas do seu tube / duplique-o e redimensione-o para 778 de altura
Abra <<chg.706092010>> Copie e Cole na seleção.Selections / Select None
Adjust / Blur / Gaussian Blur / Radius: 20
Effects / Image Effects / Seamless Tiling
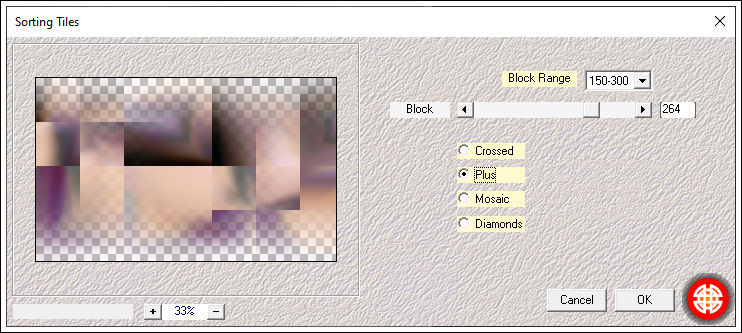
02- Effects / Plugins / Mehdi / Sorting Tiles
Effects / Edge Effects / Enhance More
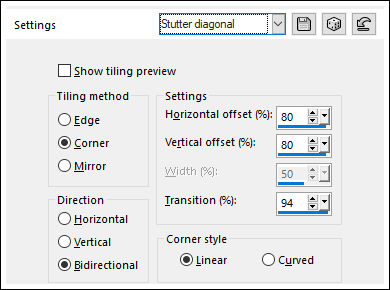
Effects / Image Effects / Seamless Tiling / Preset <<Stutter Diagonal>>
03- Layers / Duplicate
Effects / Plugins / Filters Unlimited 2.0 / &<Bkg Kaleidoscope> / 4QFlip UpperL
Layers / Duplicate
Image / Resize / 80% ... Resize All Layers ... DesmarcadoEffects / 3D Effects / Drop Shadow: 0/0/100/40 Cor:#000000
Effects / Image Effects / Seamless Tiling
04- Layers / New Raster Layer
Coloque a cor (4) No Segundo PlanoPreencha com a cor branca (#ffffff)
Layers /Arrange / Send to Bottom05- Ative a Layer do topo
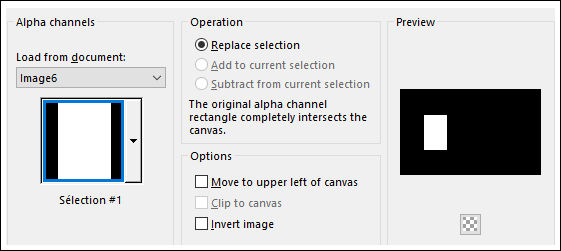
Selections / Load/Save Selection / Load Selection From Alpha Channel :Selection#1
Selections / Promote Selection to Layer
Selections / Select NoneEffects / 3D Effects / Chisel / Cor (3) #705772
Effects / 3D Effects / Drop Shadow: 0/0/100/40 Cor:#000000
Effects / Image Effects / Seamless Tiling / Preset <<Stutter Diagonal>>
Layers / Duplicate
Image / Mirror / Mirror Horizontal
Layers / Merge / Merge Down06- Ative a Layer << Copy (2) of Raster 1>>
Layers / Merge / Merge Down
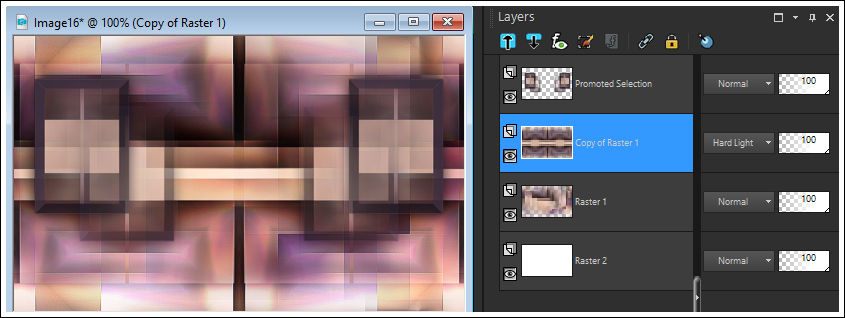
Blend Mode / Hard Light
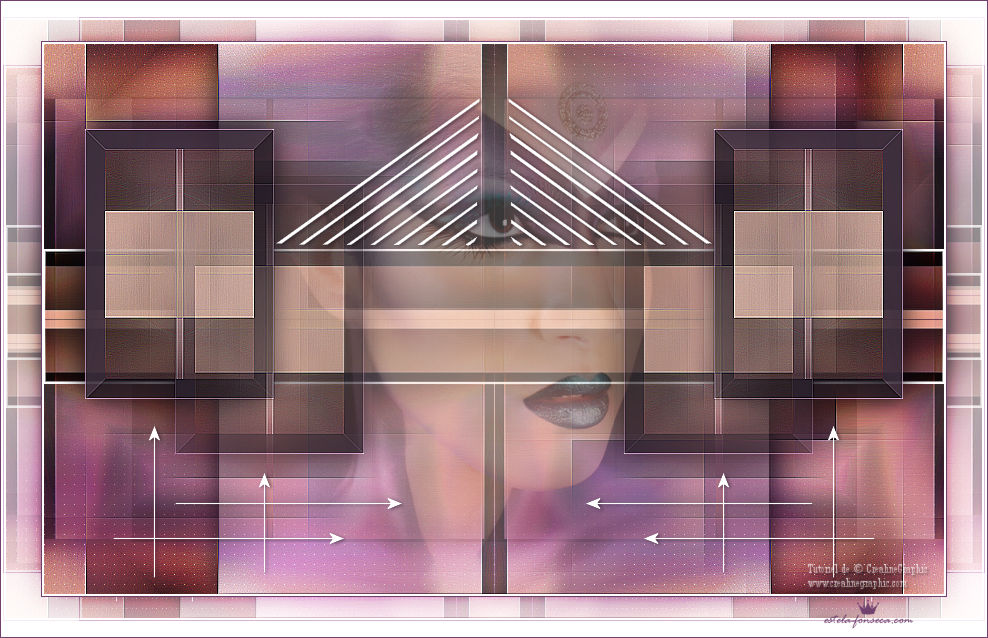
Resultado:
07- Na Layer << Copy of Raster 1>>
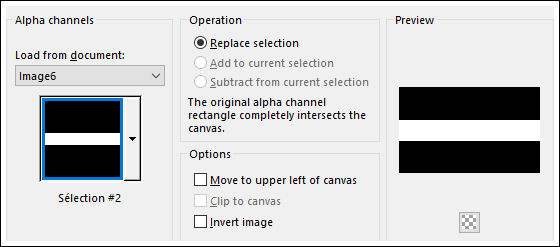
Selections / Load/Save Selection / Load Selection From Alpha Channel :Selection#2
Selections / Promote Selection to Layer
Blend Mode / Multiply
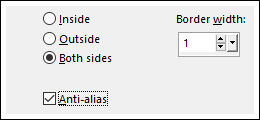
Mantenha a Seleção.Selections / Modify / Select Selection Borders
Layers / New Raster Layer
Preencha com a cor do Segundo Plano (cor 4)
Selections / Select None
08- Ative a Layer <<Copy of Raster 1>>
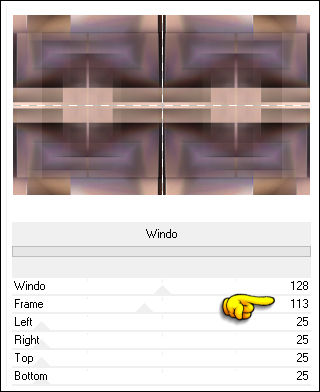
Effects / Plugins / Filters Unlimited 2.0 / Mock / Windo
09- Ative a Layer do topo
Effects / Edge Effects / Enhance
Resultado:
10- Ative a Layer do Fundo <<Raster 2>>
Preencha com a cor do Primeiro Plano
Effects / Plugins / Graphics Plus / Cross Shadow / Default
Effects / Plugins / AP 01 [Innovations] / Lines - SilverLining / Dotty Grid
Atenção!!!
Tenha cuidado se precisar diminuir a opacidade da layer <<raster 1>> (dependendo das cores usadas)
11- Ative a Layer do Topo
Layers / New Raster Layer
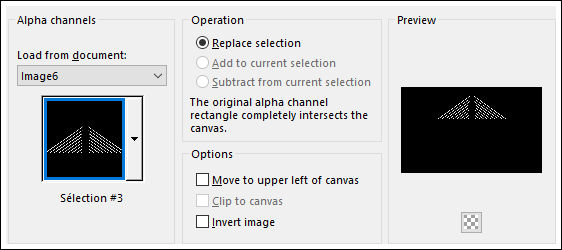
Selections / Load/Save Selection / Load Selection From Alpha Channel :Selection#3
Preencha com a cor do Segundo Plano (Cor (4) #ffffff )
Effects / 3D Effects / Drop Shadow: 1/2/50/5 Cor:#000000Selections / Select None
12- Abra <<chg.706092010>> Copie e Cole como nova layer
Image / Resize / 80% ... Resize All Layers ... Desmarcado
Layers / Arrange / Move Down
Edit / Repeat Move Layer Down
Opacidade / 40%13- Mantenha-se na layer do tube
Layers / New Raster Layer
Flood Fill Tool (F): Opacidade 20
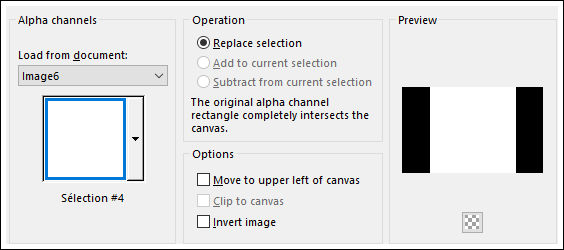
Selections / Load/Save Selection / Load Selection From Alpha Channel :Selection#4
Preencha a seleção com a cor do Segundo Plano (cor 4 #ffffff )
Mude a Opacidade do Flood Fill Tool à 100Effects / 3D Effects / Drop Shadow: 0/0/100/40 Cor:#000000
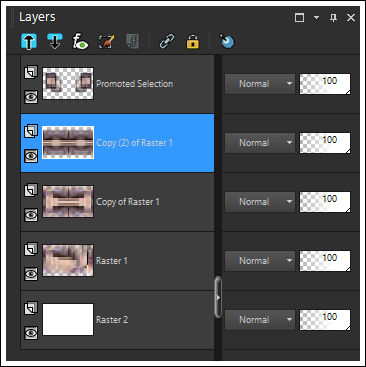
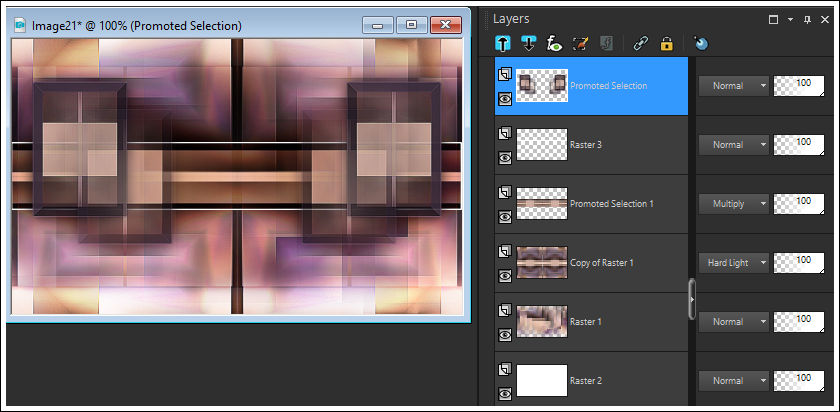
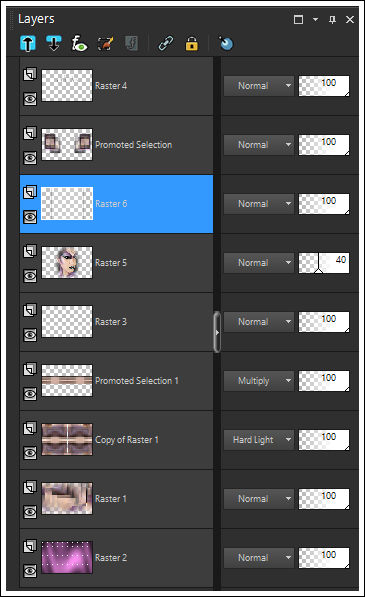
Selections / Select None14- Sua paleta das Layers devem estar assim:
15- Ative a Layer do Topo
Layers / New Raster Layer
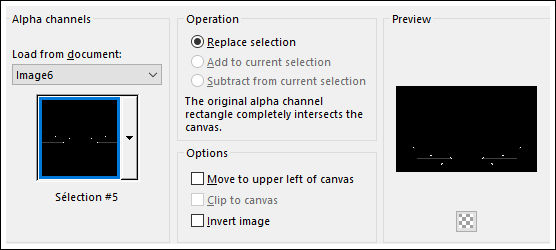
Selections / Load/Save Selection / Load Selection From Alpha Channel :Selection#5
Preencha com a cor do Segundo Plano (cor (4) #ffffff )
Selections / Select None
Effects / 3D Effects / Drop Shadow: 1/2/50/5 Cor:#000000
Layers / Merge / Merge Visible16- Image / Add Borders / Symmetric Marcado / 2 Pixels cor 4 (#ffffff)
Image / Add Borders / Symmetric Marcado / Cor 1 (#71416d)
Selections / Select All
Image / Add Borders / Symmetric Marcado / 40 Pixels cor 4 (#ffffff)Selections / Invert
Effects / Plugins / Toadies / What Are You? - Default
Selections / Promote Selection to Layer
Blend Mode / Hard Light
Selections / Invert
Effects / 3D Effects / Drop Shadow: 0/0/100/40 Cor:#000000
Selections / Select None
Image / Add Borders / Symmetric Marcado / Cor 1 (#71416d)
Layers / New Raster Layer
Adicione seu nome ou a sua marca d'água
Adicione a marca d'água de LinetteSalve como JPG.
FIM
Versão com tube de Sylvie Only Tubes:
VOLTAR
©Tutorial Traduzido por Estela Fonseca 26/01/2021.
Obrigada Linette por me permitir traduzir seus trabalhos.
