ANNELIES
Tutorial de ©Creative Graphic Original Aqui
Traduzido no PSP X9
Materiais Necessários:
Tubes de LB TUBES e de Annelies (A&K Tubes) Site foi fechado,
Mask de Animabelle
Outros materiais de Crealine Graphic
Plugins Utilizados:
<I.C.NET Software> Filters Unlimited 2.0
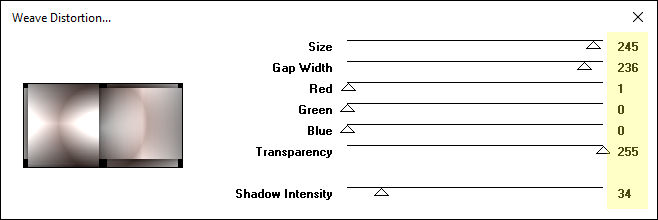
VM Natural / Weave Distortion
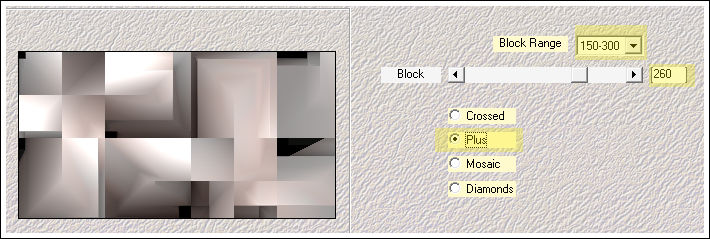
Mehdi / Sorting Tiles
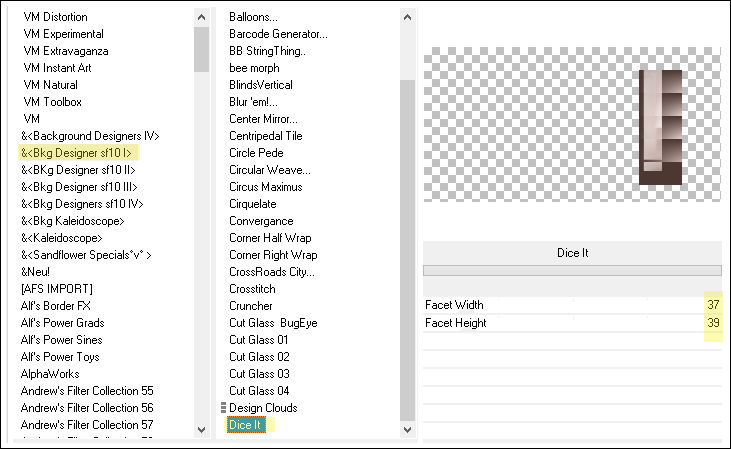
&<Bkg Designer sf10 I> / Dice It *
VanDerLee / Unplugged X / Defocus & Transition
L&K / landksiteofwonders / L en K's Zitah
Simple / Pizza Slice Mirror
AAA Frames / Foto Frame
Alien Skin Eye Candy 5 / Impact / Perspective Shadow
* Importados Para o Unlimited 2
Preparação:
Abra os tubes no PSP, duplique e feche os originais.
Abra a Mask no PSP e Minimize
Cores:
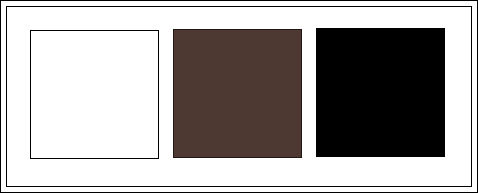
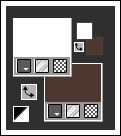
Primeiro Plano cor #ffffff / Segundo Plano cor #4e3832
1. Abra a layer <<Alpha>> Duplique e feche a originalTrabalharemos na cópia
2. Preencha com a cor branca (#ffffff)
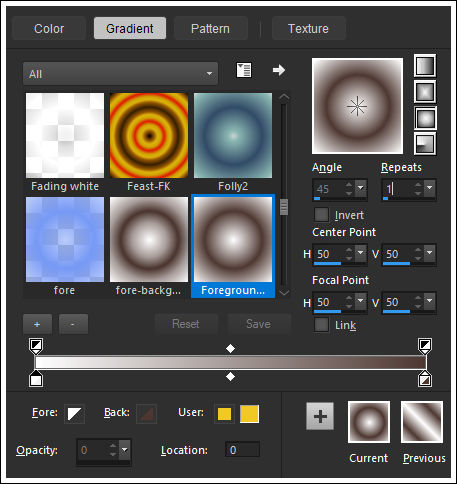
3. Forme um Gradiente <<Sunburst>> No Primeiro Plano e configure como segue:
4. Layers / New Raster LayerPreencha com o Gradiente
5. Effects / Plugins /Vm Natural /Weave Distortion..
6. Effects / Plugins / Medhy / Sorting Tiles
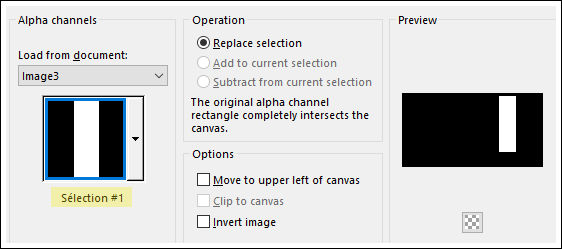
7. Selections / Load save selection / Load selection from Alpha Channel: Selection #1
8. Selections / Promote selection to layerSelections / Select None
9. Effects / Plugins / <I.C.NET Software> Filters Unlimited 2 / &<Bkg Designer sf10 I>/Dice It
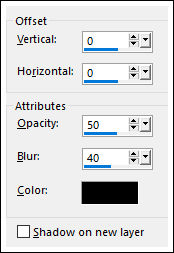
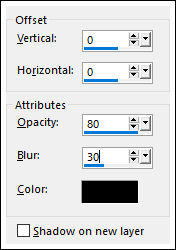
10. Effects / 3D Effects / Drop Shadow: 0/0/50/40 (#000000)
11. Ative a Layer <<Raster 2>>
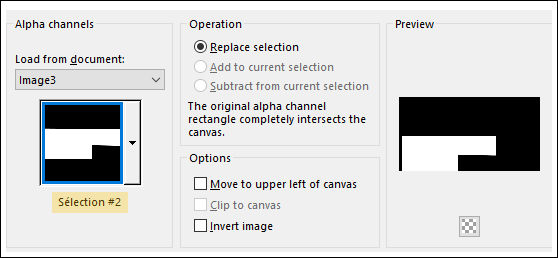
12. Selections / Load save selection / Load selection from Alpha Channel: Selection #2
13. Selections / Promote selection to layerSelections / Select None
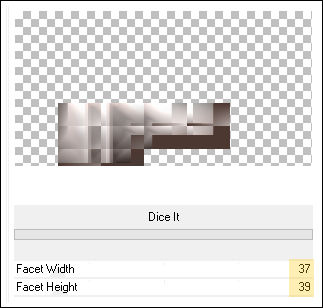
14. Effects / Plugins / <I.C.NET Software> Filters Unlimited 2 / &<Bkg Designer sf10 I>/Dice It
15. Effects / 3D Effects / Drop Shadow: 0 / 0 / 50 / 40 / #000000
16. Ative a Layer << Raster 2>>
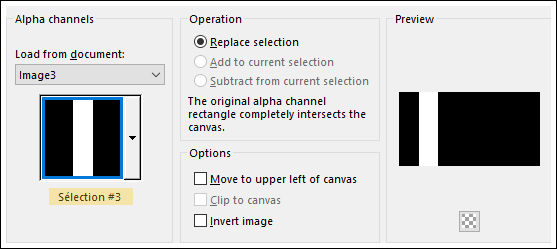
17. Selections / Load save selection / Load selection from Alpha Channel: Selection #3
18. Selections / Promote selection to layerSelections / Select None
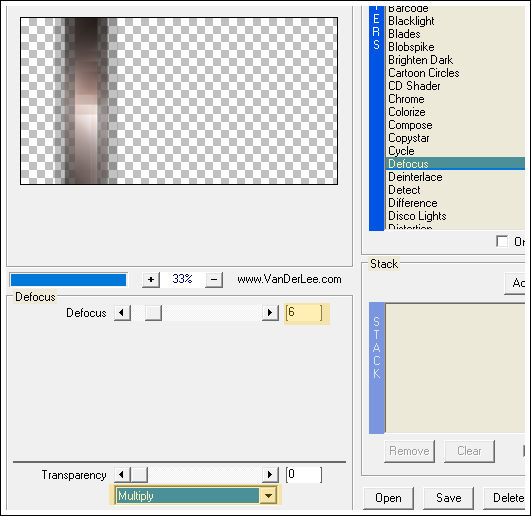
19. Effects / Plugins / Vanderlee / Unplugges X /Defocus
20. Adjust / Sharpness / Sharpen More21. Ative a Layer <<Raster 2>>
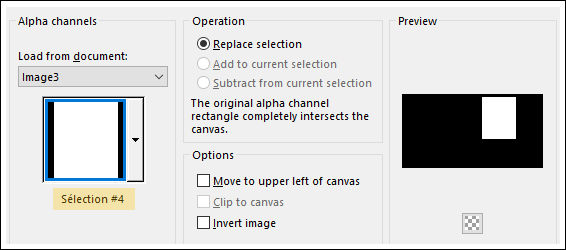
22. Selections / Load save selection / Load selection from Alpha Channel: Selection #4
23. Selections / Promote selection to layerSelections / Select None
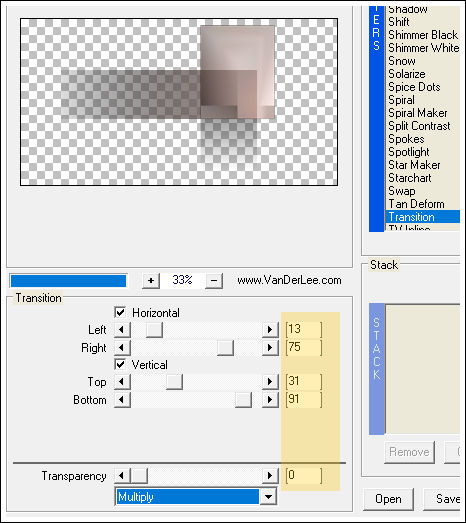
24. Effects / Plugins /Vanderlee /Unplugged X /Transition
25. Repita a mesma sombra, ela está na memória!
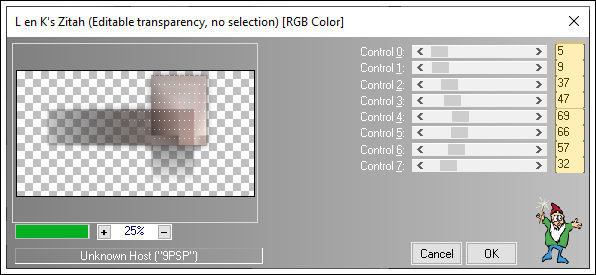
26. Effects / Plugins / L & K /Zitah
27. Ative a Layer <<Raster 2>>
28. Layers / New Raster Layer
Preencha com a cor do Segundo Plano
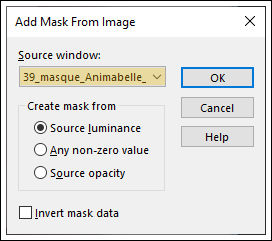
29. Layers / New Mask Layer / From Image:
Layers / Merge / Merge Group
30. Adjust / Sharpness / Sharpen
31. Blend Mode / Multiply
32. Layers / Merge / Merge Visible
33. Layers / New Raster Layer
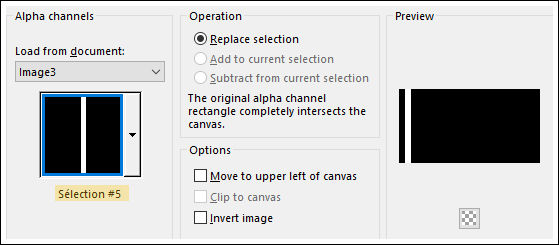
34. Selections / Load save selection / Load selection from Alpha Channel: Selection #5
35. Preencha com a cor do Primeiro Plano (#ffffff branca)Selections / Select None
37. Effects / Plugins / Simple / Pizza Slice Mirror
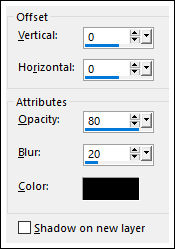
38. Effects / 3D Effects / Drop Shadow: 0/0 /80/20 (#000000)
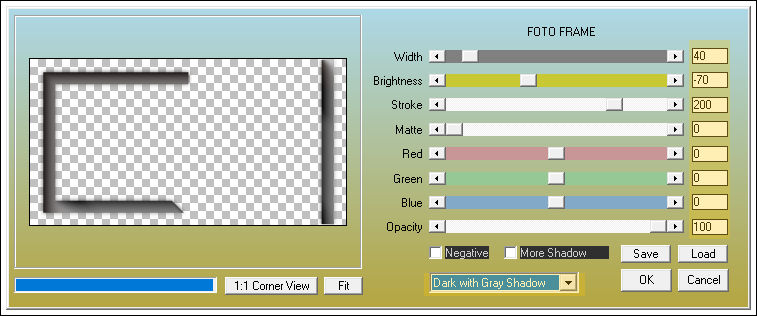
39. Effects / Plugins / AAA Frames /Foto Frames
Opacidade / 60
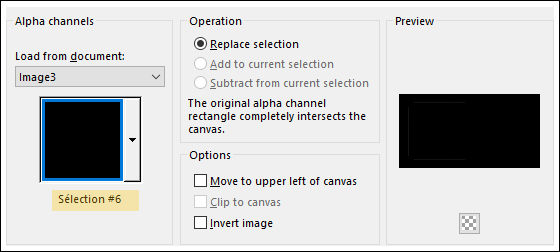
41. Selections / Load save selection / Load selection from Alpha Channel: Selection #6
42. Primeiro Plano cor #000000
Preencha a seleção com a cor do Primeiro Plano
Selections / Select None
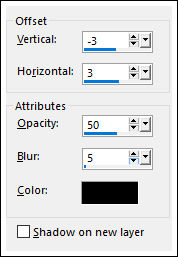
43. Effects / 3D Effects / Drop Shadow: -3/3 /50/5 (#000000)
44. Layers / New Raster Layer
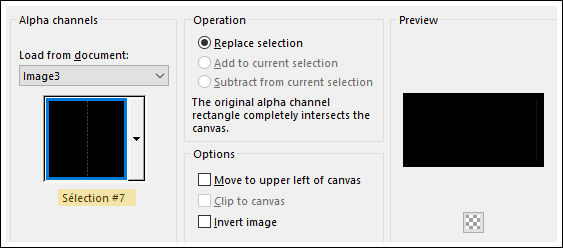
45. Selections / Load save selection / Load selection from Alpha Channel: Selection #7
Preencha com a cor do Primeiro Plano (#000000)
Selections / Select None
Aplique a mesma sombra de antes ( está na memória)
46. Layers / New Raster Layer
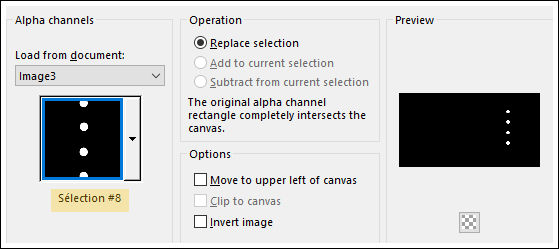
47. Selections / Load save selection / Load selection from Alpha Channel: Selection #8
Preencha com a cor do Segundo PlanoSelections / Select None
8. Effects / Plugins / Alien Skin Eyes Candy 5 / Impact /Perspective Shadow / Drop Shadow Lowest
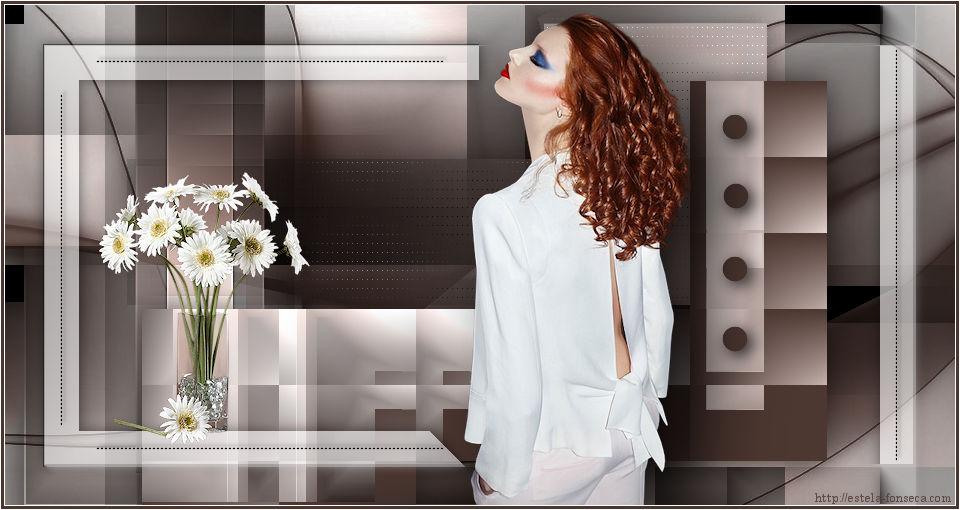
49. Ative o tube <<Woman Alies>>
50. Copie e Cole como nova layer
51. Image / Resize / 75 % ... Resize All Layers ... Desmarcado
52. Adjust / Sharpness / Sharpen
53. Image/ Mirror / Mirror Horizontal
54. Posicione como no modelo.
55. Effects / Plugins / Alien Skin Eyes Candy 5 / Impact /Perspective Shadow /Drop shadow ,Blurry
56. Ative o tube <<vase Still Life LB Tubes >>
Copie e Cole como nova layer
Image / Resize / 40 % ... Resize All Layers ... Desmarcado
Adjust / Sharpness / Sharpen
Posicione como no modelo
57. Effects / 3D Effects / Drop Shadow: 0/0 /80/40 (#000000)
58. Image / Add Borders / Symmetric Marcado / 1 Pixel cor #ffffff (branco)
Image / Add Borders / Symmetric Marcado / 3 pixels Cor do Segundo Plano
Image / Add Borders / Symmetric Marcado / 1 Pixel cor #ffffff (branco)
59. Layers / New Raster Layer
Coloque a sua assinatura
Ou a sua marca d'água.
60. Layers / Merge / Merge All
Salve como JPG.
VOLTAR
©Tutorial Traduzido por Estela Fonseca 19/03/2020.
Obrigada Linette por me permitir traduzir seu trabalho.
