ANJARA
Tutorial de ©Le Monde de Bambou , original Aqui. Obrigada Nicole por me permitir traduzir seus tutoriais!
Realizado no PSP18
Materiais Necessários:
Tubes de Nicole
Plugins Utilizados:
<I.C.NET Software> / Filters Unlimited 2.0Toadies
Carolaine and Sensibility
AP Utility
* Importados para o Unlimited 2.0
Cores Utilizadas:
Primeiro Plano Cor #006e99
Segundo Plano Cor #ec9c47
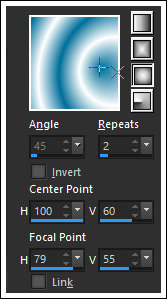
Forme um Gradiente Foreground/Background Estilo <<Sunburst>>
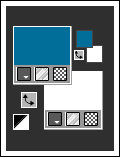
01- Abra "alpha-anjara" Esta layer contém seleções em canal alfa.
Window / Duplicate (ou shift+D)
Feche a original e trabalhe na cópia.
Preencha com o Gradiente
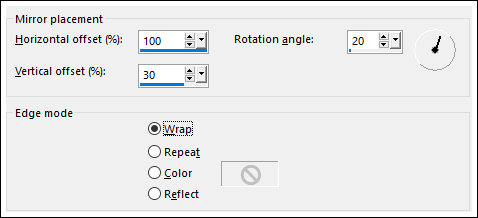
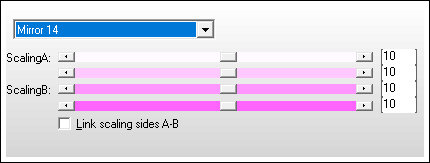
02- Effects / Reflection Effects / Rotating Mirror
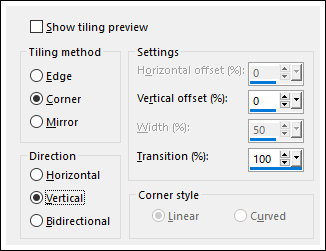
Effects / Image Effects / Seamless Tiling
03- Effects / Edge Effects / Enhance MoreLayers / New Raster Layer
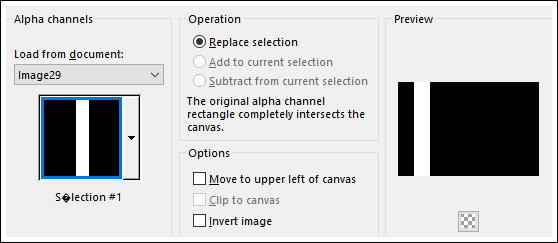
Selections / Load-Save selection / Load selection from alpha channel: Selection #1
Preencha com a cor branca
Selections / Select None
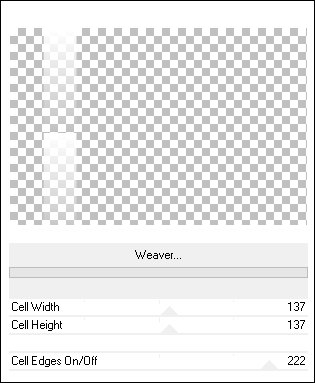
04- Effects / Plugins / <I.C.NET Software> Filters Unlimited 2.0 / Toadies / Weaver
05- Effects / Reflection Effects / Rotating Mirror ( mesmas configurações de antes)
Adjust / Sharpness / Sharpen More
Effects / 3D Effects / Drop Shadow: 1 / 1 / 50 / 1,00 / Cor #000000
Opacidade / 80%
06- Layers / Duplicate
Image / Mirror / Mirror Horizontal
Image / Mirror / Mirror Vertical
Layers / Merge / Merge Down
07- Ative a Layer <<raster 1>>
Layers / New Raster Layer
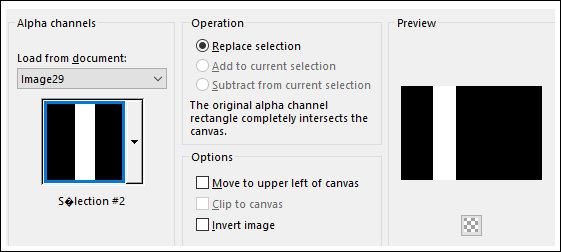
Selections / Load-Save selection / Load selection from alpha channel: Selection #2
Preencha com a cor #ec9c47 (Laranja para mim)
Selections / Select None
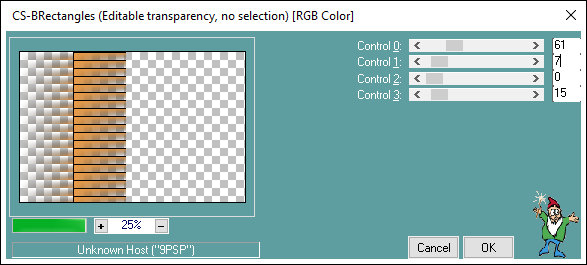
08- Effects / Plugins / Carolaine and Sensibility / CS-BRectangles
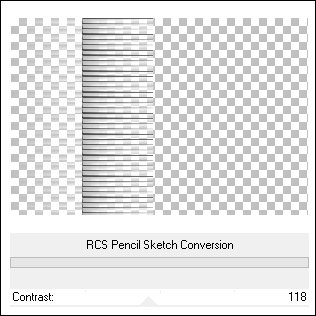
Effects / Plugins / <I.C.NET Software> Filters Unlimited 2.0 / RCS filter pack 1/ RCS pencil Sketch Conversion
09- Effects / Plugins / AP Utility / Utility Reflection
Opacidade / 63%Effects / Image Effects / Offset:
10- Layers / DuplicateImage / Mirror / Mirror Horizontal
Layers / Merge / Merge Down
11- Ative a Layer <<raster 1>>
Abra a imagem <<nicole-element-anjara>> Copie e Cole como nova layer
Não Mova!
12- Ative a imagem <<anjara>> Copie e Cole como nova layer
Blend Mode / Overlay
Opacidade / 100
13- Ative a Layer do Topo
Abra a Mask <<da-1>> Minimize
Layers / New Raster Layer
Preencha com a cor do Primeiro Plano (Azul)
Layers / New Mask Layer / From Image:
Layers / Duplicate
Layers / Merge / Merge Group
Blend Mode / Multiply
14- Abra o tube <<nicole-visage-anjara>> Copie e Cole como nova layer
Pick Tool (K) Posição X (306) Posição Y (40) Letra "M" para sair da Pick Tool
Adjust / Sharpness / Sharpen
Layers / Arrange / Move Down
15- Ative a Layer <<Raster 1>>
Layers / Duplicate
Blend Mode / Multiply
16- Image / Add Borders / Symmetric Marcado / 2 Pixels cor escura
Image / Add Borders / Symmetric Marcado / 30 Pixels cor branca
Image / Add Borders / Symmetric Marcado / 2 Pixels cor escura
Image / Add Borders / Symmetric Marcado / 30 Pixels cor branca
17- Ative o <<titulo>> Copie e cole como nova layer
Posicione
Ative o tube da personagem, copie e cole como nova layer
Aplique uma sombra à sua escolha
Image / Add Borders / Symmetric Marcado / 2 Pixels cor escura
Coloque o seu nome ou a sua Marca d'água
Salve como JPG.
Outra Versão tubes de Nicole:
© Tutorial Traduzido por Estela Fonseca em 02/06/2020.
Obrigada, Nicole por me permitir traduzir seu trabalho.