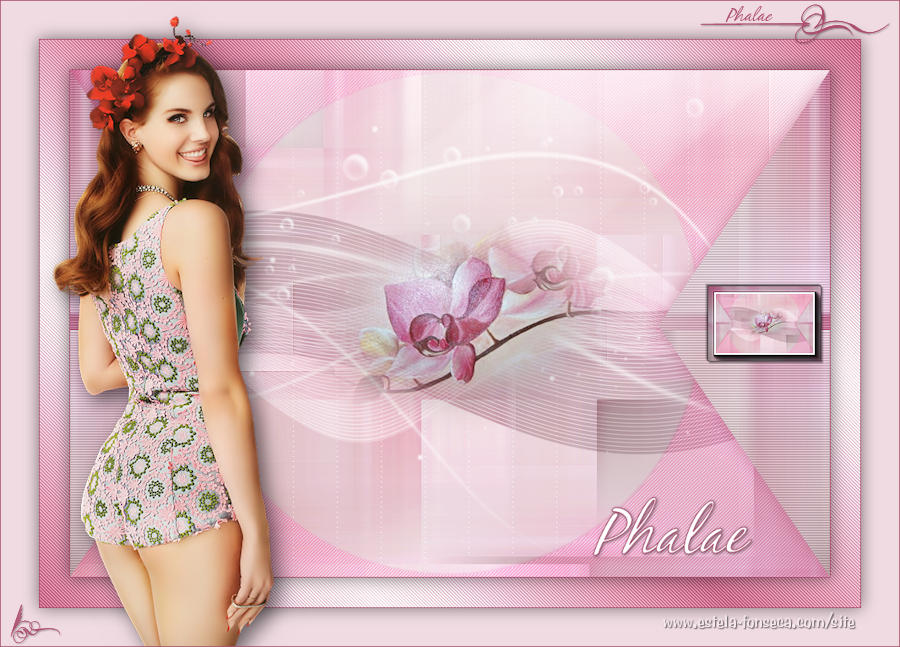
PHALAE
Tutorial de KaDs , original, Aqui.
Tutorial traduzido no PSP X8 mas pode ser feito em versões anteriores do PSP.
Materiais Necessários:
Todos os materiais são de Karin
A Mask é de Narah
Plugins Utilizados:Alien Skin Eye Candy 5 / Impact
Toadies / Weaver
L & K - landksiteofwonders / L en K's / Adonis
Penta.com / VTR2 / Jeans
AP 01 [Innovations] / Lines - SilverLining
AAA Frames / Foto Frame
Preparação:
Abra os tubes e as Masks no PSP, Duplique e feche os originais.Duplo clique no preset do Alien Skin
Nota: Ao trabalhar com suas próprias cores, brinque com o Blend Mode e /ou opacidades a seu critério!!!
Primeiro Plano cor #ac4d6e
Segundo Plano cor #ffffff
01- Abra a Layer <<412_KaD_Alfakanaal>>
Duplique e feche a original
02- Selections / Select All
Ative <<412_Background>> CopieMinimize usaremos mais tarde novamente
Cole como nova layer
Selections / Select None
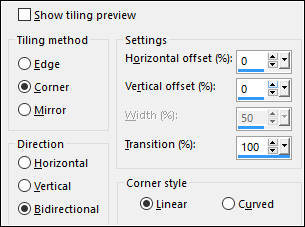
03- Effects / Image Effects / Seamless Tiling
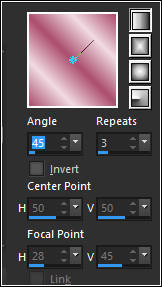
04- Adjust / Blur / Radial Blur
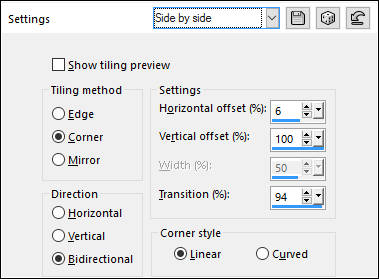
05- Effects / Image Effects / Seamless Tiling / Preset - Side by side
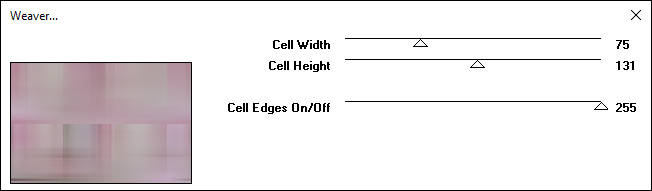
06- Effects / Plugin / Toadies / Weaver
07- Effects / Edge Effects / Enhance
08- Layers / Duplicate
Image / Mirror / Mirror Horizontal
Image / Mirror / Mirror Vertical
Blend Mode / OverlayOpacidade / 50
Layers / Merge / Merge Visible
09 - Layers / Duplicate
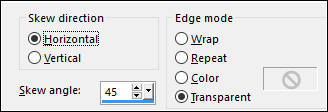
Effects / Geometric Effects / Skew
10- Ative a Layer do Fundo
Selections / Select All
Image / Crop to Selection
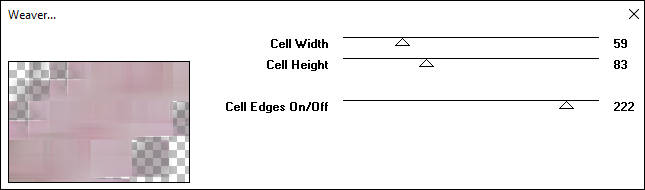
11 - Ative a Layer do topoEffects / Plugins / Toadies / Weaver
12- Effects / Plugins / L & K / landksiteofwonders / L en K's / Adonis / Default
Edit / Repeat L en K's Adonis
Effects / 3D Effects / Drop Shadow : Vertical: 0 /Horizontal: 0 / Opacidade: 50 / Blur: 30 / Cor #ac4d6e
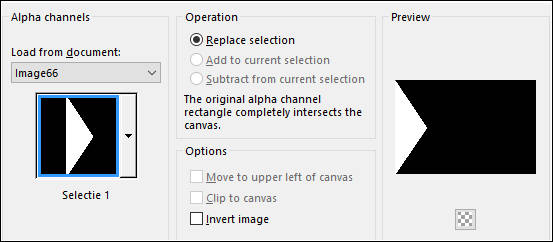
13- Ative a layer do FundoSelections / Load/Save Selection / Load Selection From Alpha Channel /Seleção #1
Selections / Promote Selection to Layer
Layers / Arrange / Bring To Top
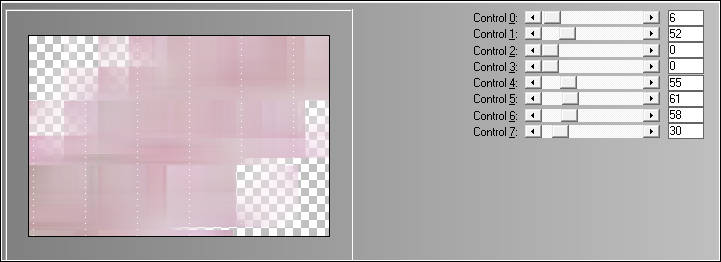
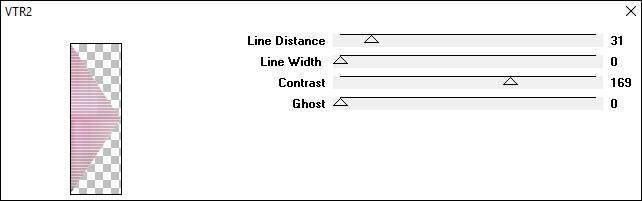
Mantenha a Seleção!14- Effects / Plugins / Penta.com / VTR2
Selections / Select None
Effects / 3D Effects / Drop Shadow: Vertical: 0 / Horizontal: 0 /Opacidade: 50/ Blur: 30 / Cor: #ac4d6e
15- Layers / Duplicate
Image / Mirror / Mirror Horizontal
Layers / Merge / Merge Down
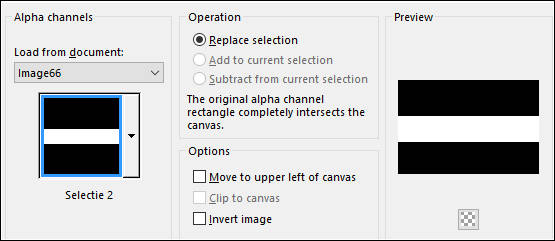
16- Ative a layer do FundoSelections / Load/Save Selection / Load Selection From Alpha Channel:Seleção #2
Selections / Promote Selection to Layer
Layers / Arrange / Move Up
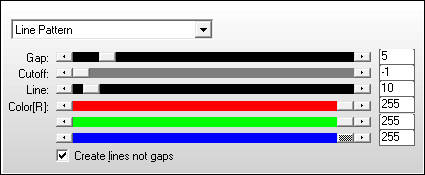
Mantenha a Seleção!17- Effects / Plugins / AP 01 [Innovations] / Lines - SilverLining / Line Pattern
Selections / Select None
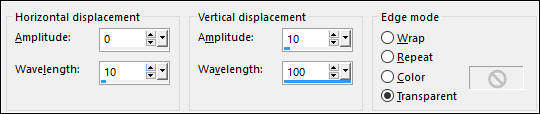
18- Effects / Distortion Effects / Wave
Blend Mode / Multiply
Opacidade / 65%
19- Layers / Duplicate
Effects / Geometric Effects / Circle
20- Ative a Varinha Mágica e selecione a parte colorida como segue:
Selections / Promote Selection to Layer
Effects / Plugin / Penta.com / jeans
21- Ative a Layer <<Copy of Promoted Selection>>
Edit / Cut (ou Delete no teclado)
Selections / Select None
Image / Mirror / Mirror Horizontal
Blend Mode / Overlay
22- Ative a Layer <<Promoted Selection 2>>Image / Mirror / Mirror Horizontal
Effects / 3D Effects / Drop Shadow: Vertical: 2 / Horizontal: 2 / Opacidade: 35 / Blur: 2 / Cor: #ac4d6e
Effects / 3D Effects / Drop Shadow: Vertical: -2 / Horizontal:-2 / Opacidade: 35 / Blur: 2 / Cor: #ac4d6e
Blend Mode / Hard LightOpacidade / 57%
23- Maximize a imagem <<412_Background>>
Copie e Cole como nova layer
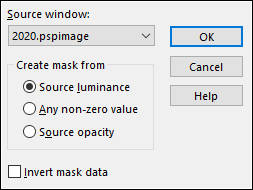
24- Layers / New Mask Layer /From Image / 2020
Layers / Duplicate ( 2 vezes)
Layers / Merge / Merge Group
Image / Resize / 50% (Resize all layers desmarcado)25- Layers / Duplicate
Layers / Merge / Merge Down
Adjust / Sharpness / Sharpen
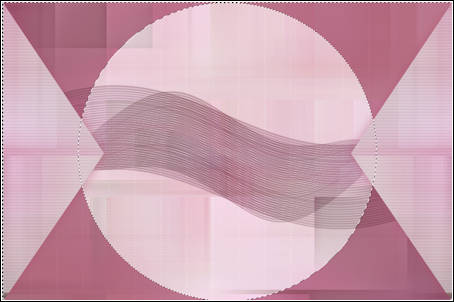
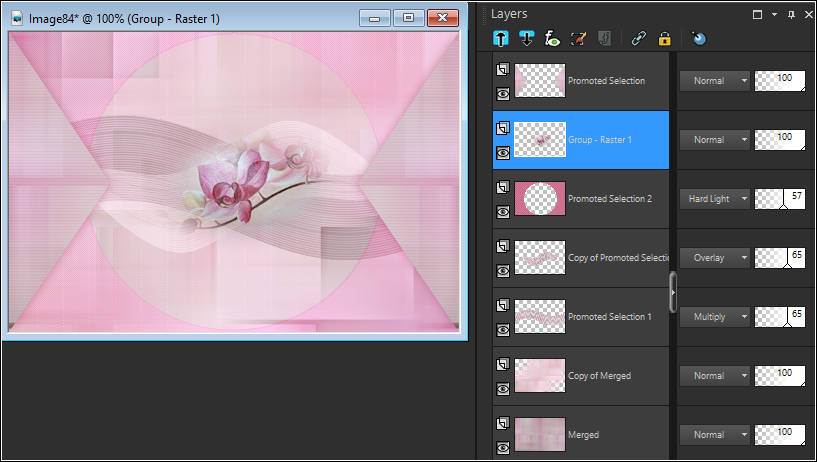
Seu trabalho e suas layers estão assim:
26- Window / Duplicate
Layers / Merge / Merge All (Flatten)
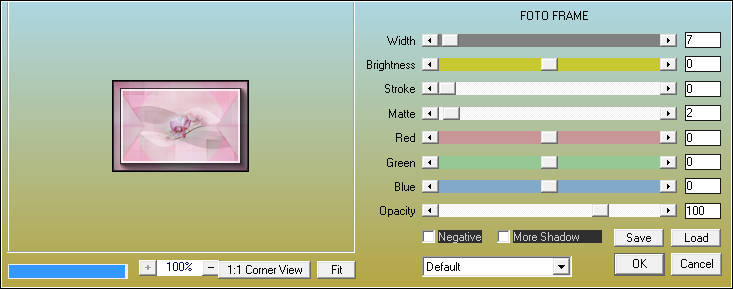
Image / Resize / 15% ( Resize All Layers Marcado)27- Effects / Plugins / AAA Frames / Foto Frame
Copie
Retorne a seu trabalho
Cole como nova layer
Layers / Arrange / Bring to Top
28- Pressione a letra <<K >> de seu teclado para ative a ferramenta <<Pick Tool>>
Pressione qualquer tecla para sair da ferramenta.
29- Effects / 3D Effects / Drop Shadow: 2 / 2 / 35 / 2 ,00/ Cor #000000
Effects / 3D Effects / Drop Shadow: -2/-2/35/2,00/ Cor #000000Adjust / Sharpness / Sharpen
30- Ferramenta <<Text Tool>> Fonte: BlackJack / Tam:72 /Itallic Marcado / Stroke Width: 1
Escreva: Phalae ou outro nome de sua escolhaPosicione à direita
Layers / Convert to Raster Layer
Effects / 3D Effects / Drop Shadow: 1 / 1 / 50 / 5,00 / Cor #000000
31- Ative a Layer <<Promoted Selection 2>>Layers / New Raster Layer
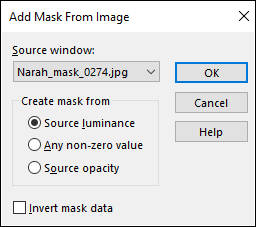
Preencha com a cor do Segundo PlanoLayers / New Mask Layer / From Image / Narah_mask_0274
Layers / Merge /Merge group
32- Adjust / Sharpness / Sharpen
Opacidade / 80%33- Layers / Merge / Merge All (Flatten)
34- Image / Add Borders / Symmetric Marcado / 1 pixel cor do Primeiro PlanoSelections / Select All
Image / Add Borders / Symmetric Marcado / 35 pixels cor do Segundo PlanoSelections / Invert
Segundo Plano cor #f0dbe2
Gradiente estilo <<Linear>>
Preencha a Selecão com o Gradiente
Mantenha a Seleção!
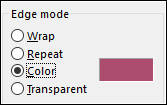
35- Effects / Plugins / penta.com / jeans / Default
Selections / Invert
Effects / 3D Effects / Drop Shadow: 0 / 0 / 50 / 30,00/ Cor #000000
Selections / Select None
36- Image / Add Borders / Symmetric Marcado / 1 pixel cor do Primeiro PlanoSelections / Select All
Image / Add Borders / Symmetric Marcado / 45 pixels cor do Segundo PlanoEffects / 3D Effects / Drop Shadow: Vertical: 0 /Horizontal: 0 / Opacidade:50 / Blur: 30 / Cor #000000
Selections / Select None
37- Maximize o tube <<KaD_Woman_14>>Copie e Cole como nova layer
Nota: Não esqueça de remover a marca d'água do tube
Image / Resize / 63% / Resize All Layers - desmarcado
Mova para à esquerda!38- Effects / Plugins / Alien Skin Eye Candy 5 / Impact / Perspective Shadow /
Preset "412_KaD_PerspectiveShadow"
Adjust / Sharpness / Sharpen
Image / Add Borders / Symmetric Marcado / 1 pixel cor do Primeiro Plano39- Image / Resize / 900 pixels de Largura / Resize All Layers Marcado.
40- Maximize o tube <<412_KaD_Deco1>>
Copie e Cole como nova Layer
Não Mova!
Effects / 3D Effects / Drop Shadow: 1 / 1 / 35 / 2,00 / Cor #000000
41- Inverta as cores de Primeiro e Segundo Plano
Feche a cor do Primeiro Plano
Ferrtamenta <<Text Tool>>
Fonte <<BlackJack>> Tamanho: 18 pixels <<Itallic>> Marcado /Stroke Width: 0
Escreva: Phalae Ou outro nome de sua escolha
Layers / convert to Raster Layer
Mova para o canto superior direitoLayers / Merge / Merge All (Flatten)
42- Adicione seu nome ou a sua marca d'água
Layers / Merge / Merge All
Salve como jpg.
Versão com tubes de Syl(personagem) e Floral (mtfp tubes):
©Tutorial traduzido por Estela Fonseca em 28/04/2017.
Não alterar nem repassar sem autorização.