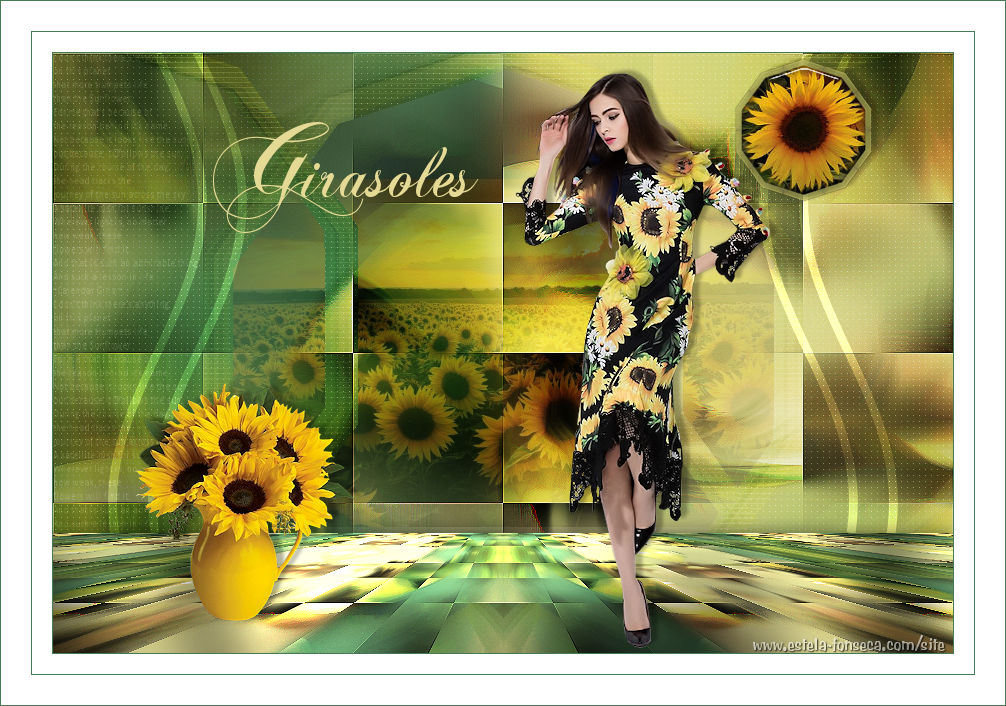
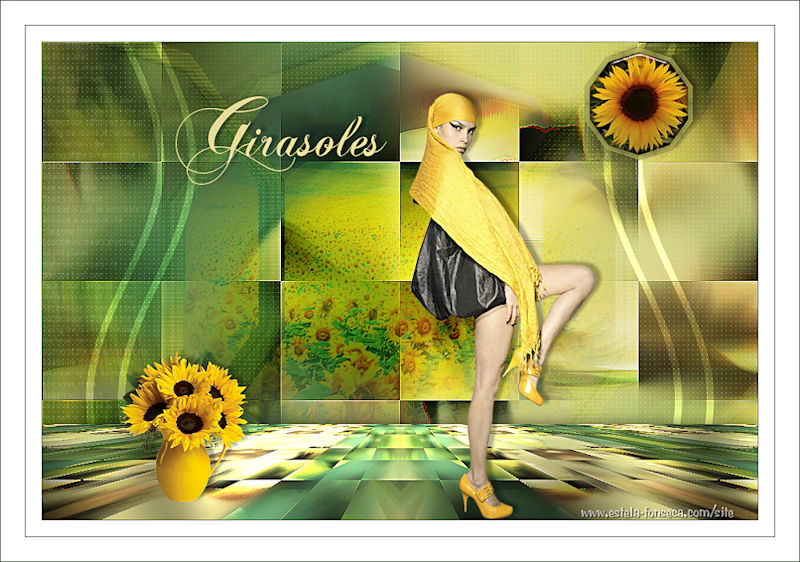
GIRASOLES
Tutorial de KaDs , original, Aqui.
Tutorial traduzido no PSP X9 mas pode ser feito em versões anteriores do PSP.
Materiais Necessários:
418_KaD_Alfakanaal
418_KaD_Text
418_KaD_Text2
Girasoles1
Girasoles2
KaD_Vase_Girasoles1
KaD_Woman_122
Plugins Utilizados:Mehdi / Sorting Tiles
Simple / Pizza Slice Mirror
Carolaine&Sensibility / CS-textura e Idots CS
Alien Skin Eye Candy 5 / Impact / Glass
Mura Meister / Perspective Tiling
Graphics Plus / Cross Shadow
Preparação:
Abra os tubes no PSP, duplique e feche os originais.
Abra as Máscaras no PSP e Minimize
Nota: Se usar outras cores pode ser preciso mudar os blends e as opacidades das layers.
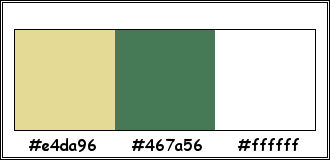
Tabela de Cores:
Primeiro Plano cor # e4da96 / Segundo Plano cor #467a56
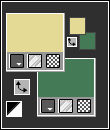
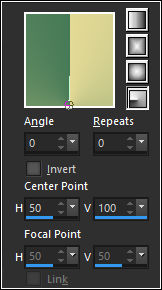
Gradiente: Radial
01- Abra <<418_KaD_Alfakanaal>>Window / Duplicate
Feche a Original
02- Preencha a Layer transparente com o Gradiente
Adjust / Blur / Gaussian Blur / Radius 15 ( 2 vezes)
03- Layers / New Raster Layer
Selections / Select All
04- Abra <<KaD_Woman_122>> Copie e Cole na seleção.
Selections / Select None
Effects / Image Effects / Seamless Tiling
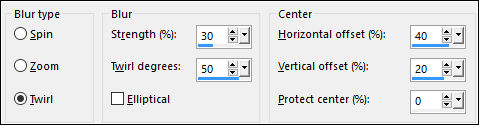
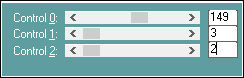
05- Adjust / Blur / Radial Blur:
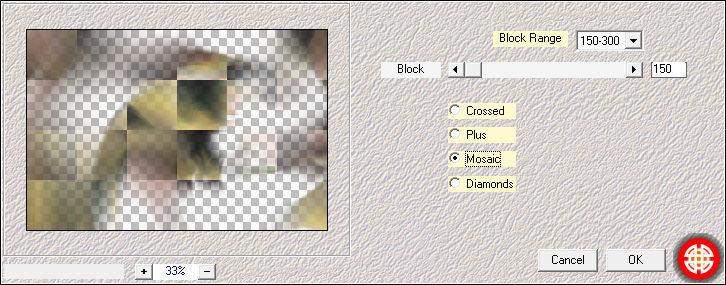
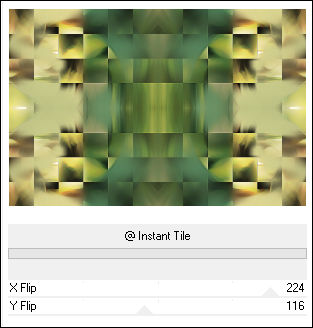
06- Effects / Plugin / Mehdi / Sorting Tiles
07- Effects / Edge Effects / Enhance
Blend Mode / Hard Light
Layers / Merge / Merge Visible
08- Layers / Duplicate
Image / Mirror / Mirror Horizontal
Effects / Plugin / Simple / Pizza Slice Mirror
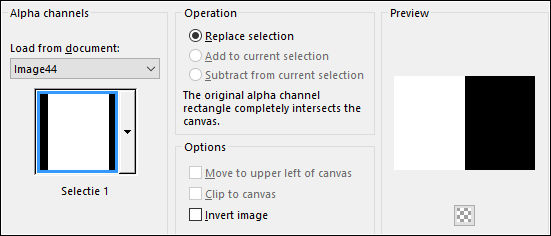
09- Selections / Load save selection / Load selection from alpha channel: Selection #1
Edit / Cut ....Ou Delete no teclado
Selections / Select None
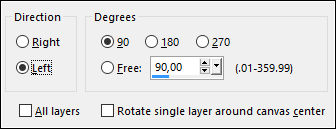
10- Image / Free Rotate
Ferramenta Selection Tool / Rectangle / Layer Opaque
Selections / Modify / Contract 25 pixels
Edit / Cut ....Ou Delete no teclado
Selections / Select None
11- Layers / Duplicate
Image / Mirror / Mirror Vertical
Layers / Merge / Merge Down
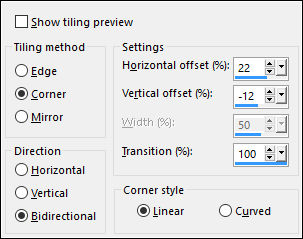
Effects / Reflection / Kaleidoscope
12- Effects / 3D Effects / Drop Shadow: 3 / 3 / 35 / 2,00 / # 000000
Effects / 3D Effects / Drop Shadow: -3 / -3 / 35 / 2,00 / # 000000
13- Layers / Duplicate
Image / Resize / 30%... Resize All Layers ... Desmarcado
14- Selections / Load save selection / Load selection from alpha channel: Selection #2
Edit / Cut ....Ou Delete no teclado
Selections / Select None
15- Ative a Layer do Meio (Copy of Merged)
Effects / Plugin / Carolaine&Sensibility / CS-textura / Default
Repita mais uma vez
16- Effects / Image Effects / Seamless Tiling
Blend Mode / Soft Light
17- Ative a Layer do topo
Image / Resize / 75%... Resize all Layers... Desmarcado
Ferramenta Pick Tool (K) / Position X= 682 / Position Y= 5
Tecla <<M>> para sair da Ferramenta
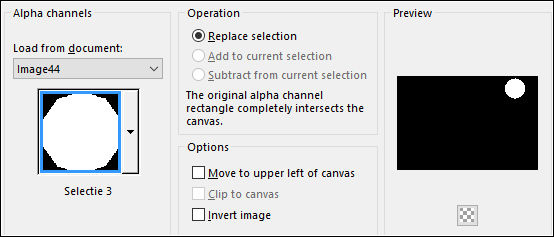
18- Selections / Load save selection / Load selection from alpha channel: Selection #3
Abra a Imagem <<Girasoles2>> Copie e Cole como Nova Layer
Posicione na seleção (selecione um dos gorassois)
Selections / Invert
Delete no teclado
Layers / Arrange / Move Down
19- Selections / Invert
Effects / Plugin / Alien Skin Eye Candy 5 / Impact /Glass / Clear
Selections / Select None
20- Ative a Layer do topo
Layers / Arrange / Move Down
Effects / 3D Effects / Drop Shadow: - 3 / 7 / 30 / 5,00 / # 000000
21- Ative a Layer do Fundo (Merged)
Abra a imagem <<Girasoles1>> Copie e Cole Como Nova Layer
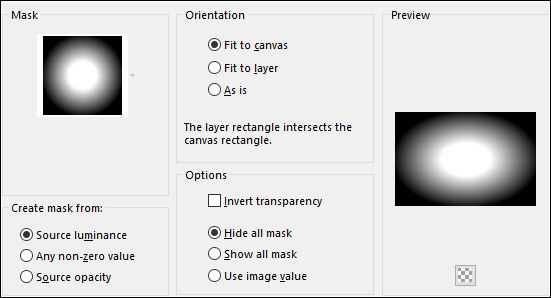
22- Layers / Load Save Mask / Load Mask from Disk: "2020"
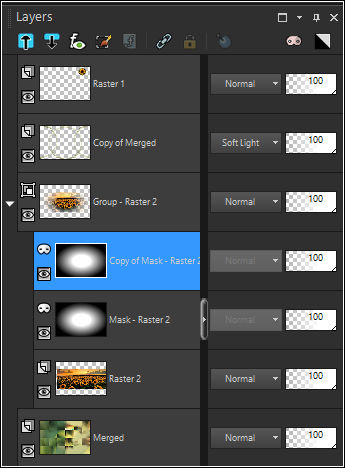
Layers / Duplicate
Layers / Duplicate
Layers / Merge / Merge group
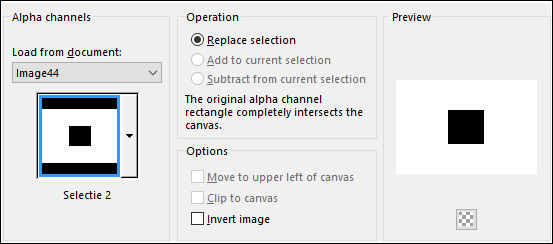
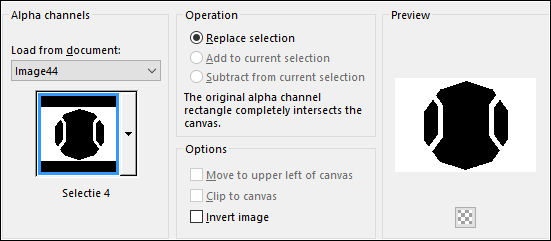
23- Selections / Load save selection / Load selection from alpha channel: Selection #4
Edit /Cut ...ou Delete no teclado
Blend Mode / Soft Light
24- Ative a Layer do Fundo (Merged)
Layers / Duplicate
Effects / Plugin / <I.C.NET Software> Filters Unlimited 2 / BKG Designers sf10IV / @Instanst Tile
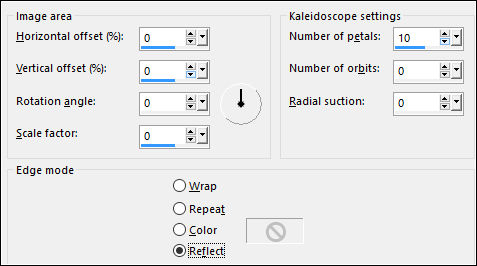
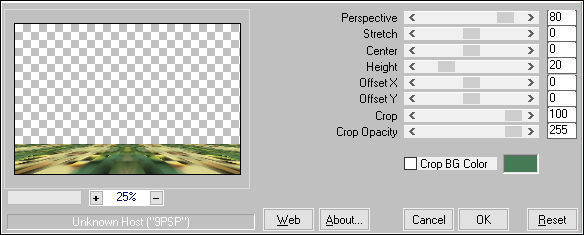
25- Effects / Plugin / Mura's meister / Perspective Tiling
Layers / Arrange / bring to top26- Effects / Plugin / Graphics Plus / Cross Shadow / Default
Adjust / Sharpness / Sharpen
Effects / 3D Effects / Drop Shadow: 0 / 0 / 60 / 30,00 / # 000000
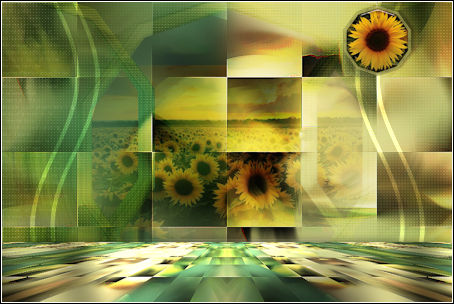
Resultado:
27- Primeiro Plano cor branca (#ffffff)
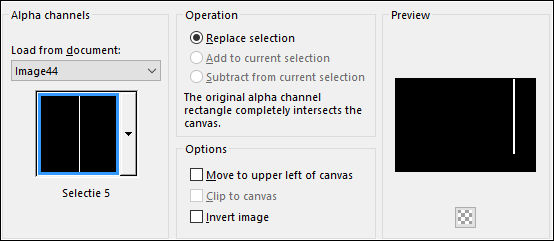
Selections / Load save selection / Load selection from alpha channel: Selection #5
Layers / New Raster Layer
Baldinho de Pintura com opacidade 50
Preencha a seleção
Selections / Select None
Volte a opacidade do balde de pintura pra 100.
28- Layers / Duplicate
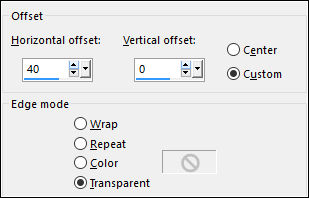
Effects / Image Effects / Offset:
Layers / Merge / Merge Down
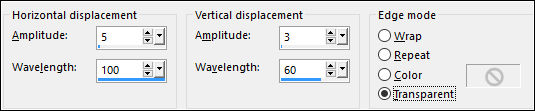
29- Effects / Distortion Effects / Wave
Layers / Arrange / Move Down ( 2 vezes)
Blend Mode / Dodge
Opacidade / 53
30- Layers / Duplicate
Image / Mirror / Mirror Horizontal
31- Ative a Layer do Fundo
Layers / Duplicate
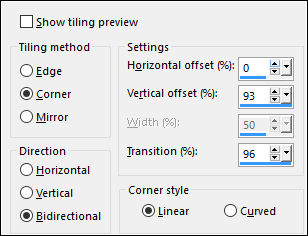
Effects / Image Effects / Seamless Tiling / Default
32- Effects / Plugin / Carolaine&Sensibility / ldots CS
Selections / Load save selection / Load selection from alpha channel: Selection #4
Selections / Invert
Delete no teclado
Selections / Select None
Blend Mode / Soft Light
33- Abra o <<418_Text>> Copie e Cole como nova layer
Objects / Align / Top
Objects / Align / Left
Blend Mode / Soft Light
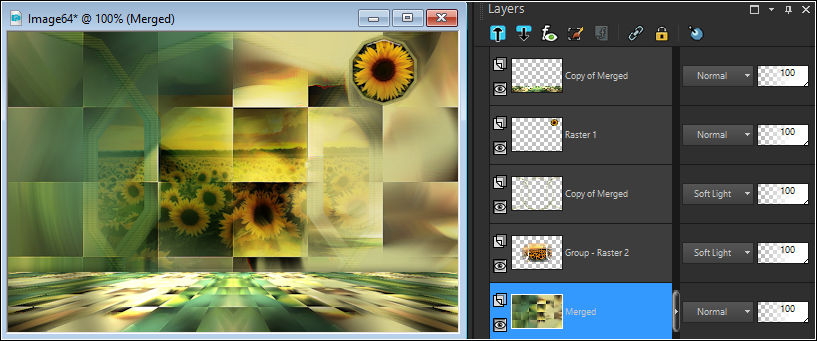
Resultado:
34- Layers / Merge / Merge Visible
Abra <<KaD_Vase_Girasoles1>> Copie e cole como nova layer
Image / Resize / 50%... Resize All Layers ... Desmarcado
35- Effects / 3D Effects / Drop Shadow: -3 / 7 / 30 / 5,00 / # 000000
Adjust / Sharpness / sharpen
Posicione
36- Abra o tube <<KaD_Woman_122>> Copie e Cole Como Nova Layer
Image / Resize / 80% ... Resize all Layers ... Desmarcado
37- Effects / 3D Effects / Drop Shadow: -3 / 7 / 30 / 5,00 / # 000000
Adjust / Sharpness / Sharpen
Posicione
38- Abra o tube << 418_KaD_Text2>> Copie e Cole como nova layer
Posicione
39- Image / Add Borders / Symmetric Marcado / 1 pixel cor #467a56
Image / Add Borders / Symmetric Marcado / 20 pixels cor#FFFFFF
Image / Add Borders / Symmetric Marcado / 1 pixel cor #467a56
Image / Add Borders / Symmetric Marcado / 30 pixels cor#FFFFFF
40- Coloque o seu nome ou sua Marca d'água
Image / Add Borders / Symmetric Marcado / 1 pixel cor #467a56
41- Image / Resize / 900 pixels de Largura ( Resize all layes marcado)
Adjust / sharpness Unshrp Mask: 2 / 30 / 2 / Nada Marcado
42- Salve como JPG
Versão com tubes Kads e de Nicole (personagem):
©Tutorial traduzido por Estela Fonseca em 04/08/2017.
Não alterar nem repassar sem autorização.