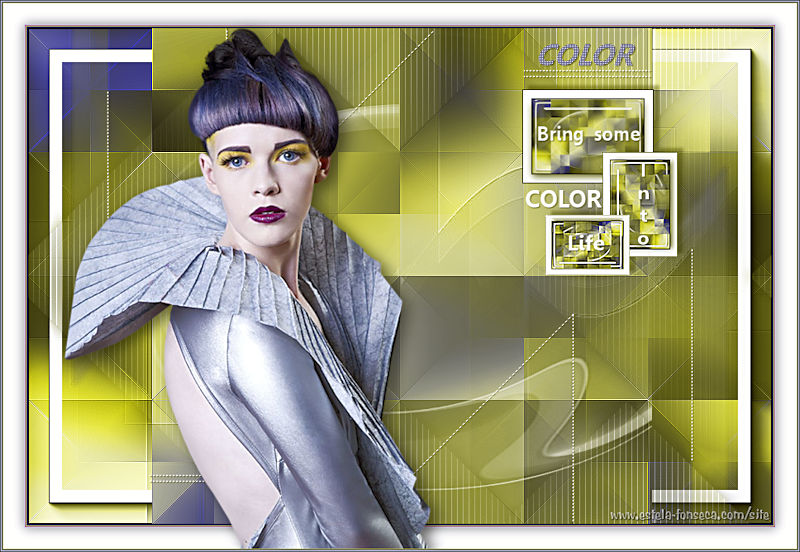
COLOR INTO LIFE
Tutorial de KaDs , original, Aqui.
Tutorial traduzido no PSP X9 mas pode ser feito em versões anteriores do PSP.
Materiais Necessários:
Tubes: KaD_Woman_119
416_KaD_Deco1
416_KaD_Tekst
Masks: 32_Monaiekje_marcarar
Narah_mask_0421
Plugins Utilizados: AQUI
Mehdi / Wavy Lab 1.1 / Sorting Tiles
AP 01 [Innovations] / Lines – Silverlining
AAA Frames / Foto Frame
Alien Skin Eye Candy 5 / Impact
Preparação:
Abra os tubes no PSP, duplique e feche os originais.Abra as Masks no PSP e Minimize
Dê dois cliques na Fonte para instalar ( se usa o Windows superior ao 7)
Copie a Textura e a Pattern para as respectivas pastas do PSP
Copie as Seleções para a pasta de seleções do PSP
Se usar outras cores e outros tubes , jogue com o modo de mistura (blend Mode) e/ou opacidade.
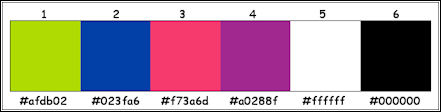
Tabela de Cores:
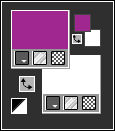
Primeiro Plano Cor # a0288f
Segundo Plano Cor #ffffff
01- Abra <<416_KaD_Alfakanaal>>
Window / Duplicate
Feche a original, trabalharemos na cópia!
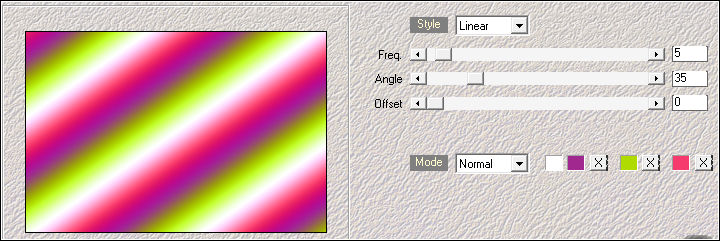
02- Effects / Plugins / Mehdi / Wavy Lab 1.1
Cores dos quadradinhos coloridos: #ffffff / #a0288f - #afdb02 / #f73a6d
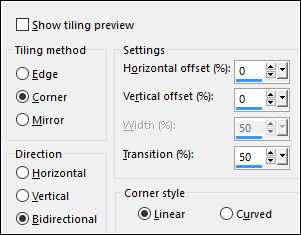
03- Effects / Image Effects / Seamless Tile / Default
Adjust / Blur / Gaussian Blur / Radius 50 ( 2 vezes)
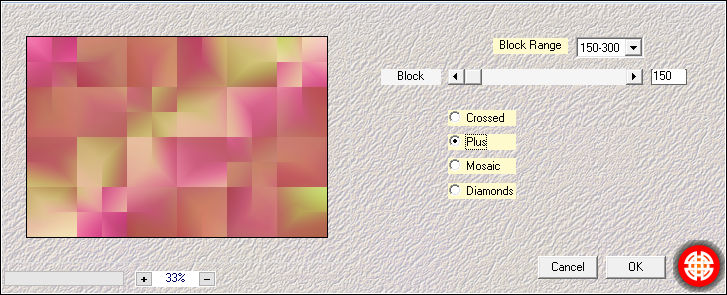
04- Effects / Plugins / Mehdi / Sorting Tiles
05- Layers / Duplicate
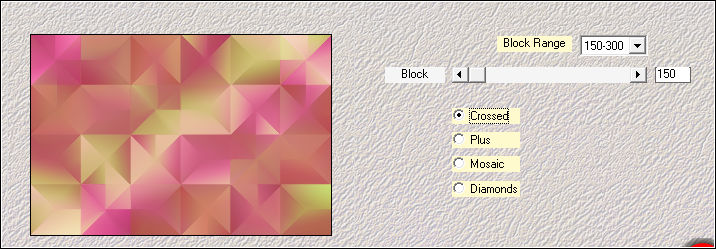
Effects / Plugins / Mehdi / Sorting Tiles
06- Effects / Edge Effects / Enhance
Blend Mode / Soft Light
Layers / Merge / Merge Visible
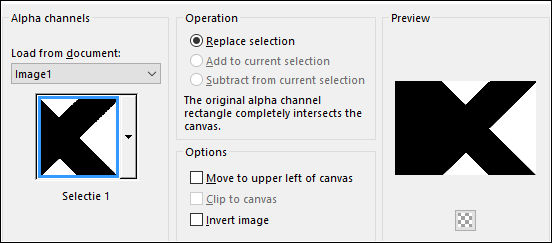
07- Selections / Load Save Selection / Load Selection From Alpha Channel: Selection #1
Selections / Promote Selection to Layer
08- Adjust / Blur / Gaussian Blur / Radius 30
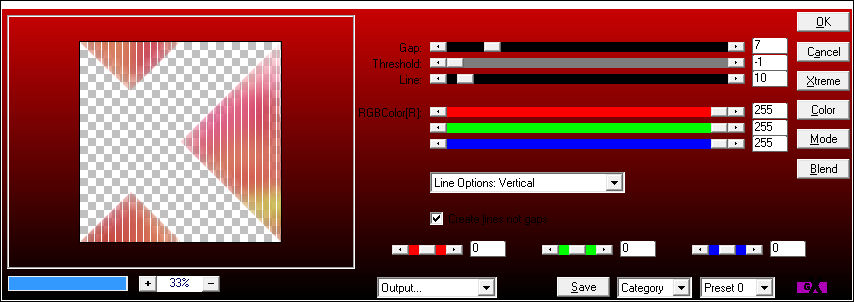
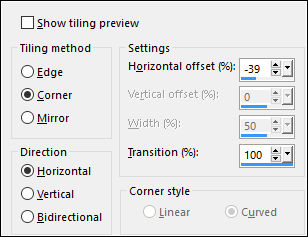
Effects / Plugin / AP 01 [Inovações] / Lines - Silverlining / Lines Opções: Vertical
09- Effects / 3D Effects / Drop Shadow: 0 / 0 / 60 / 25/ Cor # 000000
Selections / Select None
10- Effects / Image Effects / Seamless Tiling
11- Ative a Layer do Fundo <<Merged>>
Layers / Duplicate
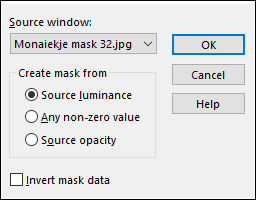
Layers / New Mask Layer / From Image: Monaiekje mask 32
Layers /Merge / Merge Group
12- Layers / Arrange Bring to Top
Effects / Edge Effects / Enhance
13- Layers / Duplicate
Image / Mirror / Mirror Horizontal
Image / Mirror / Mirror Vertical
Layers / Merge / Merge Down
Blend Mode / Overlay
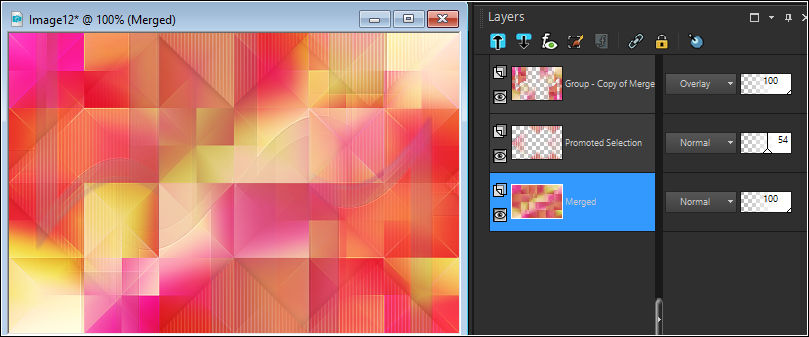
14- Ative a Layer do Meio <<Promoted Selection>>
Opacidade / 54
Ative a Layer do Fundo <<Merged>>
Resultado:
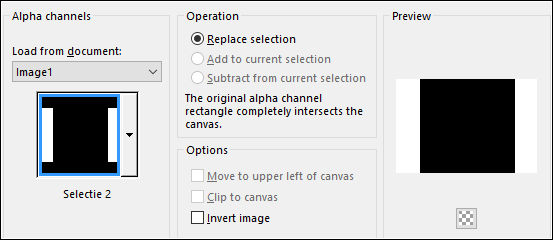
15- Selections / Load Save Selection / Load Selection From Alpha Channel: Selection #2
Selections / Promote Selection to Layer
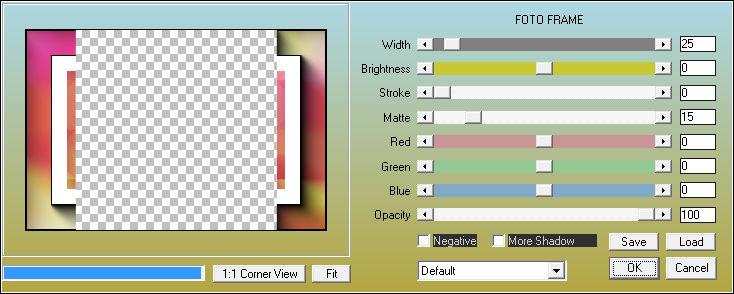
Effects / Plugin / AAA Frames / Foto Frame
Selections / Select None
16- Layers / New Raster Layer
Preencha com a cor do Segundo Plano
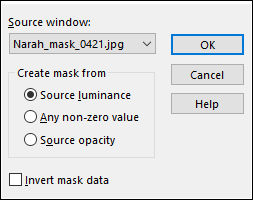
Layers / New Mask layer / From Image: Narah_mask_0421
Layers / Merge / Merge Group
Layers / Arrange / Move Down
17- Adjust / Sharpness / Sharpen More
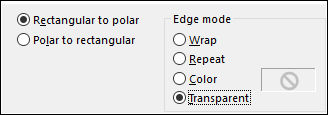
Effects / Distortion Effects / Polar Coordenate:
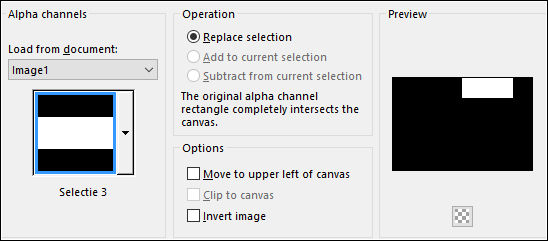
18- Selections / Load Save Selection / Load Selection From Alpha Channel: Selection #3
Selections / Modify / Contract / 8 pixels
Pressione a tecla Delete no teclado
Selections / Select None
Opacidade / 70
19- Edit / Copy Special / Copy Merged
Cole como Nova Imagem
Image / Resize / 15%... Resize All Layers... Marcado
20- Selections / Select All
Image / Add Borders / Symmetric Marcado / 1 pixel cor #000000
Image / Add Borders / Symmetric Marcado / 10 pixels cor # ffffff
Image / Add Borders / Symmetric Marcado / 1 pixel cor # 000000
21- Effects / Plugin / Alien Skin Eye Candy 5 / Impact / Glass :Preset 415_KaD_Glass
Selections / Select None
Copie
22- Volte para seu trabalho inicial
Cole como nova layer
Layers / Arrange / Bring to top
Ferramenta <<Pick Tool>> Posicione como segue: Position X= 598 / Position Y= 74
Layers / Duplicate
Image / Resize / 80%... Resize all Layers ... Desmarcado
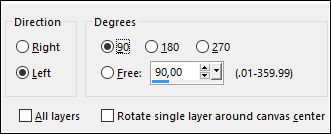
Image / Free Rotate
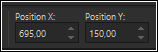
Ferramenta <<Pick Tool>> Posicione como segue: Position X= 695 / Position Y= 150
Adjust / Sharpness / Sharpen More
Layers / Duplicate
Image / Resize / 80%... Resize all Layers ... Desmarcado
Image / Free Rotate
Ferramenta <<Pick Tool>> Posicione como segue: Position X= 626 / Position Y= 226
Adjust / Sharpness / Sharpen More
Pressione <<M>> no seu teclado
Layers / Merge / Merge Down ( 2 vezes)
Effects / 3D Effects / Drop Shadow: -5 / 7 / 35 / 5,00 / # 000000
23- Abra o tube << 416_KaD_Deco1>>Copie e Cole Como Nova Layer
Não Mova!
Effects / 3D Effects / Drop Shadow: 1 / 1 / 50 / 1,00 / #ffffff
24- Abra o tube <<416_KaD_Tekst>>
Copie e Cole Como Nova Layer
Ferramenta <<Pick Tool>> Posicione como segue: Position X= 602 / Position Y= 19
Effects / 3D Effects / Drop Shadow: 1 /1 / 50 / 1,00 / # 000000
25- Image / Add Borders / Symmetric Marcado / 1 pixel cor #000000
Image / Add Borders / Symmetric Marcado / 1 pixel Cor #a0288f
Image / Add Borders / Symmetric Marcado / 1 pixel Cor #f73a6d
Image / Add Borders / Symmetric Marcado / 1 pixel Cor #023fa6
Image / Add Borders / Symmetric Marcado / 1 pixel Cor #afdb02
Selections / Select All
Image / Add Borders / Symmetric Marcado / 25 pixels Cor #ffffff
Effects / 3D Effects / Drop Shadow: 0 / 0 / 40 / 20,00 / Cor # 000000
Selections / Select None
26- Abra o tube <<KaD_Woman_119>>
Copie e Cole Como Nova Layer
Image / Mirror / Mirror Horizontal
Image / Resize / 55% ... Resize All Layers ... Desmarcado
Effects / 3D Effects / Drop Shadow: 5 / 7 / 50 / 25,00 / # 000000
Adjust / Sharpness / Sharpen More
27- Image / Add Borders / Symmetric Marcado / 1 pixel cor #afdb02
Image / Add Borders / Symmetric Marcado / 1 pixel Cor #023fa6
Image / Add Borders / Symmetric Marcado / 1 pixel Cor #f73a6d
Image / Add Borders / Symmetric Marcado / 1 pixel Cor #a0288f
28- Coloque seu nome e / ou marca d'água
29- Image / Add Borders / Symmetric Marcado / 1 pixel cor #000000
Image / Resize / 900 pixels ... Resize All Layers ... Marcado
Adjust / Sharpness / Unsharp: 2 /30 / 2 (Luminance Only) Desmarcado
Salve como JPG
Versão com de SvB:
©Tutorial traduzido por Estela Fonseca em 30/07/2017.
Não alterar nem repassar sem autorização.