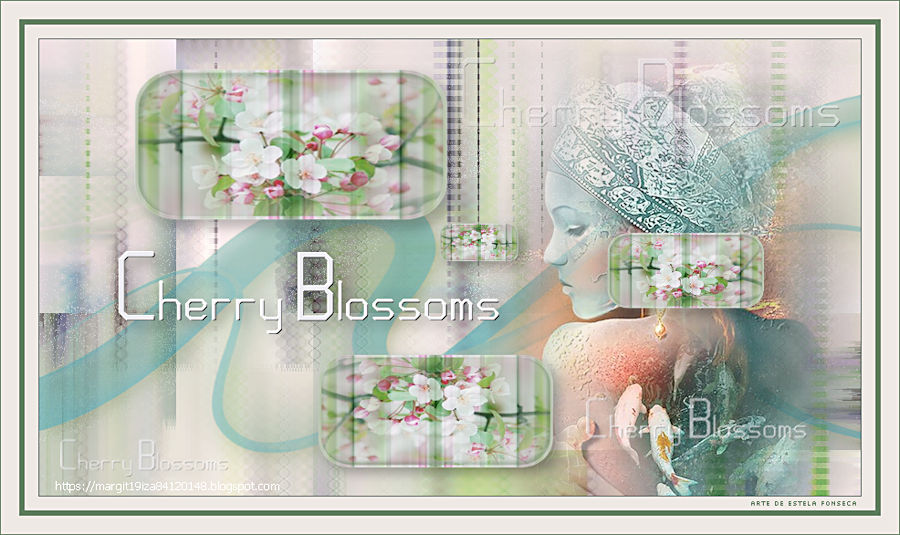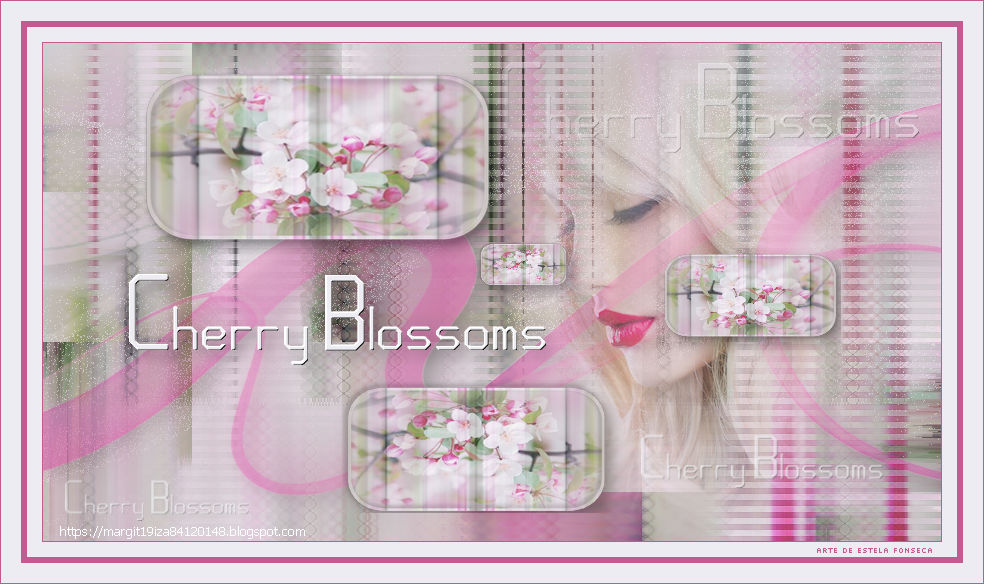
CHERRY BLOSSOMS
Tutorial de ©Ildikó , original AQUI.
Este tutorial foi traduzido no Corel' PaintShopPro' 2022 Ultimate.
Material Necessário:
ikjk(C)_cherry_blossoms_mask_01-03
ikjk(C)_cherry_blossoms_deco_01-03
ikjk(C)_cherry_blossoms_women
ikjk(C)_cherry_blossoms_background_01-02
ikjk(C)_cherry_blossoms_color
ildiko_kenejoka(C)_websiteCopyright (C) 2023 Ildiko KeneJoKa.
Atenção, Nota da Autora:
Direitos autorais (C) 2023 Ildiko KeneJoKa.
Os materiais utilizados são de propriedade exclusiva de Ildiko KJK,
não utilizado por outros autores por escrito ou clube.
Esses adereços NÃO podem ser usados em outra imagem sem minha permissão!
Obrigado!
Plugins :
Mehdi / Sorting Tiles
Richard Rosenman / Solid Border
< I.C.NET Software > / Filters Unlimited 2 / &<Bkg Kaleidoscope> / 4 QFlip UpperL
< I.C.NET Software > / Filters Unlimited 2 / VM Stylize / Square Blur
< I.C.NET Software > / Filters Unlimited 2 / Transparency / Eliminate White
< I.C.NET Software > / Filters Unlimited 2 / VM Extravaganza / Transmission
< I.C.NET Software > / Filters Unlimited 2 / VM Stylize / Square Blur
< I.C.NET Software > / Filters Unlimited 2 / VM Distortion / Tilemat 2000
< I.C.NET Software > / Filters Unlimited 2 / Filter Factory Gallery C / flutewaves
Cores
Primeiro Plano cor #c45b90 / Segundo Plano cor #edecf2
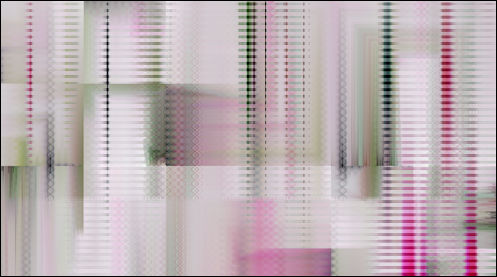
01-Abra o arquivo << ikjk(C)_cherry_blossoms_background_01>>
Layers / Properte Background Layer
Effects / Plugins / < I.C.NET Software > / Filters Unlimited 2 / VM Stylize / Square Blur ( 0 / 187 / 6 / 93 )
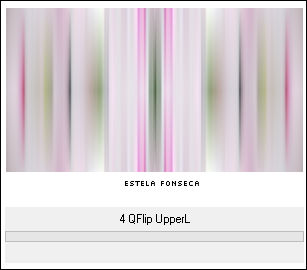
Effects / Plugins / < I.C.NET Software > / Filters Unlimited 2 / &<Bkg Kaleidoscope> / 4 QFlip UpperL
Adjust / Sharpness / Sharpen
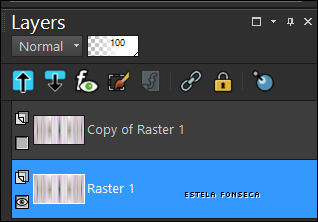
Layers / DuplicateTire a Visiblidade desta layer <<Copy of Raster 1>> e ative a Layer do fundo <<Raster 1>>
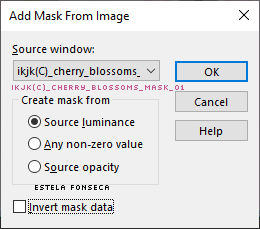
Layers / New Mask Layer / From Image : ikjk(C)_cherry_blossoms_mask_01
Layers / Merge / Merge Group
Ative a Layer do topo e volte a visibilidade delaLayers / New Mask Layer / From Image : ikjk(C)_cherry_blossoms_mask_02
Layers / Merge / Merge Group
Adjust / Sharpness / Sharpen
Effects / 3D Effects / Drop Shadow : 7/7/30/20/#00000002- Abra o arquivo <<ikjk(C)_cherry_blossoms_background_02>>
Copie / Cole como nova layer
Layers / New Mask Layer / From Image : ikjk(C)_cherry_blossoms_mask_01
Layers / Merge / Merge Group
Layers Properties : Blend mode / Normal ... Opacidade / 70Layers / Arrange / Move Down
Layers / Merge / Merge Visible
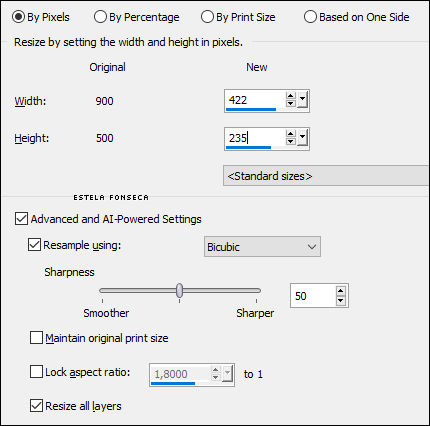
Image / Resize
Salve este arquivo como PNG ( minimize o usaremos mais adiante)
03- Abra o arquivo <<ikjk(C)_cherry_blossoms_background_01>>
Layers / Properte Background Layer
Effects / Plugins / < I.C.NET Software > / Filters Unlimited 2 / VM Stylize / Square Blur
Adjust / Sharpness / Sharpen
Layers / Duplicate
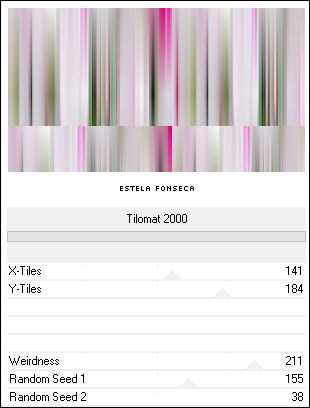
Continue nesta layer ...Effects / Plugins / < I.C.NET Software > / Filters Unlimited 2 / VM Distortion / Tilomat 2000
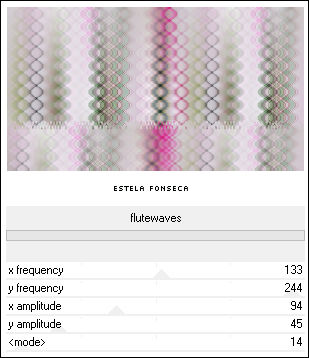
Effects / Plugins / < I.C.NET Software > / Filters Unlimited 2 / Filter Factory Gallery C / flutewaves
Adjust / Sharpness / Sharpen
Layers / Duplicate
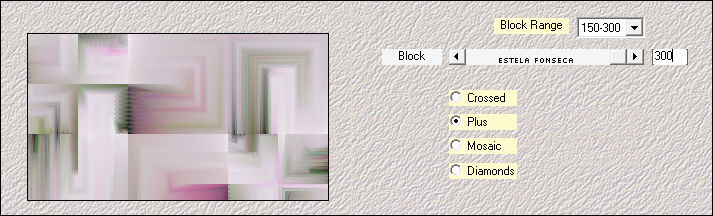
Effects / Plugins / Mehdi / Sorting Tiles
Layers Properties : Blend mode / Normal ... Opacidade /70
Ative a Layer do Fundo
Layers / DuplicateLayers / Arrange / Bring to Top
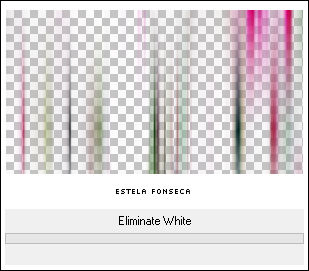
Effects / Plugins / < I.C.NET Software > / Filters Unlimited 2 / Transparency / Eliminate White
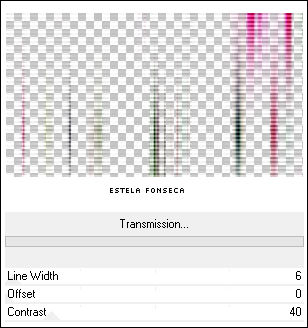
Effects / Plugins / < I.C.NET Software > / Filters Unlimited 2 / VM Extravaganza / Transmission
Adjust / Sharpness / Sharpen
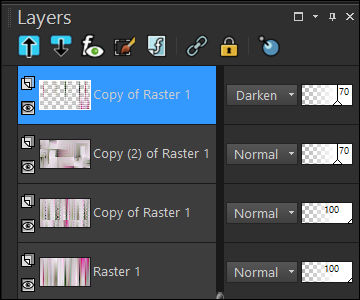
Image / Flip / Flip VerticalLayers Properties : Blend mode / Darken ... Opacidade / 70
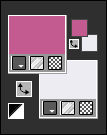
Esta é a sua paleta das layers agora...
04- Abra o arquivo <<ikjk(C)_cherry_blossoms_deco_01>>
Copie e Cole como nova layerLayers Properties : Blend mode / Normal ... Opacidade / 55
05- Abra o arquivo <<ikjk(C)_cherry_blossoms_deco_02>>
Copie e Cole como nova layerLayers Properties : Blend mode / Darken ... Opacidade / 60
Layers / Duplicate
Layers Properties : Blend mode / Hard Light ... Opacidade / 6060- Abra o arquivo <<ikjk(C)_cherry_blossoms_women>>
Copie e Cole como nova layer
Pick Tool (K) Position X : 451,00 / Position Y : 0,00 / Tecla "M" desativa a Pick
Layers Properties : Blend mode / Normal ... Opacidade / 58%
07- Maximize a imagem reservada
Copie e Cole como nova layer
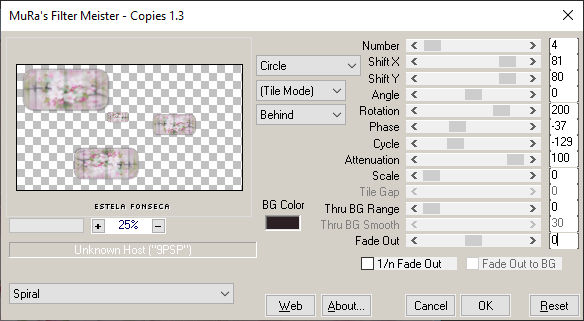
Effects / Plugins / MuRa's Meister / Copies / Spiral : 4, 81, 80, 0, 200, -37, -129, 100, 0, 0, 0, 30, 0
Objects / Align / Center in Canvas
Effects / 3D Effects / Drop Shadow : 7/7/30/20/#00000008- Ative o arquivo <<ikjk(C)_cherry_blossoms_deco_01>>
Copie e Cole como nova layer
09- Abra o arquivo <<ildiko_kenejoka(C)_website>> Copie e cole como nova layer
Posicione como preferir
Layers / Merge / Merge Visible
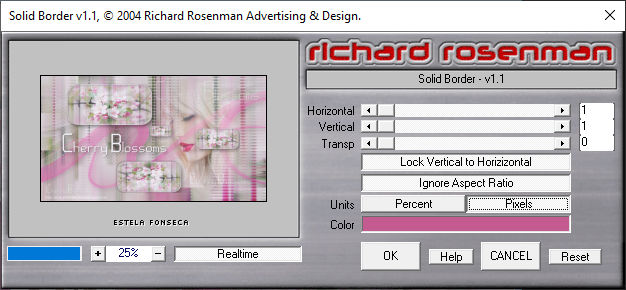
10- Effects / Plugins / Richard Rosenman / Solid Border / Pixels / Co (1) : #c45b90
Image / Add Borders / Symmetric Marcado / 15 Pixels Cor (2) #edecf2
Image / Add Borders / Symmetric Marcado / 6 Pixels Cor (1) #c45b90
Image / Add Borders / Symmetric Marcado / 20 Pixels Cor (2) #edecf2
Image / Add Borders / Symmetric Marcado / 1 Pixel Cor (1) #c45b9011- Salve como arquivo JPG.
FIM
Versão com Misted de EF (Personagem):
© Tutorial Traduzido por Estela Fonseca em 04/04/2023.
Obrigada, Ildikó por me permitir traduzir este trabalho.