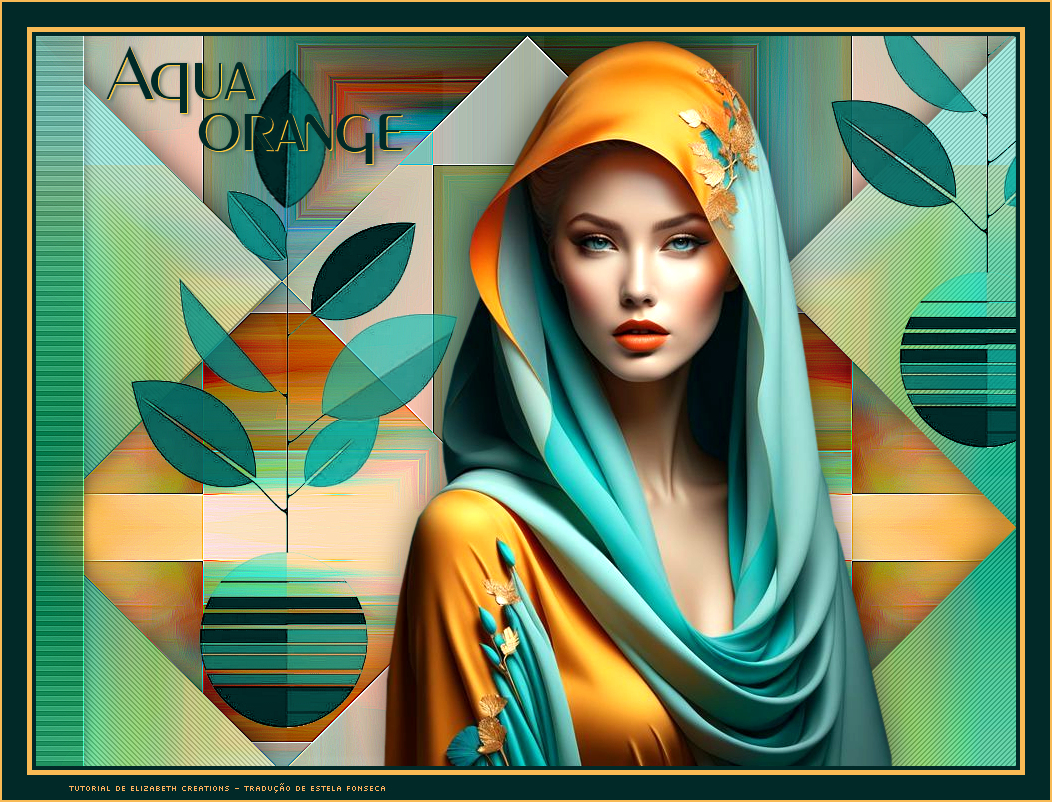
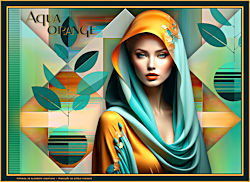
AQUA ORANGE
Tutorial de ©Elizabeth Creations
Criado em 19/05/2024.
Este tutorial foi traduzido usando o Corel'Paint ShopPro' 2022 ULTIMATE.
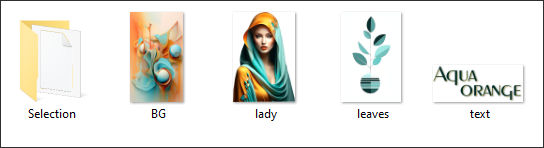
Material Necessário:
Plugins Usados:
Mehdi / Sorting Tiles
Carolaine and Sensibility / CS-DLines...e HLines.
Filters Unlimited 2.0 / VM Instant Art / Tripolis.
Adjust / Variations.
Lembre-se de salvar seu trabalho com frequência.
Há uma seleção na pasta de materiais...coloque-a na pasta/seleções de arquivos do PSP.
1. Abra o BG.png em sua área de trabalho...Editar/Copiar.
2. Abra uma nova imagem transparente 980 X 730pix.3. Selections / Select All.
Edit / Paste into Selection.
Selections / Select None.
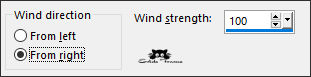
4. Effects / Distortion Effects / Wind:
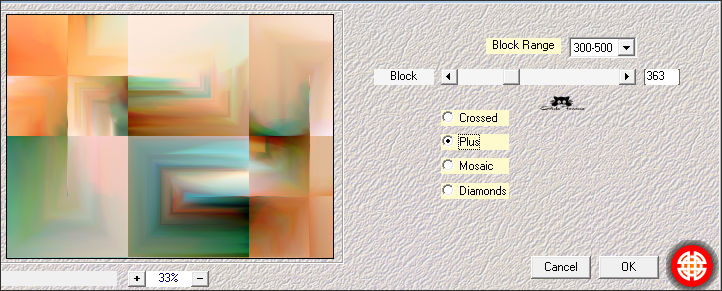
5. Effects / Plugins / Mehdi / Sorting Tiles:
6. Image / Mirror / Mirror Horizontal.
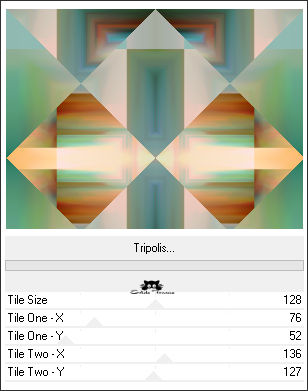
7. Effects / Plugins / Filters Unlimited 2.0 / VM Instant Art / Tripolis....Default.
8. Adjust / Hue and Saturation / Vibrancy 50.
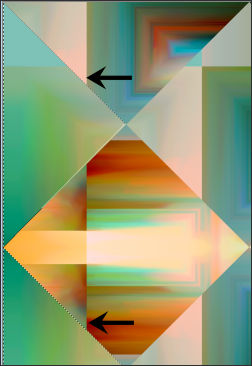
9. Ferramenta Freehand Selection Tool...Point to Point...Feather em 0 faça uma seleção da seguinte forma:
10. Selections / Promote Selection to Layer.
Mantenha a seleção.
11. Effects / Plugins / Carolaine and Sensibility / CS-DLines: 42 / 5
12. Selections / Select None.
13. Effects / 3D Effects / Drop Shadow: 0 / 0 / 70 / 50 / #00000014. Layers / Duplicate.
15. Image / Mirror / Mirror Horizontal.Layers / Merge / Merge Down.
16. Ative a Layer do FundoEffects / Edge Effects / Enhance More.
17. Ative a Layer do TopoAbra o tube leaves.png... Copie e cole como nova layer em seu trabalho.
Pick Tool (K) Position X e de Y Como segue: -4,00 / -5,00 (Tecla M para desativar a Pick)
18. Layers / Duplicate.
Layers / Merge / Merge Down.
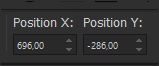
19. Layers / Duplicate.Pick Tool (K) Position X e de Y Como segue: 696,00 / -286,00 (Tecla M para desativar a Pick)
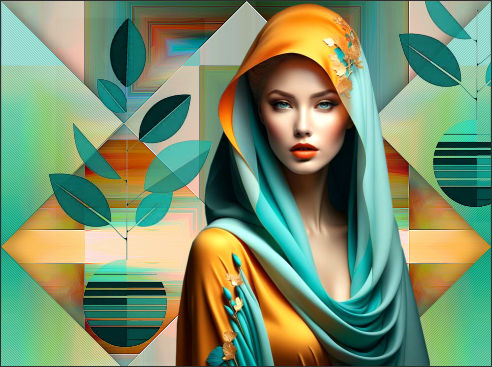
20. Abra o tube lady.png....Copie e cole como nova layer.
Posicione da seguinte forma:
21. Effects / 3D Effects / Drop Shadow: 0 / 0 / 50 / 50 / #000000
22. Ative a Layer do Fundo.
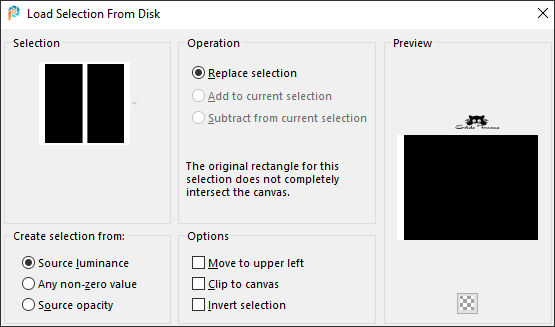
Selections / Load/Save Selection / Load Selection From Disk:leftside selection
23. Selections / Promote Selection to Layer.
24. Layers / Arrange / Bring to Top.
25. Adjust / Blur / Gaussian Blur / Radius 33.Selections / Select None.
26. Layers / Duplicate.Layers / Merge / Merge Down.
27. Effects / Plugins / Adjust / Variations...clique em ORIGINAL uma vez e em DARKER uma vez.
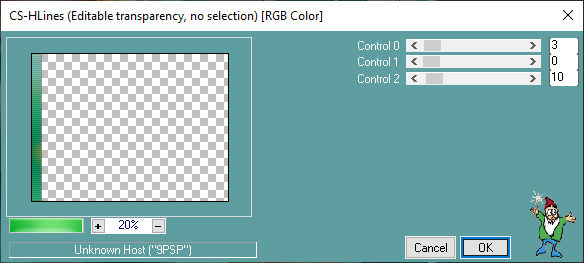
28. Effects / Plugins / Carolaine and Sensibility / CS-HLines ...Default.
29. Effects / 3D Effects / Drop Shadow: 0 / -1 / 50 / 17 / Cor #00000030. Effects / Edge Effects / Enhance.
31. Assine seu trabalho.
32. Se está feliz com o posicionamento de seu trabalho...Adicione as seguintes bordas simétricas...
4 pixels cor #002927
5 pixels cor #f8ba55
25 pixels cor #002927
2 pixels cor #f8ba55
33. Abra o text.png...Copie e cole como nova layer em seu trabalho
Posicione no topo à esquerda.
34. Layers / Merge / Merge All (Flatten).
Salve como JPG.
©Tutorial Traduzido por Estela Fonseca 15/06/2024.
Obrigada Elizabeth por me permitir traduzir seu trabalho.