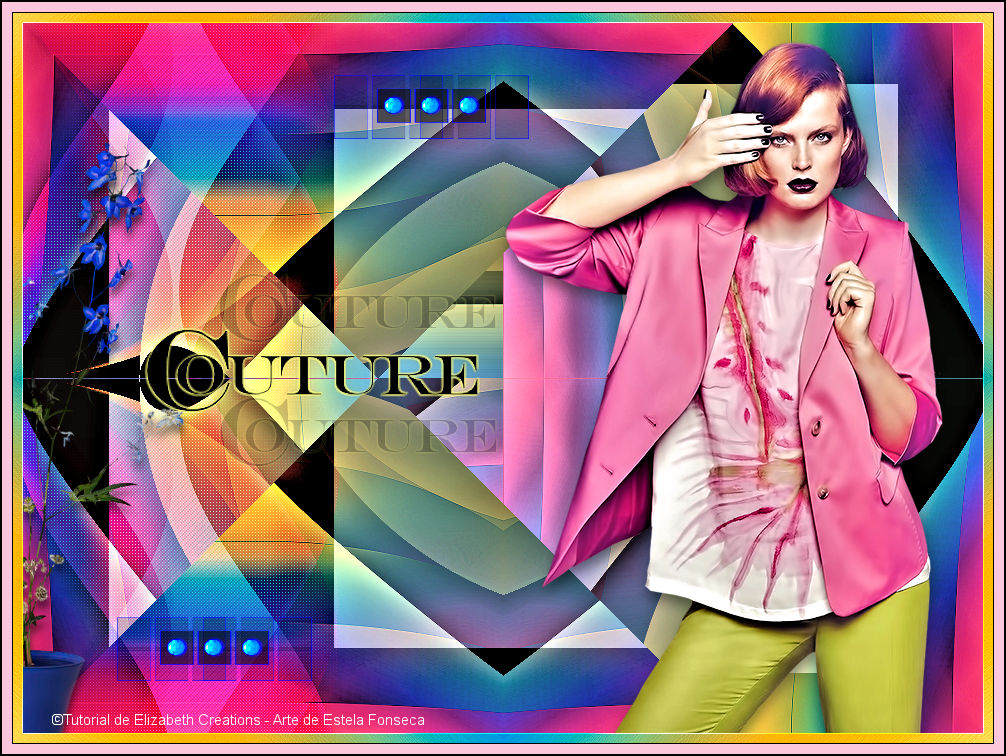
COUTURE
Tutorial de ©Elizabeth Creations
Este tutorial foi traduzido usando o Corel'Paint ShopPro' 2022 ULTIMATE.
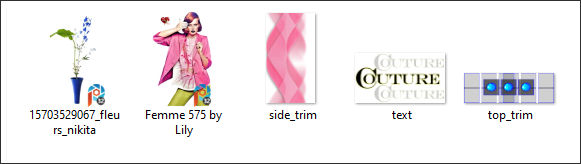
Material Necessário:
Plugins Usados:
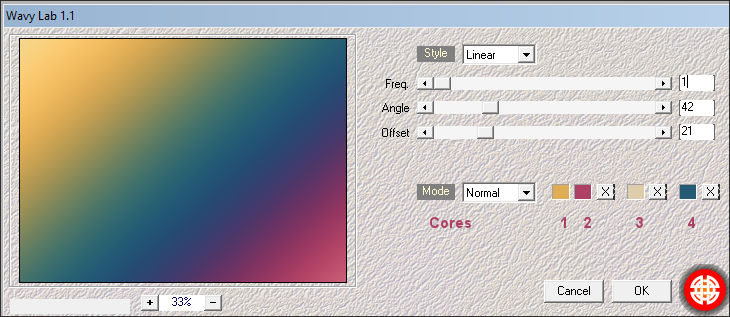
Mehdi / Wavy Lab 1.1
Filters Unlimited 2.0 / Mock / Windo.
VM Toolbox
Background Designers sf1V / @BlueBerry Pie
dsb flux / Linear Transmission.
Lembre-se de salvar seu trabalho regularmente.
1. Abra uma nova imagem transparente de 980 X 730 pixels.
2. Effects / Plugins / Mehdi / Wavy Lab 1.1.
3. Effects / Plugins / Filters Unlimited 2.0 / VM Toolbox / Instant Tile... Default.
4. Layers / Duplicate.
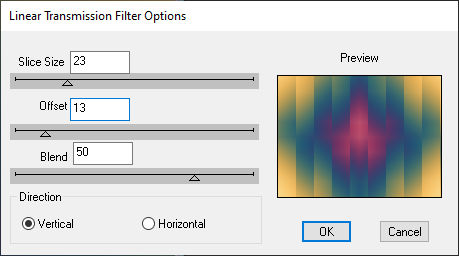
5. Effects / Plugins / dsb flux / Linear Transmission:
6. Adjust / Sharpness / Sharpen More.
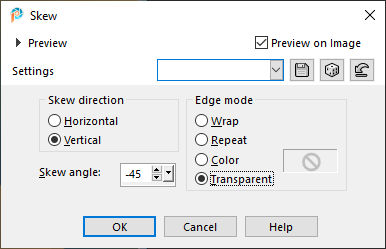
7. Effects / Geometric Effects / Skew:
8. Layers / Duplicate.
Image / Mirror / Mirror Horizontal.
9. Opacidade 46%.Layers / Merge / Merge Down.
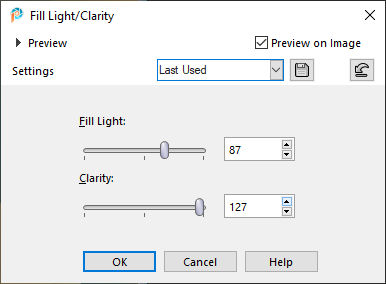
10. Adjust / Brightness and Contrast / Fill Light/Clarity:
11. Ative a Layer do Fundo (Raster 1) Repita a etapa 10
12. Ative a Layer do TopoEffects / Geometric Effects / Circle / Transparent Marcado
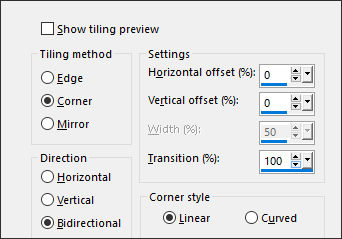
13. Effects / 3D Effects / Drop Shadow: 3 / -5 / 100 / 30 / Cor Preto14. Effects / Image Effects / Seamless Tiling:
15. Effects / 3D Effects / Drop Shadow: 3 / -5 / 80 / 30 / Cor Preto
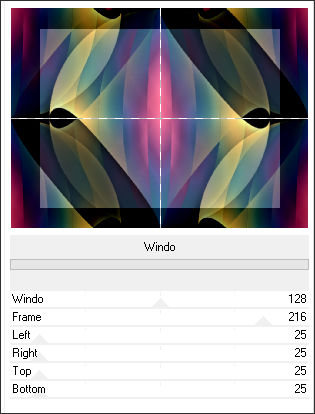
16. Effects / Plugins / Filters Unlimited 2.0 / Mock / Windo...Default:
17. Effects / Plugins / Filters Unlimited 2.0 /Bkg Kaleidoscope / @BlueBerry Pie.
18. Adjust /Brightness and Contrast / Fill Light / Clarity (Mesmas configurações da etapa 10)19. Adjust / Hue and Saturation / Vibrancy 14.
20. Abra o tube « side_trim.png» Copie e ole como nova layer em seu trabalho.Objects / Align / Left
21. Blend Mode / OVERLAY.
22. Abra o tube « top_trim.png. » Copie e cole como nova layer em seu trabalho.Posicione como segue:
23. Layers / Duplicate.Posicione abaixo e à esquerda... como segue:
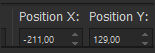
24. Abra « 15703529067_fleurs_nikita » Copie e Cole como nova layer em seu trabalho.Pick Tool (K) Posição X e Posição Y como segue: -211 / 129
25. Effects / 3D Effects / Drop Shadow: 8 / 1 / 67 / 12 / Cor Preto
26. Ative a Layer do Fundo.Layers / Duplicate.
27. Layers / Arrange / Bring to Top.
28. Selections / Select All.Selections / Modify / Contract 10pix.
DELETE no Teclado
Selections / Select None.
29. Adjust / Hue and Saturation / Vibrancy 80.
30. Effects / Edge / Effects / Enhance More.
31. Ative a Layer Imediatamente abaixo.Abra o tube «Femme 575 by Lily » Copie e cole como nova layer
Posicione à direta
32. Effects / 3D Effects / Drop Shadow: 8 / 1 / 47 / 20 / Cor #000000
33. Abra o tube « text.png.» Copie e cole como nova layer
Posicione como no modelo
34. Escreva seu nome com uma fonte de sua escolha.
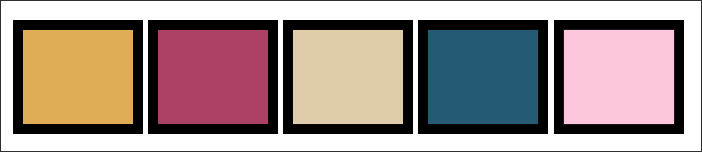
35. Image / Add Borders / Symmetric Marcado / 1 pixel cor #000000Image / Add Borders / Symmetric Marcado / 10 pixels cor (5) #fcc7dd
Image / Add Borders / Symmetric Marcado / 4 pixels cor #000000
35- Salve como arquivo JPG.
©Tutorial Traduzido por Estela Fonseca 14/03/2024.
Obrigada Elizabeth por me permitir traduzir seu trabalho.