BEAUTIFUL DAY
Tutorial de ©Elizabeth Creations
Este tutorial foi traduzido usando o Paint Shop Pro 2021 Ultimate.
Material Necessário:
Plugins Utilizados:AAA Frames / Foto Frame
Background Designers sf10 1V / @BlueBerry Pie
Adjust / Variations
Lembre-se de salvar seu trabalho com frequência.
Há um gradiente na pasta de materiais... salve-o em sua pasta de arquivos PSP/gradientes.
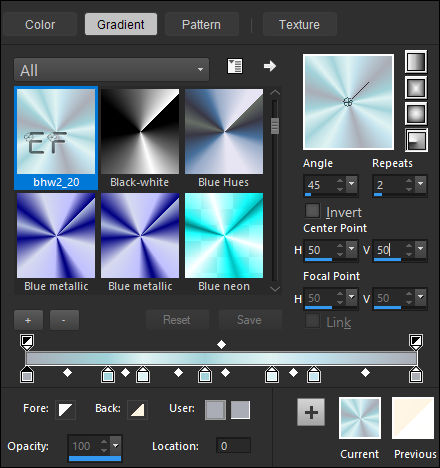
1. Coloque no Primeiro Plano o Gradiente «bhw2_20» estilo RADIAL configurado como segue:
2. Abra uma nova imagem transparente de 980 / 730 Pixels3. Preencha com o Gradiente do Primeiro Plano.
Adjust / Blur / Gaussian Blur / Radius 30.
4. Effects / Plugins / AAA Frames / Foto Frame / Default5. Effects / Plugins / Filters Unlimited 2.0 / Bkg Designers sf10 1V / @BlueBerry Pie / Default
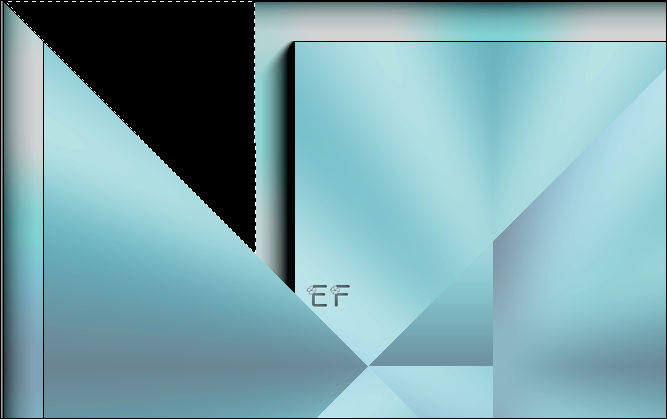
6. Effects / Plugins / Adjust / Variations.....clique uma vez em «ORIGINAL» clique duas vezes em «DARKER»
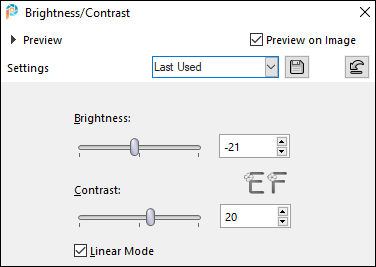
7. Adjust / Brightness and Contrast / Brightness/Contrast:
8. Selection Tool / RECTANGLE /Faça uma seleção como segue:
9. Selections / Promote Selection to Layer.
Selections / Select None.
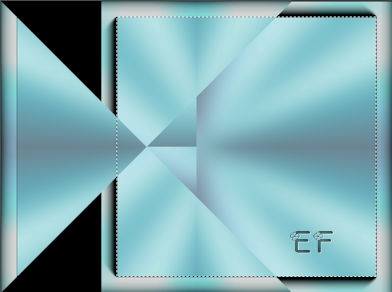
10. Ative a Layer do FUNDO.Ferramenta «Freehand Selection Tool» Point to Point e configure como abaixo:
Selecione o Triângulo superior:
11. Selections / Promote Selection to Layer.Selections / Select None.
Usando a Ferramenta «Move Tool» Mova para o canto superior Direito
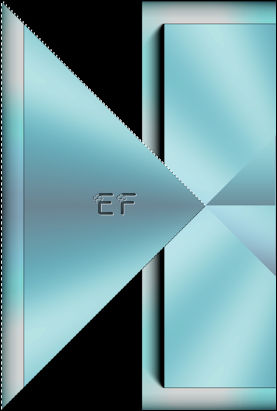
12. Layers / Duplicate.
13. Image / Mirror / Mirror Vertical.
14. Ative a Layer do TOPOFerramenta «Freehand» nas mesmas configurações de antes... faça uma seleção como segue:
15.Layers / New Raster Layer.
16. Abra o « triangle_pattern.png» Copie e Cole na seleção.Selections / Select None.
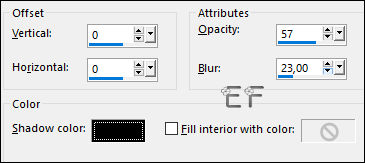
17. Effects / 3D Effects / Drop Shadow: 1 / 1 / 100 / 20 / Cor #070D1F
18. Adjust / Sharpness / Unsharp Mask:
19. Layers / Merge / Merge Down.
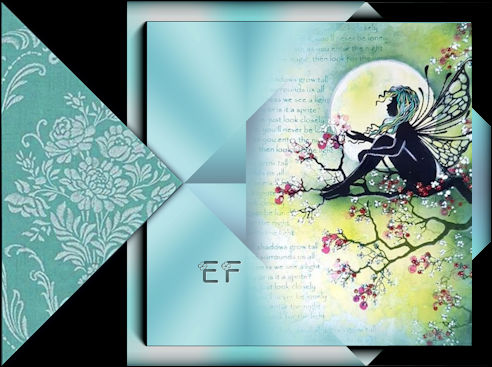
20. Abra «fairy.png» Copie e Cole como nova layer , posicione a direita:
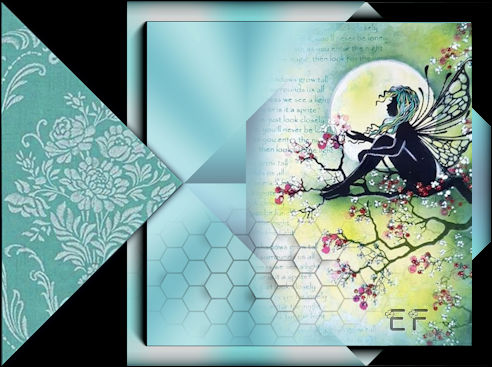
21. Abra « mesh.png » Copie e Cole como nova layer , posicione como segue:
22. Layers / Arrange / Move Down
23. Ative a Layer do TOPOAbra «text.png» Copie e cole como nova layer
Posicione
24. Escreva seu nome com uma fonte de sua escolha
25. Se você está feliz com o posicionamento de seu trabalho ...
Image / Add Borders / Symmetric Marcado / 4 Pixels cor #000000
26. Layers / Promote Background Layer.
Image / Resize / 85% ... Resize All Layers ... Desmarcado
27. Layers / New Raster Layer.
Layers / Arrange / Send to Bottom.
28. Preencha com o Gradiente do Primeiro Plano.
29. Effects / Texture Effects / Weave: Cor #2C5258
30. Effects / Plugins / Adjust / Variations.....clique uma vez em «ORIGINAL» clique duas vezes em «DARKER»
Adjust / Brightness and Contrast / Brightness/Contrast:
31. Layers / Duplicate.
32. Selections / Select AllSelections / Modify / Contract / 20 Pixels.
33. Effects / 3D Effects / Cutout:
Selections / Select None.
34. Adjust / Sharpness / Sharpen.
35. Ative a Layer do TOPOEffects / 3D Effects / Drop Shadow: 1 / 1 / 100 / 20 / Cor #070D1F
36. Image / Add Borders / Symmetric Marcado / 4 Pixels cor #000000
Image / Add Borders / Symmetric Marcado / 4 Pixels cor #aedede
Salve como JPG.
FIM
©Tutorial Traduzido por Estela Fonseca 28/10/2022.
Obrigada Elizabeth por me permitir traduzir seu trabalho.