PAT
Tutorial de ©Edith Graphics Todos os direitos reservados - Original Aqui
Material Necessário:
Tubes de:
Senga_30-06-2011_woman_30
Renee_tube_cat_e_mouse
deco lula, decoedith
mask edith 34
JHanna_224 background
Plugins Utilizados:
Convolution Filters
FunHouse
Filter Factory Gallery E
Mehdi
AAA Frames
Preparação:Abra os tubes , Duplique e feche os originais.
Minimize no PSP as Masks e os tubes
1) Primeiro Plano Cor #5f5f61Abra uma Nova imagem transparente de 800/300 pixels
Preencha com a cor #000000
2) Layers / New Raster Layer
Preencha com a cor branca
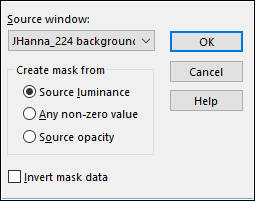
3) Layers / New Mask layer From Image /JHanna_224 background
Layers / Merge / Merge GroupLayers / Merge / Merge Down
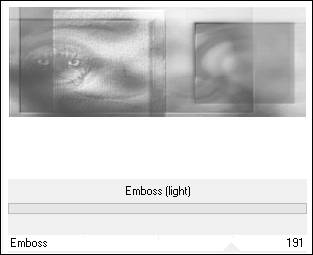
4) Effects / Plugin / I.C.NET <Software>> Filters Unlimited / Convolution Filters / Emboss (light)
5) Layers / New Raster LayerPreencha com a cor do Primeiro Plano
Selections / Select All
Selections / Modify / Contract / 2 pixels
Delete no teclado
Selections / Select None
Layers / Merge / Merge Down
6) Layers / New Raster Layer
Layers / Arrange / Move Down
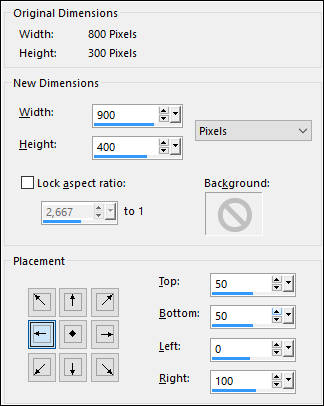
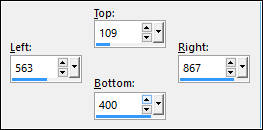
Image / Canvas Size:
Preencha a Layer com a cor do Primeiro Plano
7) Layers / New Raster Layer
Preencha com a cor do Segundo Plano (#ffffff)
Layers / New Mask Layer / From Image: JHanna_224 background
Layers / Merge / Merge GroupLayers / Merge / Merge Down
8) Effects / Plugin / I.C.NET <Software>> Filters Unlimited / Convolution Filters / Emboss (light) /Default
9) Layers / New Raster Layer
Preencha com a cor do Primeiro Plano
Selections / Select All
Selections / Modify / Contract / 2 pixels
Delete no teclado
Selections / Select None
Layers / Merge / Merge Down
Ative a Layer <<Raster 1>>
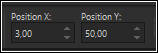
Posicione: Pick Tool Position X: 3 / Position Y: 50
10) Layers / New Raster Layer
Layers / Arrange / Send to Bottom
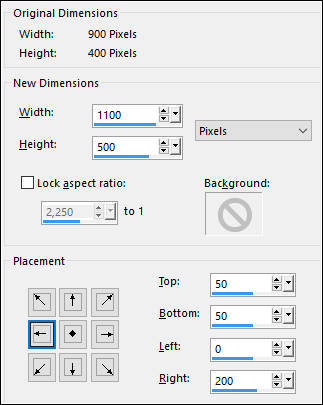
Image / Canvas Size:
Preencha com a cor #000000
11) Layers / New Raster Layer
Preencha com a cor #ffffff (branca)
Abra a Mask <<edith 34>>
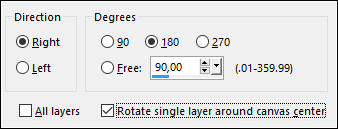
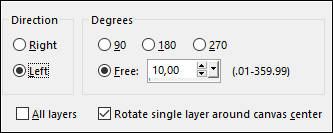
Image / Free Rotate:
Minimize a Mask
12) Layers / New Mask Layer / From Image: mask edith 34
Layers / Merge / Merge groupLayers / Merge / Merge Down
Effects / Plugin / I.C.NET <Software>> Filters Unlimited / Convolution Filters / Emboss (light) / Default
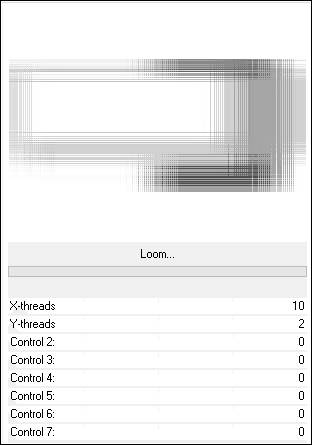
13) Effects / Plugin / FunHouse / Loom / Default
14) Layers / New Raster LayerPreencha com a cor do Primeiro Plano
Selections / Select all
Selections / Modify / Contract 2 pixels
Delete no teclado
Selections / Select None
Layers / Merge / Merge Down
14) Ative a Layer <<Raster 2>>
Selection Tool / Rectangle / Custom Selection
Selections / Promote Selection to Layer
Layers / Arrange / Bring to top
15) Layers / New Raster layer
Preencha com a cor do Primeiro Plano
Selections / Modify / Contract 2 pixels
Delete no teclado
Selections / Select None
Layers / Merge / Merge Down
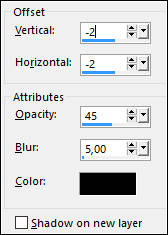
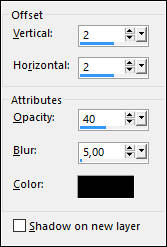
Effects / 3D Effects / Drop Shadow: Cor #000000
16) Ative a Layer do Fundo <<Raster 3>>
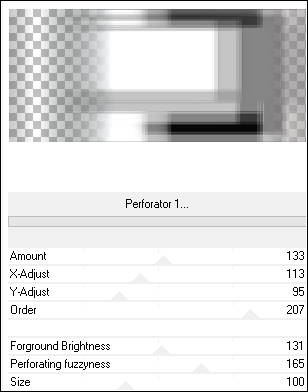
Effects / Plugin / Filter Factory Gallery E / Perforator 1
17) Layers / New Raster layer
Layers / Arrange / Send to Bottom
Coloque no Segundo Plano a cor #8f3731
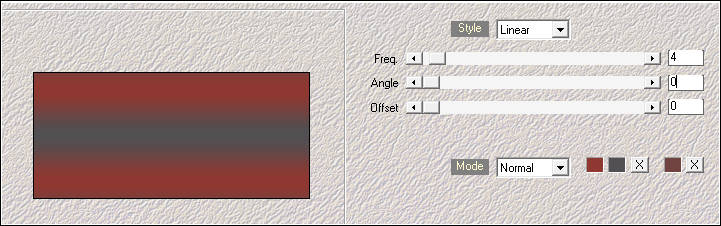
18) Effects / Plugin / Mehdi / Wavy Lab
19) Ative a Layer <<Raster 1>>
Selection Tool / Rectangle / Custom Selection
Copie e Cole como Nova Imagem
Minimize
De volta ao seu trabalho
Selections / Select None
20) Abra o tube << Senga_30-06-2011_woman_30>>
Image / Resize / 500 pixels de AlturaResize All layers Marcado!
Selection Tool / Rectangle / Custom Selection
Copie e Cole como nova layer no seu trabalho
Layers / Arrange / Move Up
Adjust / Sharpness / Sharpen
Effects / 3D Effects / Drop Shadow: Cor #000000
Posicione: Pick Tool Position X: 546 / Position Y: 46
Maximize a Imagem Minimizada na etapa 19.
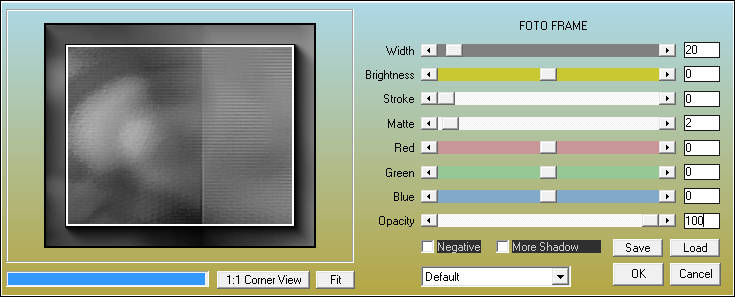
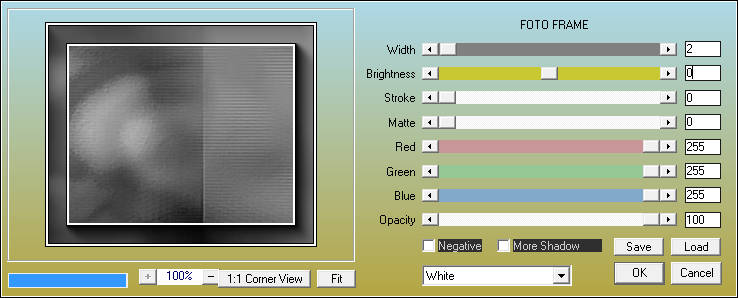
21) Effects / Plugin / AAA Frames / Foto Frame
Effects / Plugin / AAA Frames / Foto Frame
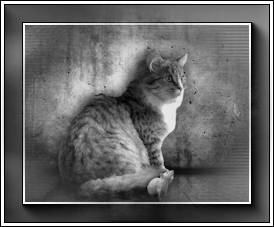
22) Ative o tube <<Renee_tube_cat_and_mouse>>
Image / Resize / 220 pixels de Altura
Copie e Cole como nova layer em seu trabalho
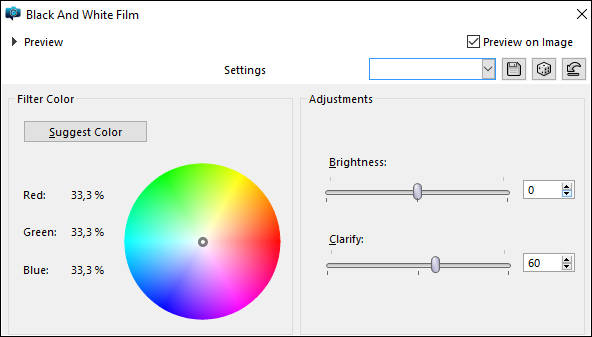
Effects / Photo Effects / Black And White Film
Layers / Merge / Merge Down
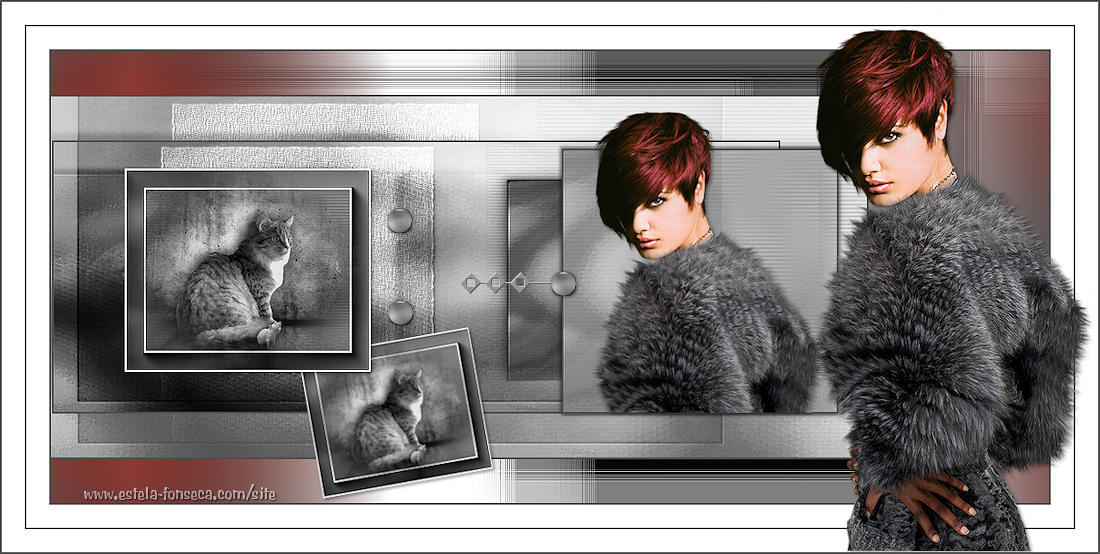
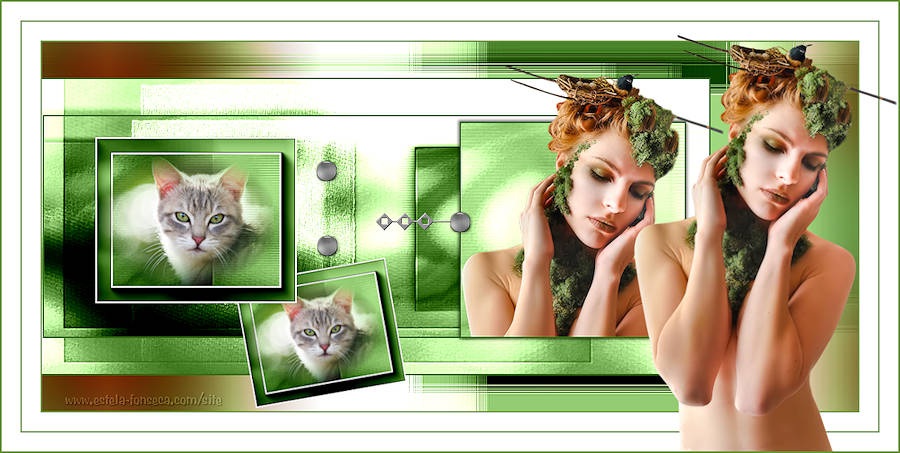
Resultado:
Copie23) De volta ao seu trabalho inicial:
Cole como nova layer
Posicione: Pick Tool Position X: 98 / Position Y: 135
Adjust / Sharpness / SharpenEffects / 3D Effects / Drop Shadow: Cor #000000
23) Ative a imagem pequena (o quadro do gato)
Image / Resize / 160 pixels de Altura (Resize all layers marcado)Copie e Cole como nova layer no seu trabalho
24) Image / Free Rotate:
Adjust / Sharpness / SharpenEffects / 3D Effects / Drop Shadow: Cor #000000
Layers / Arrange / Move Down
25) Image / Add Borders / Symmetric Marcado / 25 pixels Cor #ffffff
Image / Add Borders / Symmetric Marcado / 2 pixels cor do Primeiro Plano
Image / Add Borders / Symmetric Marcado / 25 pixels Cor #ffffff
26) Abra o tube <<Senga_30-06-2011_woman_30>>
Image / Resize / 600 pixels de Altura(Resize all layers marcado)
Copie e Cole como nova Layer
Adjust / Sharpness / Sharpen
Effects / 3D Effects / Drop Shadow: Cor #000000
Posicione: Pick Tool Position X: 828 / Position Y: 3
27) Image / Add Borders / Symmetric Marcado / 2 pixels cor do Primeiro Plano
Image / Resize / 1100 pixels de Largura (Resize All Layers Marcado)
28) Abra o tube <<deco lula>>
Copie e Cole como nova Layer
Effects / Plugin / Convolution Filters / Emboss (light) / Default
Posicione
29) Abra o tube <<decoedith>>
Copie e Cole como nova Layer
Posicione
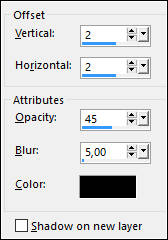
Effects / 3D Effects / Drop Shadow: 1 / 1 / 45 / 5,00 / Cor #000000
30) Layers / Duplicate (2 vezes)
Posicione como no exemplo
31) Assine seu trabalho
Salve como JPG.
Versão com tube de Karine Dreams e Imagem do Google:
©Tutorial Traduzido por Estela Fonseca 12/03/2017.
Obrigada Edith por me permitir traduzir seus trabalhos.