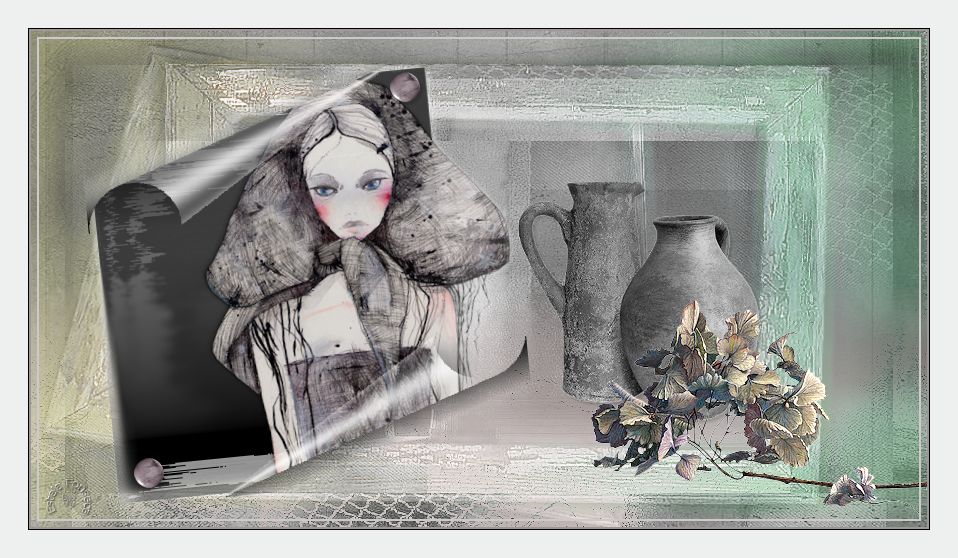
CANVAS
Tutorial de ©Edith Graphics - Original Aqui
Material Necessário:
2 background de JHanna
3 tubes de JHanna
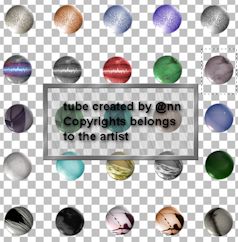
1 tube de @nn
Os tubes são para uso pessoal, alguns incluem uma marca d'água,
É proibido remover, modificar ou distribuir os tubes na rede.
Agradeço aos criadores de tubes pelas suas licenças.
Plugins Utilizados:
Flaming Pear / Melancholytron
No Unlimited :
Buttons & Frames
Graphics plus
Sandflowers Special
VM Instant Art
Foreground cor #eacdc8 - Background cor #9e9697
1 - Abra << background jHanna237 >>Image / Resize / Largura 900 Altura 500
2- Effects / Photo Effects / black and White Film / Default
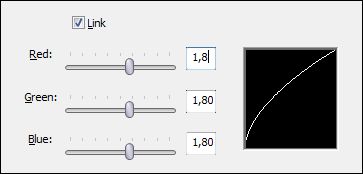
3- Gamma Correction (Shift + D):
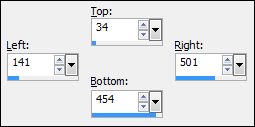
4- Selection Tool (S) / Custom Selection:
Selection / Promote selection to layer
Select None
5- Ative a layer do fundo << Background>>
promote background layer
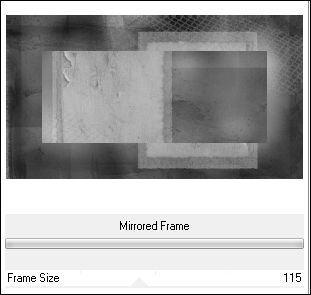
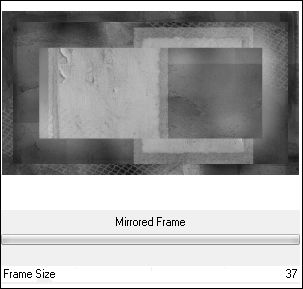
Effects / Plugins / Unlimited / Buttons & Frames / Mirrored Frame
Effects / Plugins / Unlimited / Buttons & Frames / Mirrored Frame
6- Effects / Plugins / Flaming Pear / Melancholytron
Adjust / Sharpness / Sharpen
7- Layers / New raster layer
Preencha com a cor branca
Layers / New mask layer / From Image: background jHanna 272
Layers / Merge / Merge Group
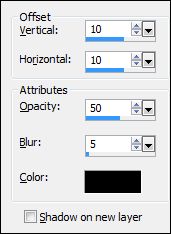
Effects / 3D Effects /Drop Shadow / Default
Repita:
8- Adjust / Sharpness / Sharpen More
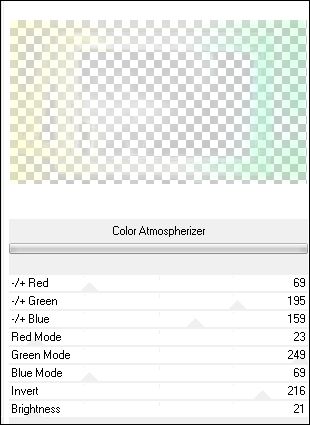
Effects / Plugins / Unlimited / & Sandflower Specials / color Atmospherizer
9- Ative <<background jHanna 272 >>
Image / Resize / 900X500
Copie e cole como nova layerLAYERS / ARRANGE / MOVE DOWN
Blend Mode / Luminance Legacy
Opacidade / 18%
Adjust / Sharpness / Sharpen
10- Ative a layer superior ( Promoted Selection)
Image / Resize / 95% (resize all layers desmarcado)
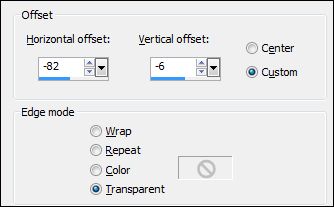
Effects / Image Effects / Offset
Aplique a sombra: 4 / 4 / 30 / 5,00 / #000000Repita com os valores negativos
11- Clique em <<Layers Opaque>>
Selections / Modify / Contract / 4Effects / Plugins / VM Instant Art / Strange Life Form N°2
Effects / Photo Effects / Black and White Film / Mesmas configurações de antes
Effects / Plugins / Flaming Pear / Melancholytron / Mesmas configurações
Selections / Select None
13- Ative o tube <<JHanna 164>>
Image / Resize / 400 pixels de altura
Copie e cole como nova layer
Effects / Image Effects / Offset: -120 / 0
Opacidade / 92%
Aplique a sombra: 2 / 2 / 25 / 5,00 /#000000
Repita a sombra com os valores negativos
14- Layers / Merge / Merge DownLayers / Opaque
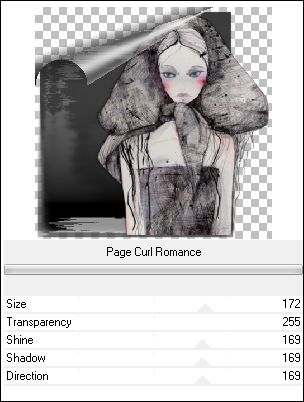
Effects / Plugins / & Sandflower Specials / Page Curl Romance
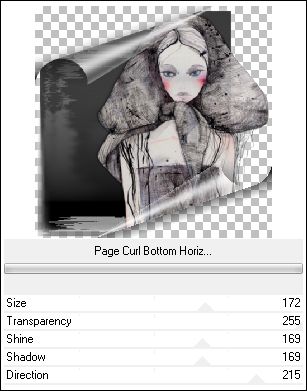
Effects / Plugins / &Sandflower Specials / Page Curl Bottom Horiz
Selections / Select None
15- Image / Free Rotate / Esquerda / 5,70°
Posicione como na imagem
16- Ative <<@nn_141207_accents_279_kerstballen_tdstudio>>
Selecione o botão
Copie e cole como nova layerImage / Resize / 50% (all layers desmarcado)
Layers / Duplicate
Merge down
Aplique a sombra: 3 / 3 / 15 / 2,00 / #000000
Layers / Duplicate
Posicione como na imagem
17- Copie e cole como nova layer o tube << JHanna531vases>>
Image / Resize / 60% (Resize all layers desmarcado)
Photo Effects / Black and White Film
Opacidade / 92%
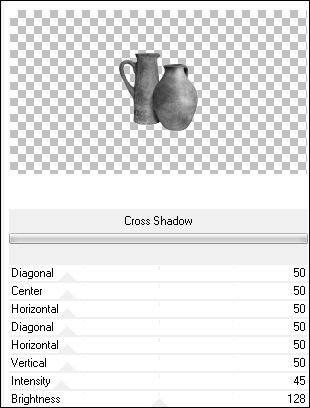
Effects / Plugins / Graphics plus / Cross Shadow / intensity : 45
Adjust / Sharpness / Sharpen
Aplique a sombra: 3 / 3 / 15 / 2,00 / #000000
Posicione como na imagem
18- Copie e cole como nova layer <<JHanna531tubes-Hortensia>>
Image / Resize / 54% (resize all layers desmarcado)
Image / Mirror
Effects / Plugins / Graphics plus / Cross Shadow / intensity : 25
Aplique a sombra: 3 / 3 / 15 / 2,00 / #000000
Posicione como na imagem
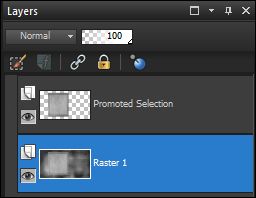
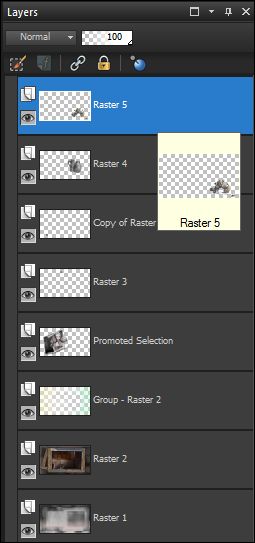
Suas layers devem estar assim:
19- Layers / Merge / Merge Visible
Layers / New raster layer
Preencha com a cor do background #9e9697
Selections / Select All
Select / Modify / Contract 2 pixels
Delete no seu teclado
Selections / Modify / Contract 6
Select / Selection Borders / Inside / 2
Preencha com a cor #cbcac6
Selections / Select None
20- Adicione uma borda simétrica de 1 pixel cor preta
Adicione uma borda simétrica de 28 pixels cor #eef0f0
Assine e salve seu trabalho como jpg.
©Tutorial Traduzido por Estela Fonseca 12/05/2013.
Obrigada Edith por me permitir traduzir seu trabalho.